
Andy's Interior Install
-
caseville cyclone
- Posts: 503
- Joined: Sat Dec 28, 2013 12:10 pm
- Location: Caseville, Michigan
-
caseville cyclone
- Posts: 503
- Joined: Sat Dec 28, 2013 12:10 pm
- Location: Caseville, Michigan
Re: Andy's Interior Install
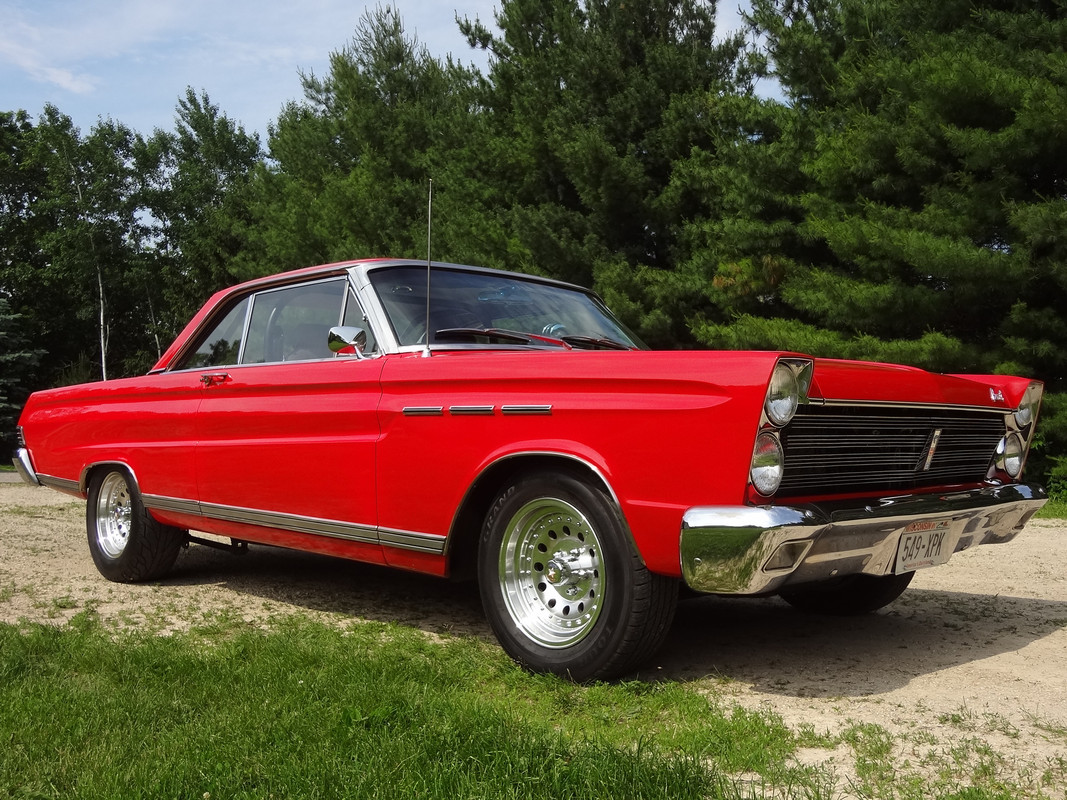
Started on front carpet,all glued down and trimmed. Installed new kick panels,I left them black for now to get a little contrast against the sea of red. Also installed new sill plates. Click on thumbnail for larger picture. Andy


-
caseville cyclone
- Posts: 503
- Joined: Sat Dec 28, 2013 12:10 pm
- Location: Caseville, Michigan
Re: Andy's Interior Install
LOOKIN GOOD....LOOKIN GOOD.......ol pop, is kinda partial to a sea of red 


pop/glenda

Re: Andy's Interior Install
Nothing goes better with red than red.popscomet wrote:LOOKIN GOOD....LOOKIN GOOD.......ol pop, is kinda partial to a sea of red

Johno
-
caseville cyclone
- Posts: 503
- Joined: Sat Dec 28, 2013 12:10 pm
- Location: Caseville, Michigan
Re: Andy's Interior Install
Thanks POPS and JOHNO, here is a picture of my ratchet shifter I installed on top of my 4 speed shifter tunnel along with my line lock button. Pops and I talked about the shifter awhile back because he had one and really liked it. I have to install the little button on the reverse handle and put the tape down for the shift sequence,tighten the knob and that will be finished. Andy

-
caseville cyclone
- Posts: 503
- Joined: Sat Dec 28, 2013 12:10 pm
- Location: Caseville, Michigan

-
Kingspeedy2
- Posts: 272
- Joined: Tue Mar 31, 2015 2:36 pm
Re: Andy's Interior Install
looks real nice Andy,
What brand of carpet did you buy and was it cut and sewn or molded ?
What brand of carpet did you buy and was it cut and sewn or molded ?
-
caseville cyclone
- Posts: 503
- Joined: Sat Dec 28, 2013 12:10 pm
- Location: Caseville, Michigan

Re: Andy's Interior Install
I still have that shifter,,found it a few nights go !!. along with the pedestal it was mounted on.....yours looks mighty spiffy mounted on top of that red carpet,,,, 
pop/glenda
-
Lip Ripper
- Posts: 1870
- Joined: Wed Jun 06, 2012 6:47 am
- Location: Lake Placid, Florida
Re: Andy's Interior Install
Love the red interior, my favorite.
Say, I was watching the video from the sound deadening thread. The Boom Mat rep. was saying the foil backed stuff was for harmonic dampening on the large flat area's. He was saying it isn't necessary to cover everything with it. It certainly can't hurt but I may take his lead on that.
Stacey
Say, I was watching the video from the sound deadening thread. The Boom Mat rep. was saying the foil backed stuff was for harmonic dampening on the large flat area's. He was saying it isn't necessary to cover everything with it. It certainly can't hurt but I may take his lead on that.
Stacey
66 Cyclone GT; 245/60R15's on 15x8's and 215/70R15's on 15x7 Magnum's.
There's nothing like the sound of a pushrod V8 singing at the top of her lung's.
There's nothing like the sound of a pushrod V8 singing at the top of her lung's.
-
Jims65cyclone

- Posts: 2764
- Joined: Sun Nov 23, 2014 10:29 pm
- Location: Lexington, SC
Re: Andy's Interior Install
They use that stuff, or a similar product, on the bottom of some of the better stainless steel kitchen sinks. They only use a 3" or so strip on the bottom of each bowl. Without it, you can knock on the sides and bottom of the bowls and it sounds like an oil drum. Do the same on a sink that has it, and it just makes a dull thud. It only takes a relatively small piece compared to the total area of the panel to disrupt the resonance of the panel. When you consider how much it costs and weighs per sq ft, it's a good thing that you can get significant deadening without having to add 70 or 80 extra pounds to the weight of your car.
Jim
Jim


Re: Andy's Interior Install
Andy, your ride is looking sharp. I think Sammy Hagar would approve also.

-
caseville cyclone
- Posts: 503
- Joined: Sat Dec 28, 2013 12:10 pm
- Location: Caseville, Michigan
Re: Andy's Interior Install
Now I'm getting ready to install the front door panels. But first I'm going to install new outside door handles and new door locks that match my ignition switch. Following is a picture of inside the door of the linkage I'll be tackling.Andy (as always click on picture for larger view.)
