So I am going to string a bunch of pictures here with short comments (I hope) on how I did it.
First you need a perfectly good 250 oil pan like this;

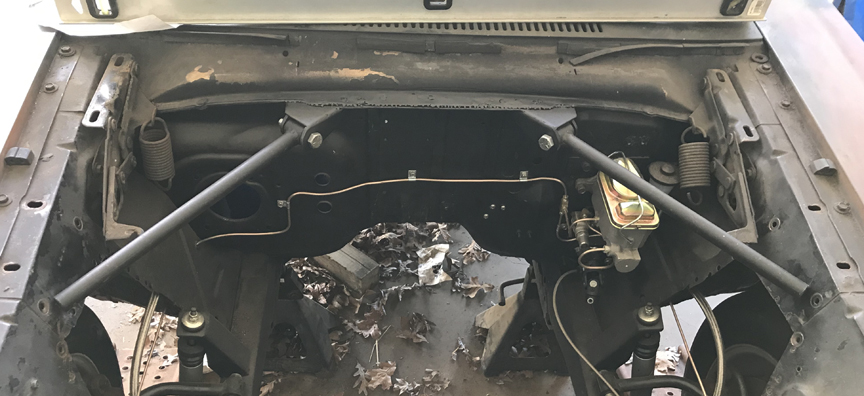
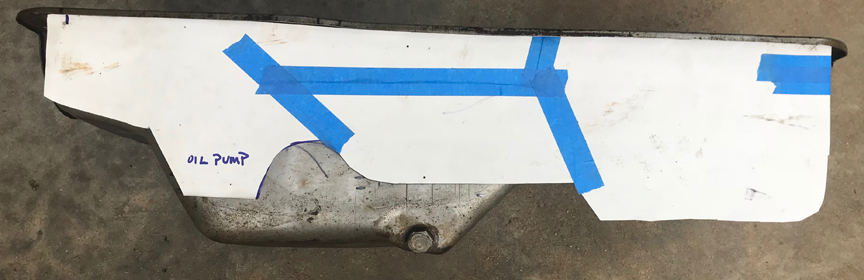
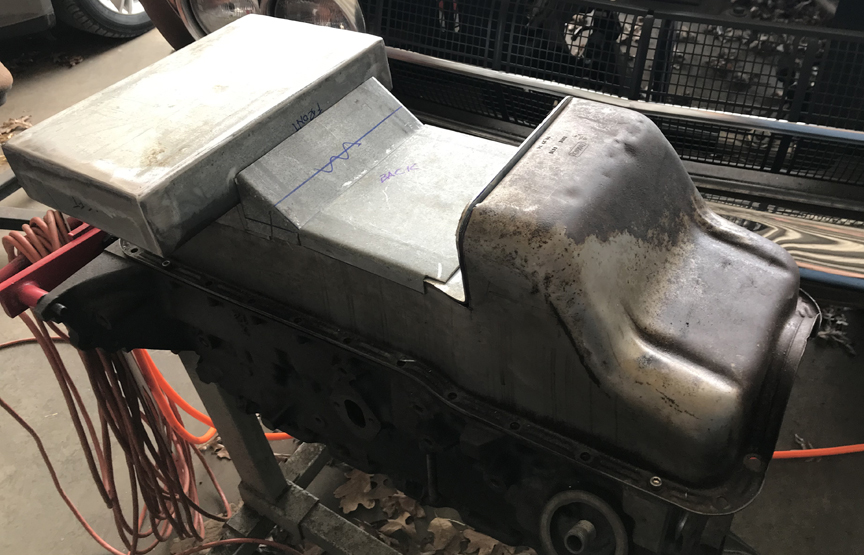
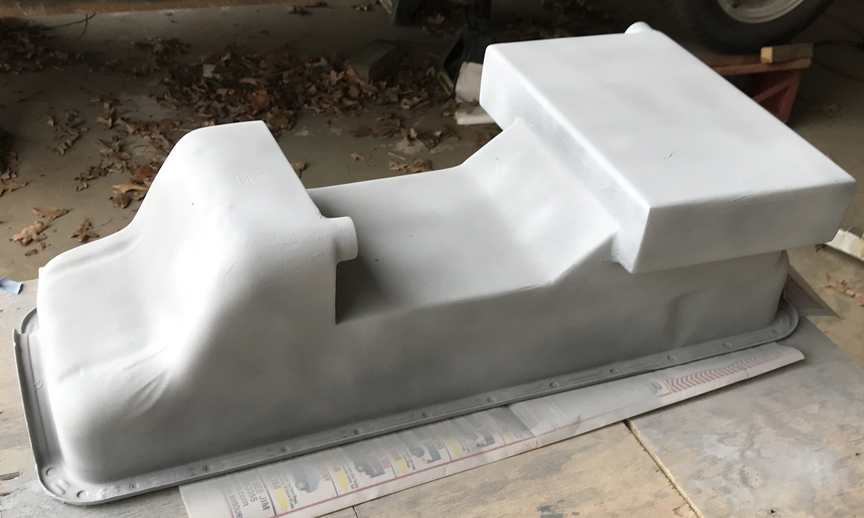
But before I start chopping this thing up, I need to measure a few things so I put the motor in with all the mounts and made this template that showed the minimum requirements for everything to fit.
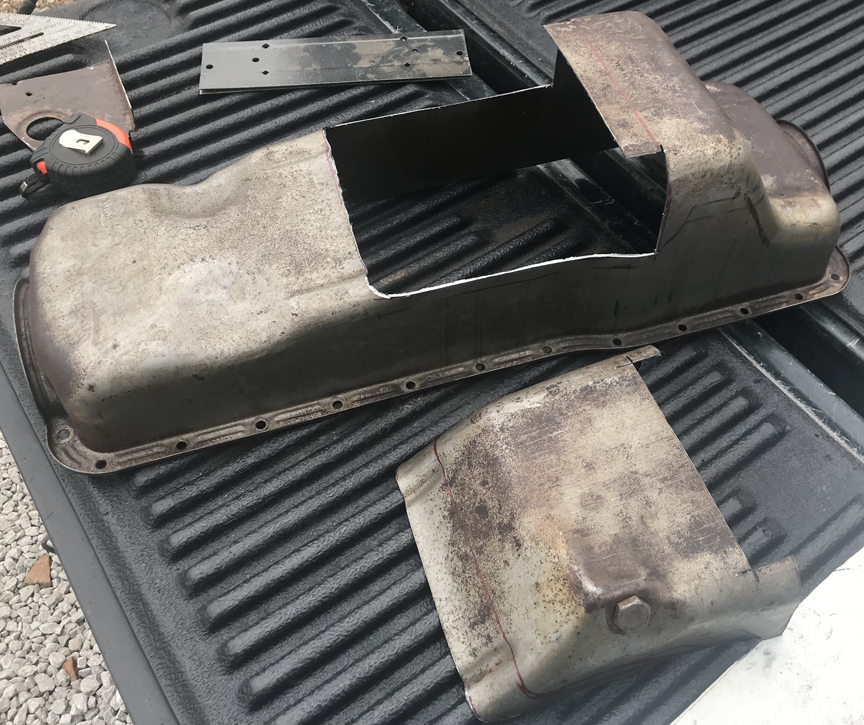
Then let the cutting begin.
I left the rear section in the pan until all the welding was done BTW and cut it out near the end.
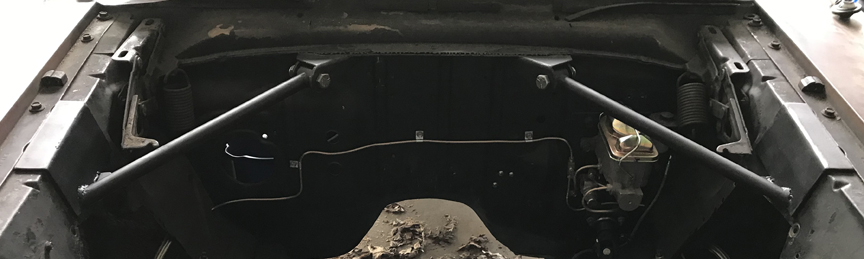
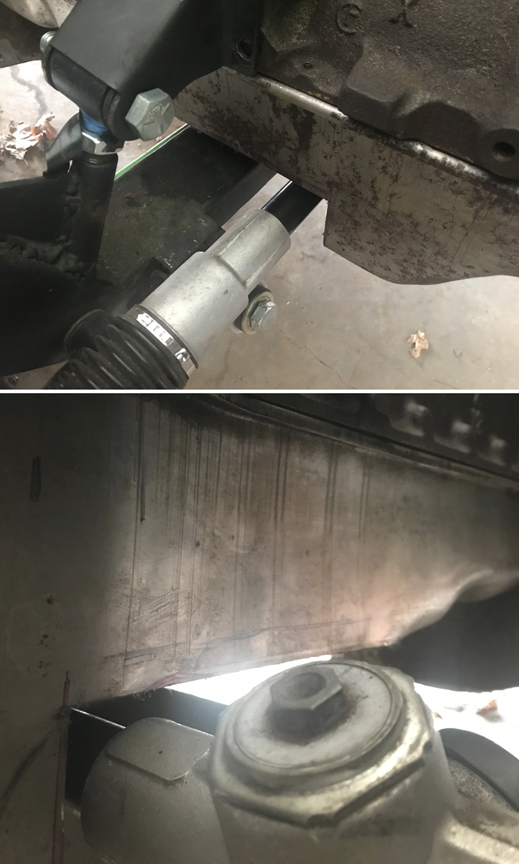
I reinstalled the cut pan and checked clearances again, looks good over the steering rack on each side.
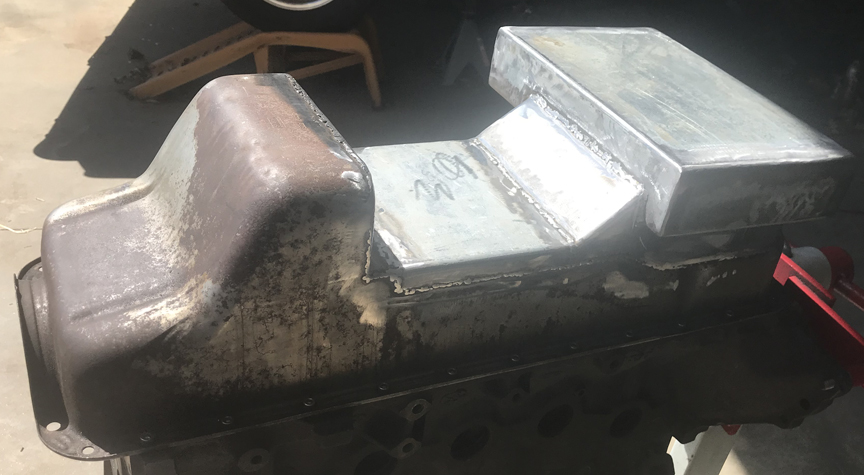
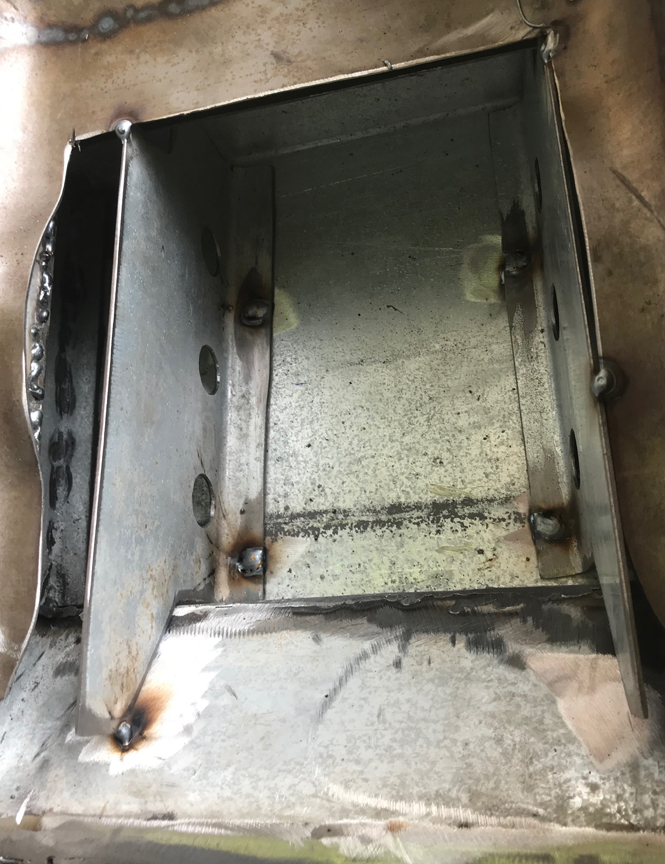
I welded up a box and patchworked some heavier galvanized steel together that had leftover from building the shed (going to guess around 18 gauge, approx. 8"X2" C-channel)
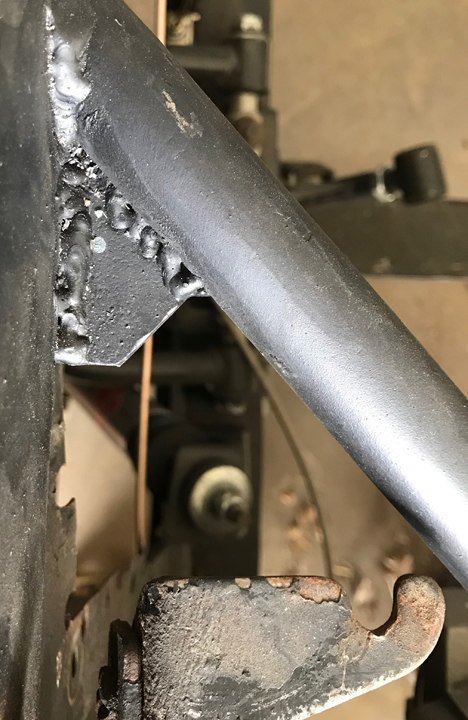
I then welded all the added parts together separate from the original pan to avoid warping the pan as much as possible. I bolted the pan fully to the block and welded the added part onto the pan.
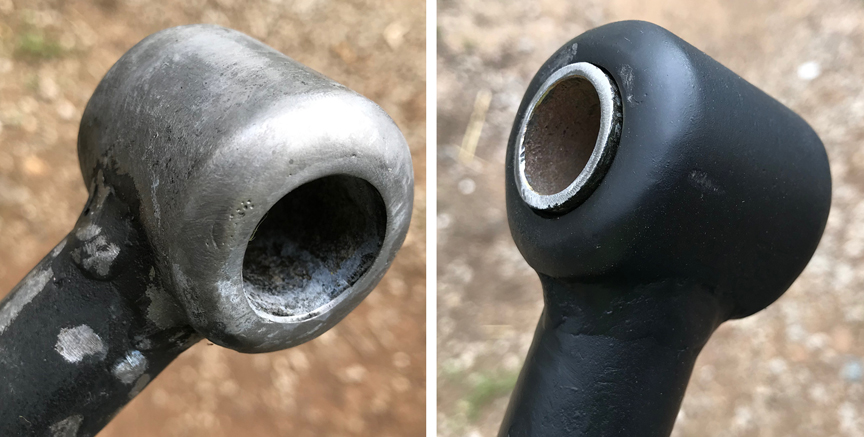
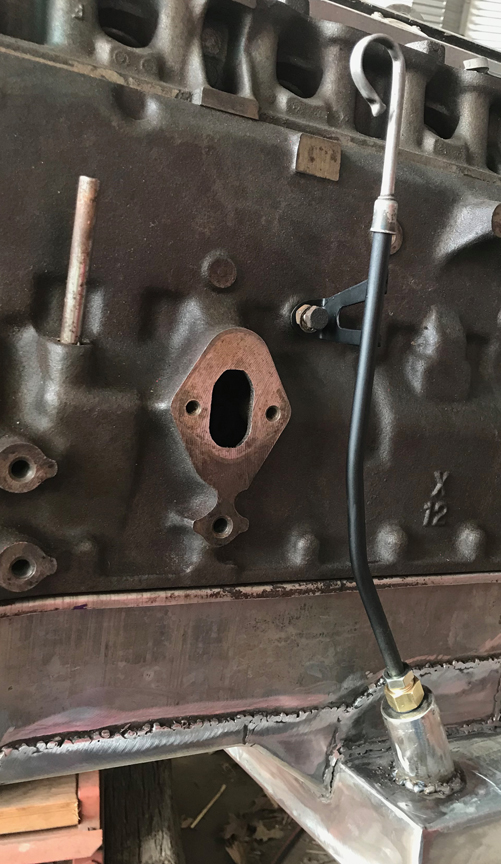
I made a dipstick tube out of a piece of pre-flared 3/8" brake line from the auto parts store (12") I cut the flare off one end, made a tube to attach an inverted flare to 1/4"NPT adapter to out of a piece of scrap metal (tractor stabilizer bar) and a 1/4" NPT nut (from an old light fixture) welded to a heavy washer. I also added a couple of 1/2" NPT drain bungs.
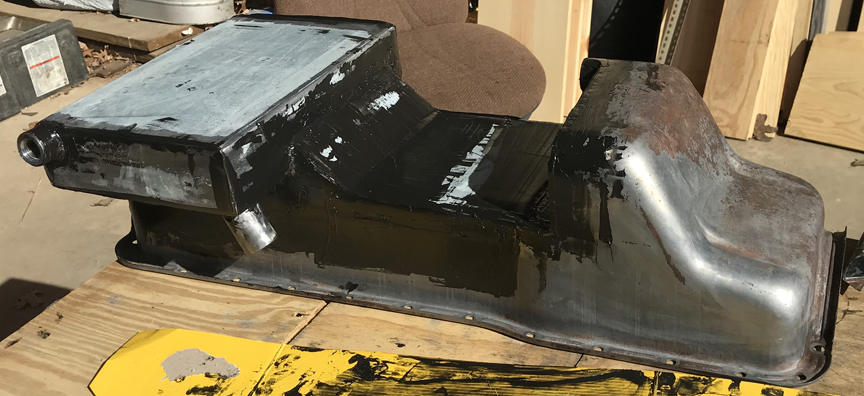
At this point I unbolted the pan and gave a sigh of relief, it was not warped at all as far as I could tell, I cut the rest of the bottom out of the original pan and made some baffles and welded them inside the pan.
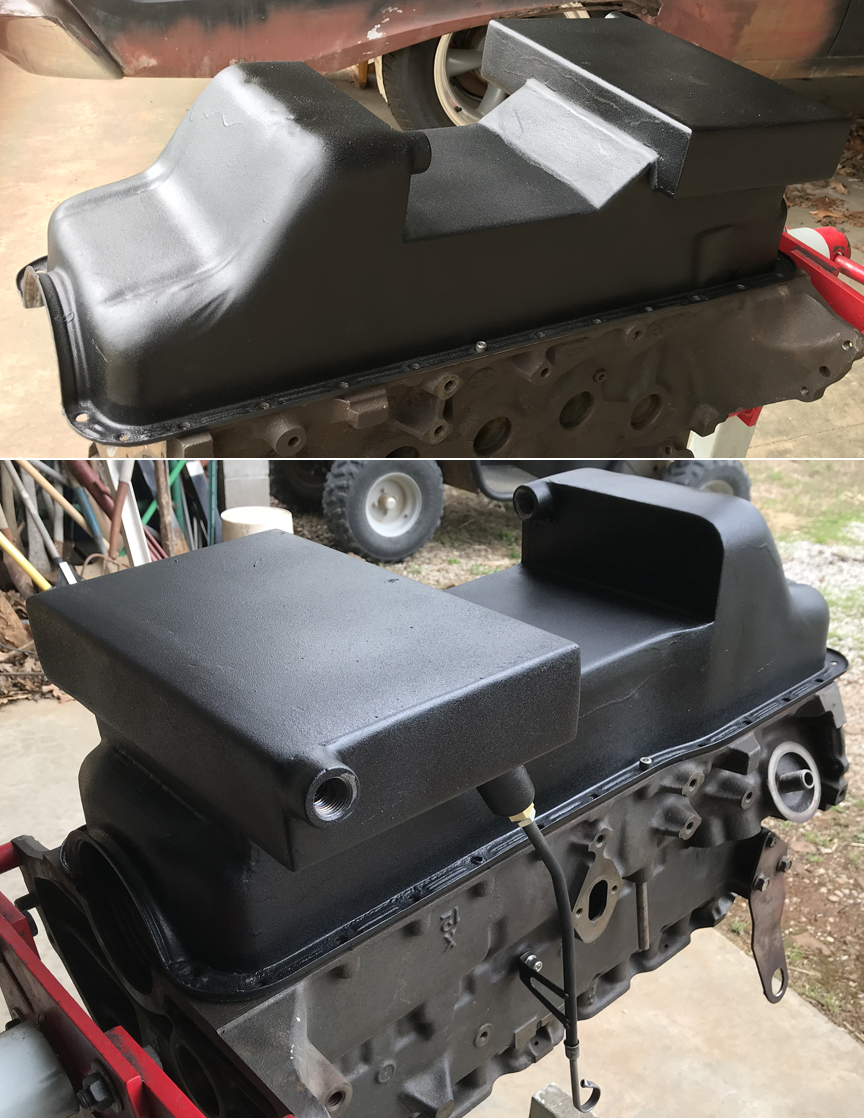
I then cleaned up all the welds, acid etched the pan and applied marine-tex epoxy to all the seams because I do not trust my welding to be leak free
Then I sanded it down and added a little thin coat of JB Weld to some low spots (you know to make it smoother and prettier)
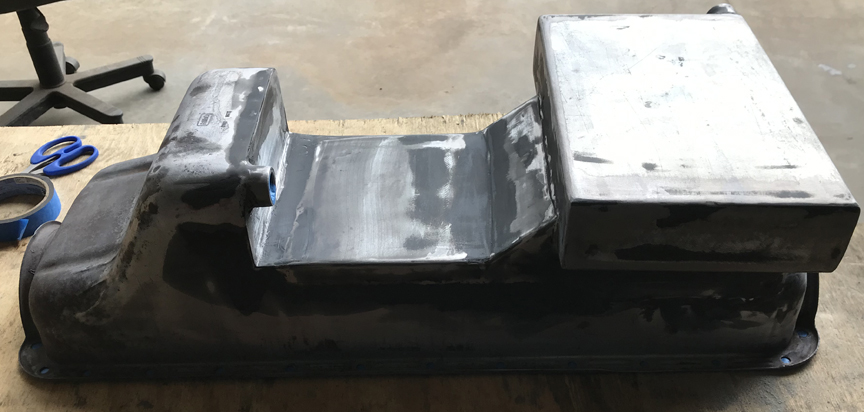
Next was a coat of POR15 to the entire pan.
I have read, right or wrong, if you want to paint POR15 you need to fog it with primer or paint as soon as it flashes (if you want paint to stick), I may have missed that window but dusted it with primer anyway.
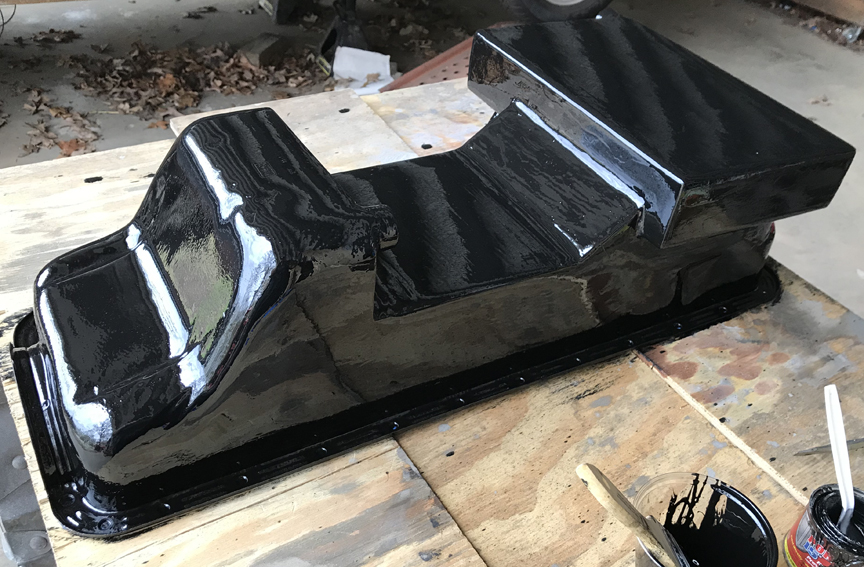
And finally after that was dry I sprayed it with truck bed lining finishing it up.
While I was waiting on paint to dry, etc. I went ahead and made the rear sump oil pick-up tube (or modified the original). I used a 9" piece of 3/4" tube, the original slipped snugly inside the pipe, and welded.
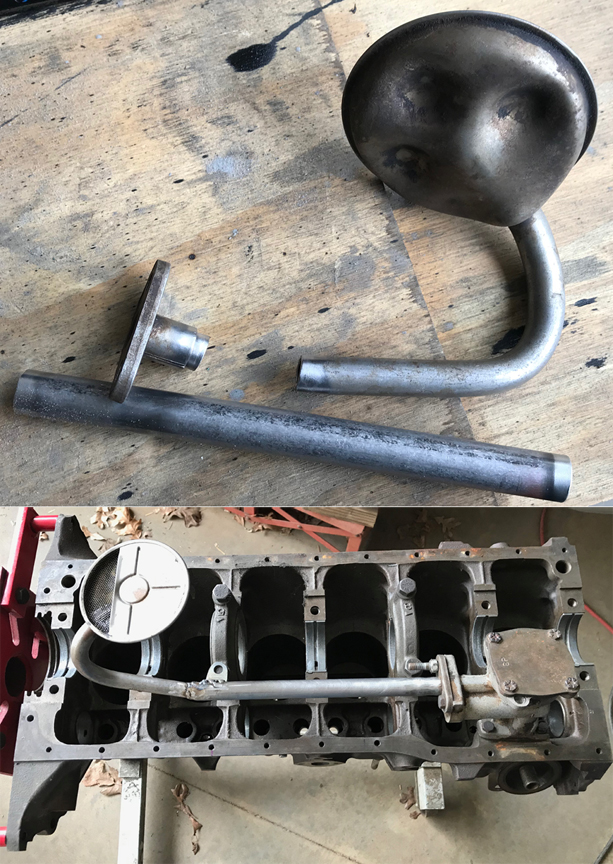
I guessed on the stud mount main because I don't have the bolt yet, so I may be modifying the mount in the future when I finally track down a main bolt with a stud.
Everything fits fine and I have magnetic drain plugs on the way, so this little project is finished, I am about to run out of excuses for not taking this engine to the machine shop now.
See Ya,
Mike