I'm gonna try to explain the how and why of all of this!!
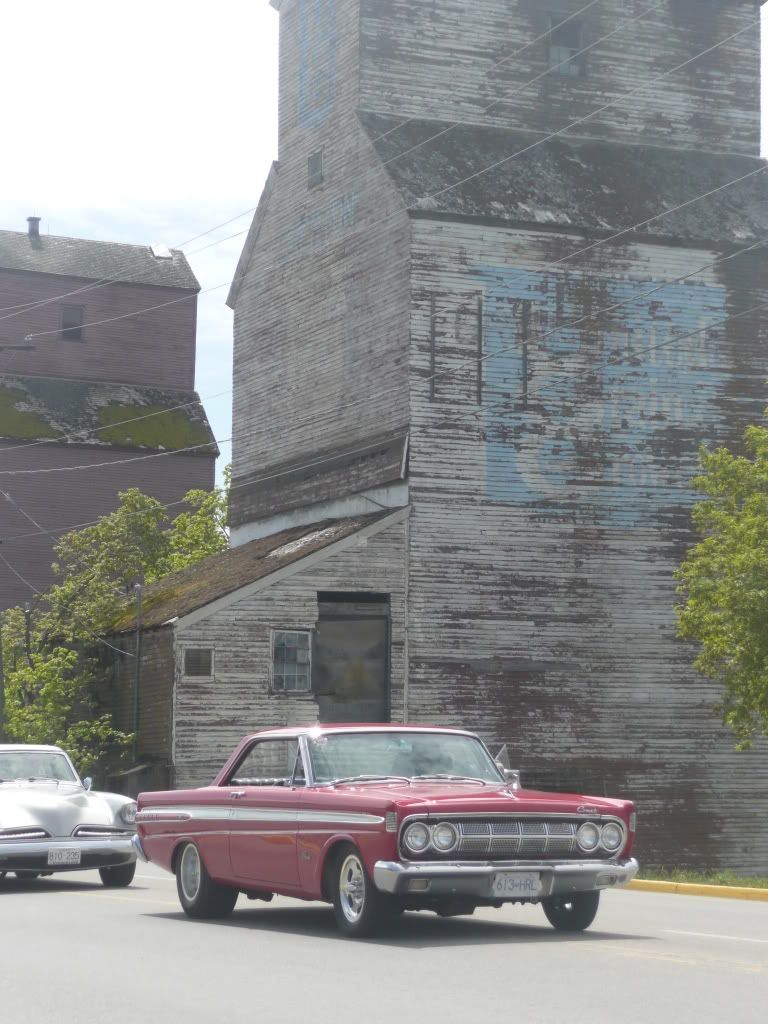
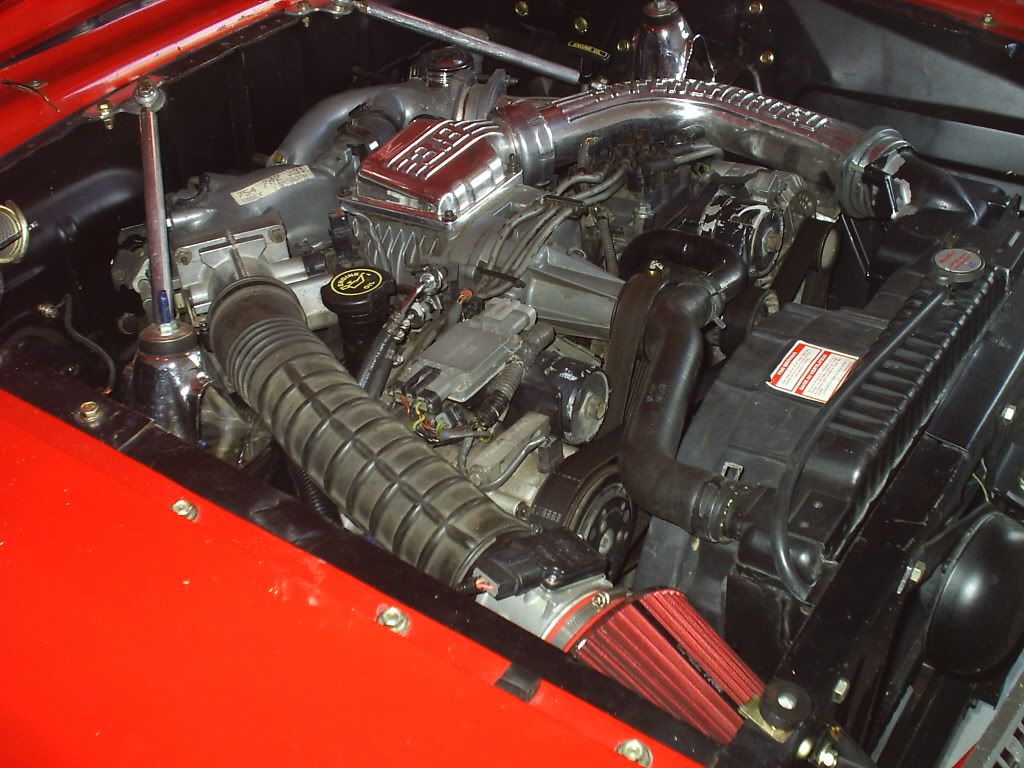
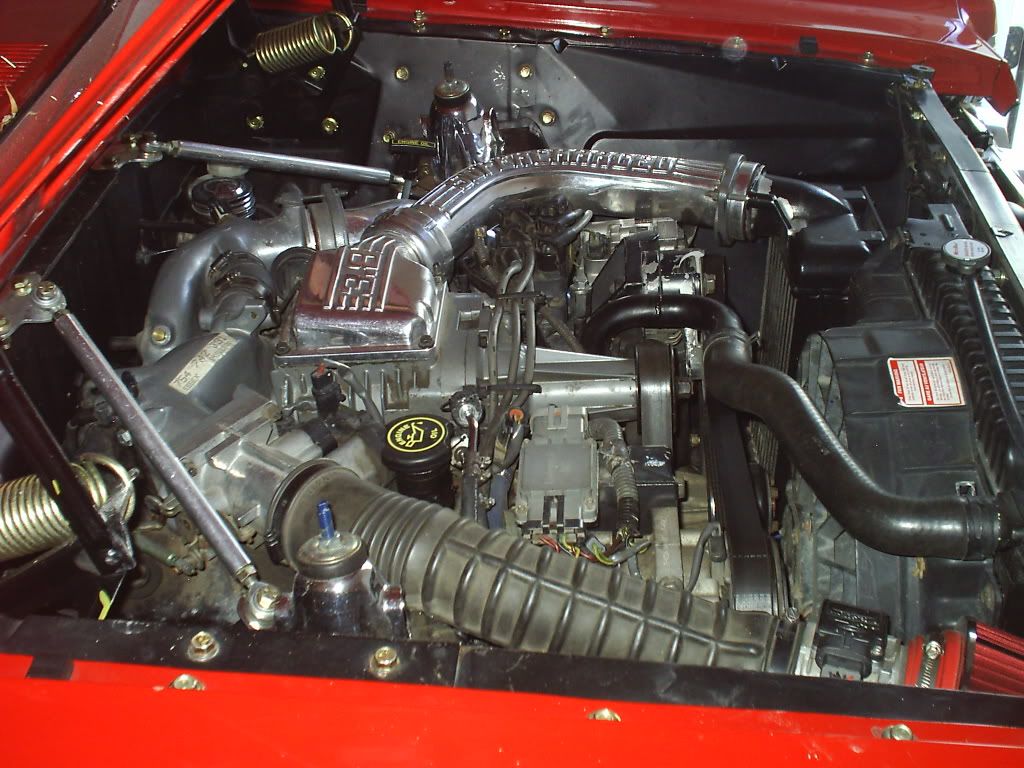
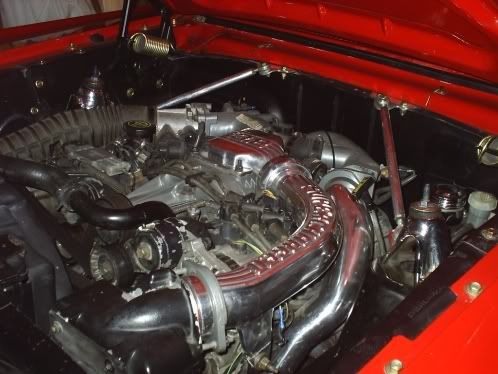
First of all this is how it ended up putting the 351C in the car in 1975,,,
Ya I know your first car was a show winning piece of engineering,me
I'm still a bit of a butcher! Anyway,,,,,,,,,
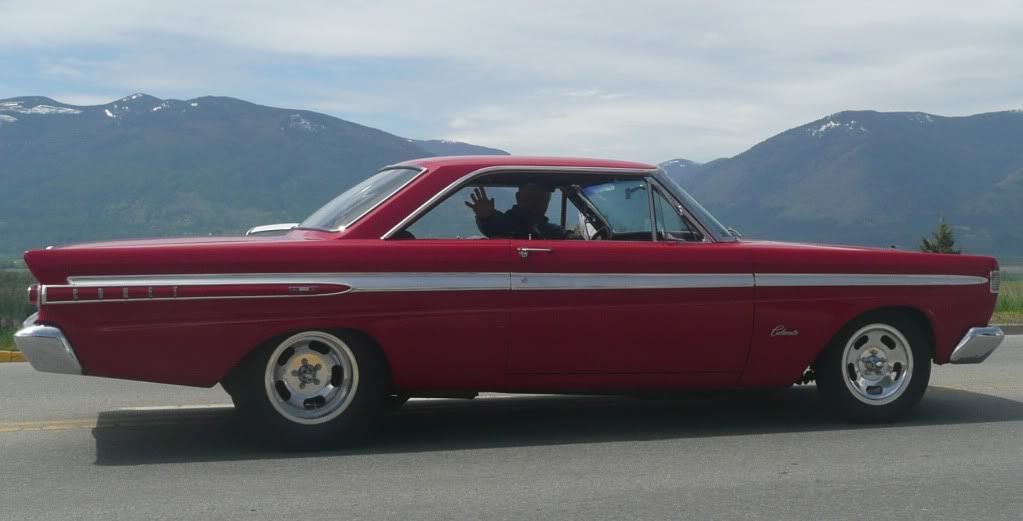
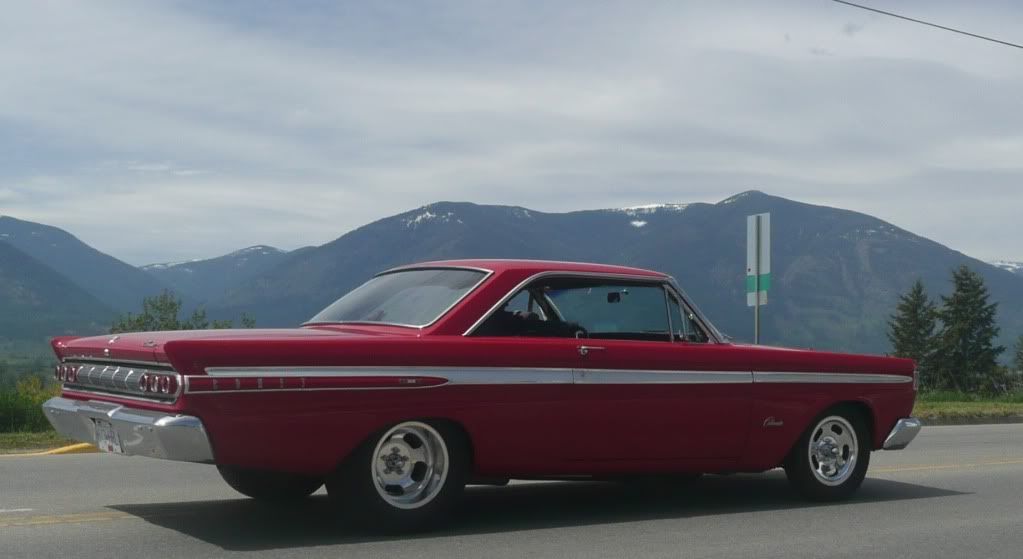
Continually after the "LOOK" the front end kept going lower and lower!
The only way I knew, cut the springs! So in about '80 it was runnin around on the snubbers!
But it finally had the "LOOK" I was after! Weed anyone! LOL
There is a cost of runnin on the snubbers!! Continually hittin those train tracks, potholes
speed bumps etc. The towers lean in, So at wheel alignment time more shims!
The front end was probably aready a little weaker than stock so eventually this
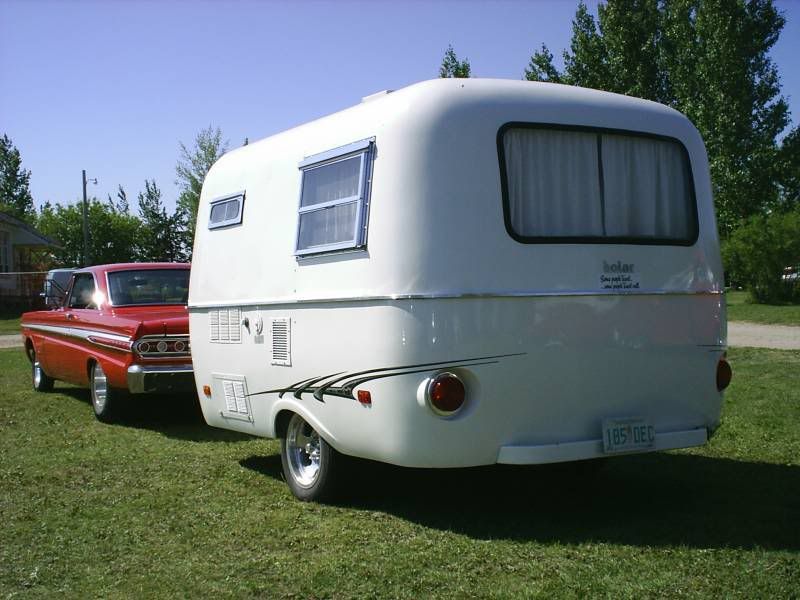
happened. It wasn't till 2005 on a trip to the mountains pullin our little camper
that I noticed a problem, when I turned one way the car would fall into the corner and
as it came out of the corner it of a sudden fall straight! Never did find it till I
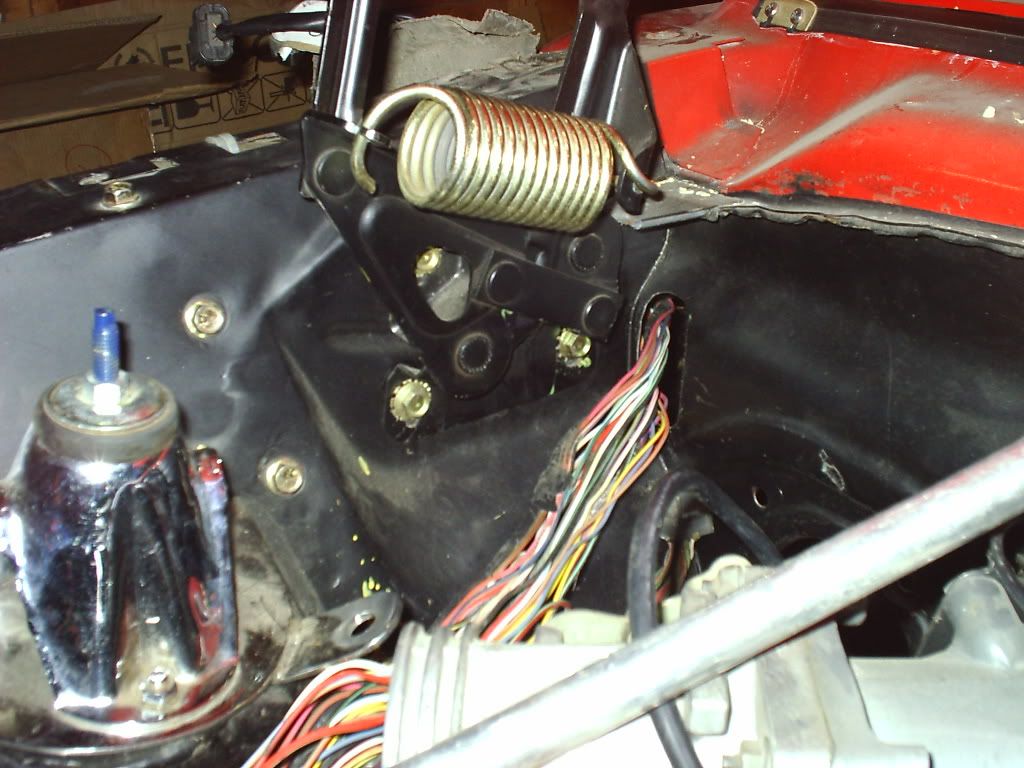
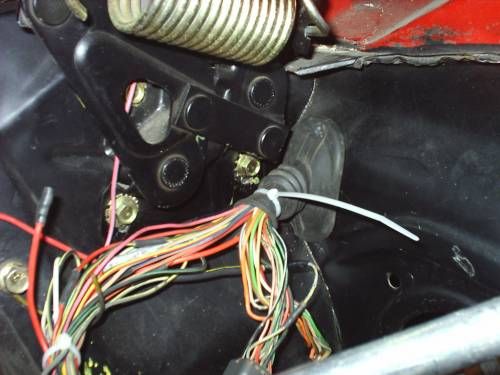
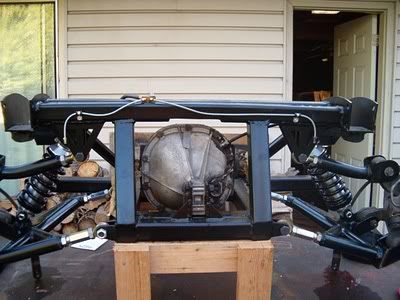
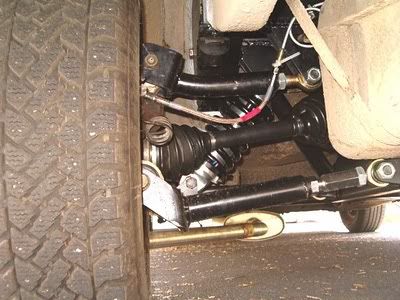
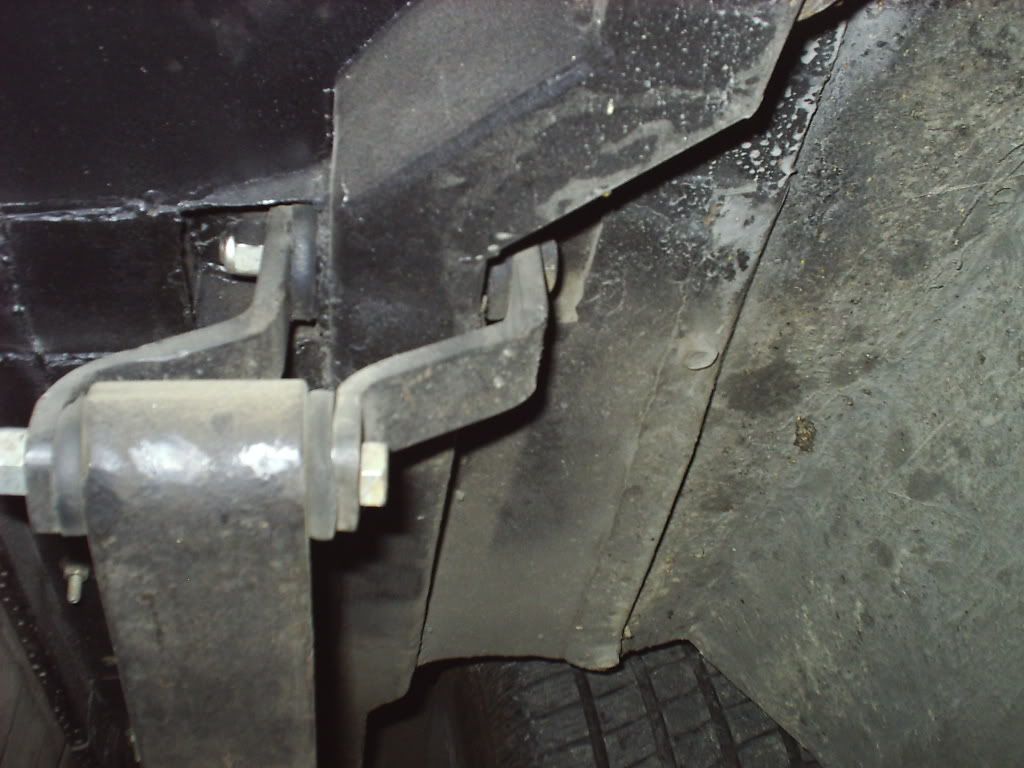
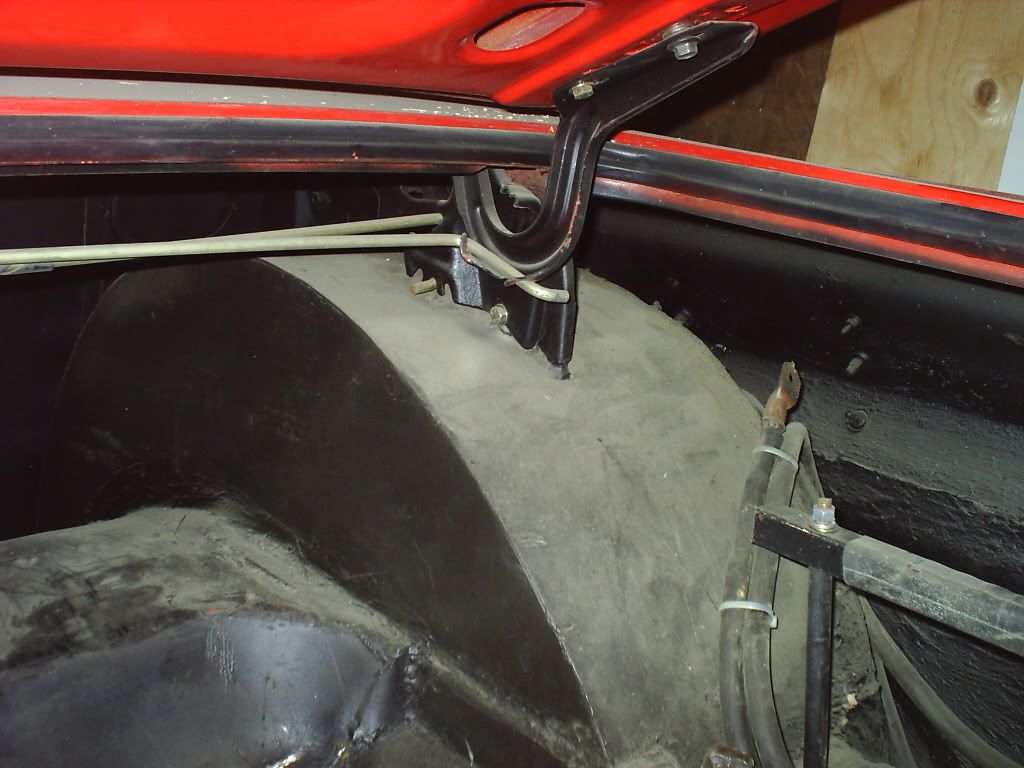
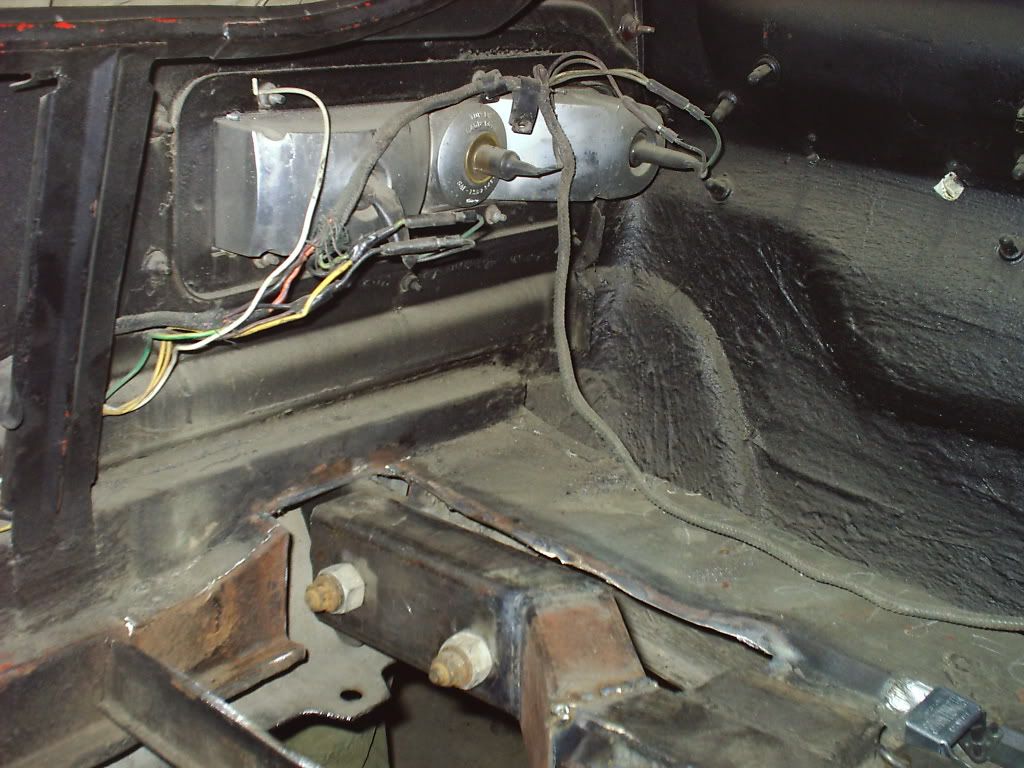
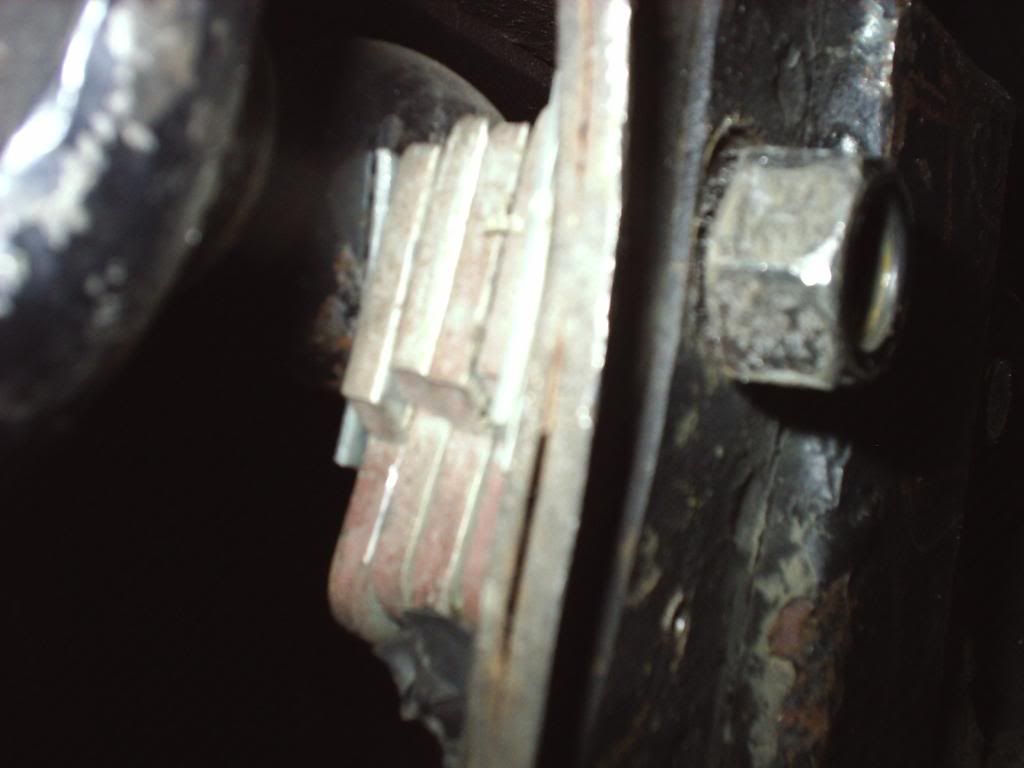
pulled apart the car to start the V6 swap. This is the right rear upper control arm
mount bolt, bloody thing was wiggling!
Seeing as there was stuff to do here and I had learned a little about handleing
I decided to make some changes. I lowered the upper A-arm mount holes I forget the
number, I think it was 1 1/4 in. on the rear bolt and 1 1/2 in. on the front bolt.
The reason being these cars have so much anti-dive in them which basically seizes
the front end on suspension compression, leveling the upper arm allows it to move
and absorb bumps giving a better ride.
So heres how I went about it.
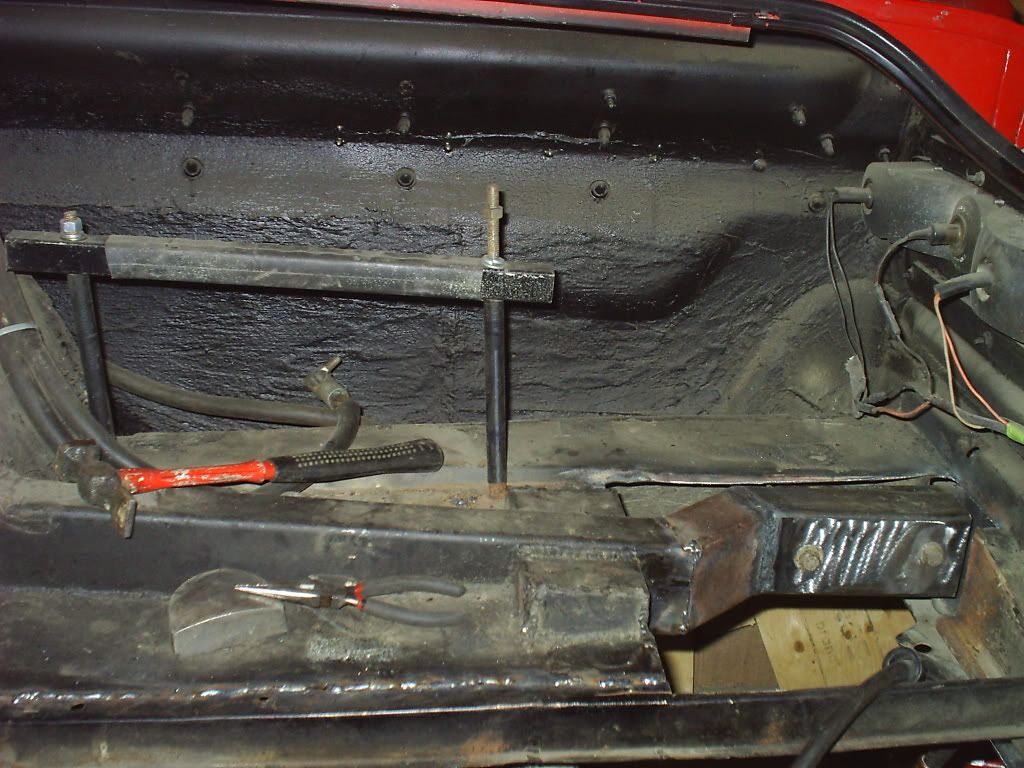
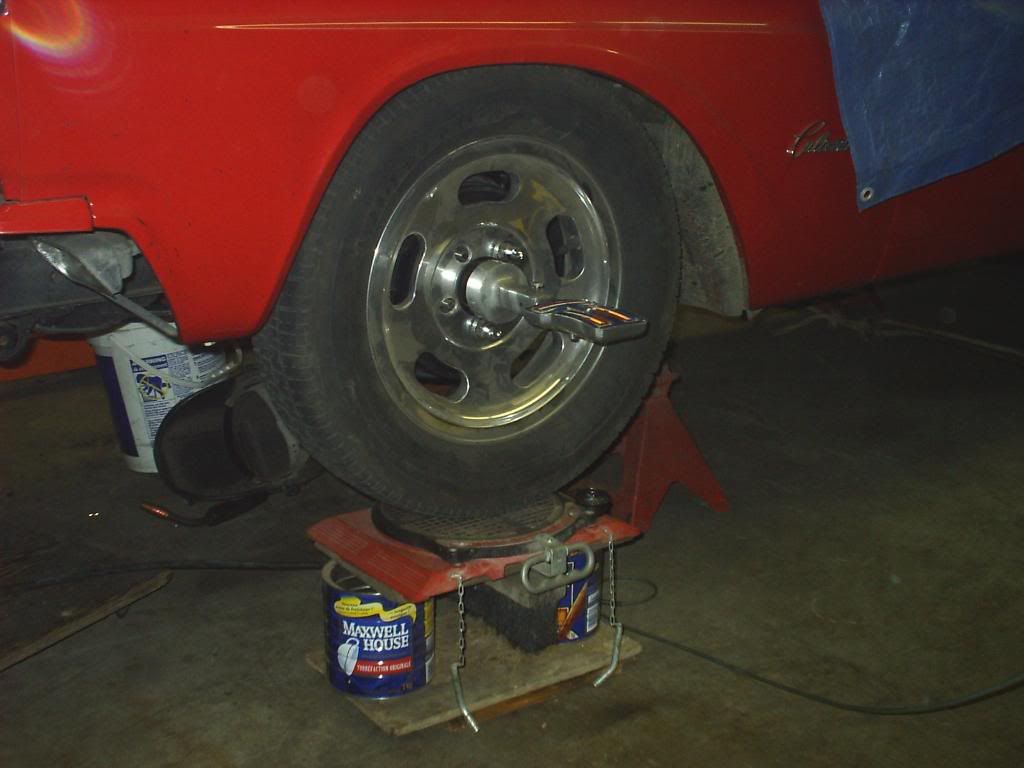
First I drilled the new holes and mounted the uppers without springs and schocks.
With old school wheel alignment equipment and the car sittin at the right angle
relative to the ground but on jack-stands did an alignment. The reason for this
is find out the shimming reguired.
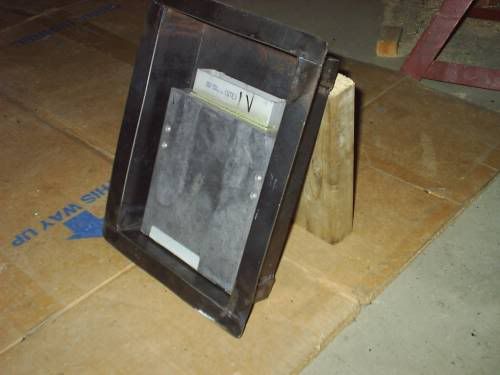
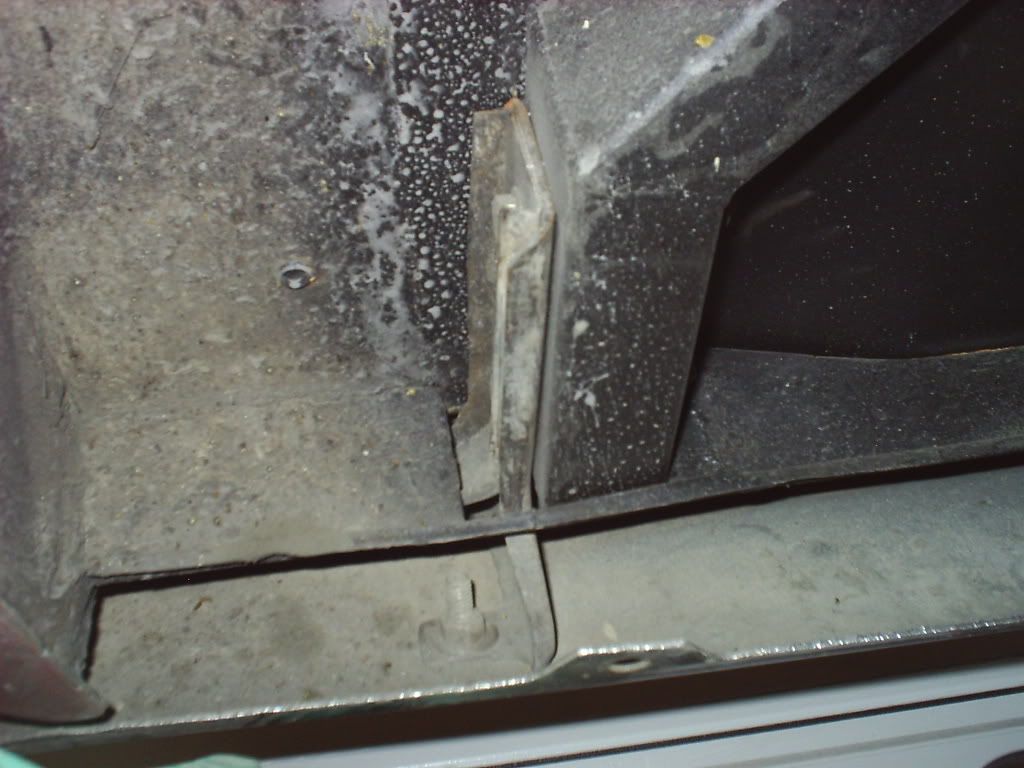
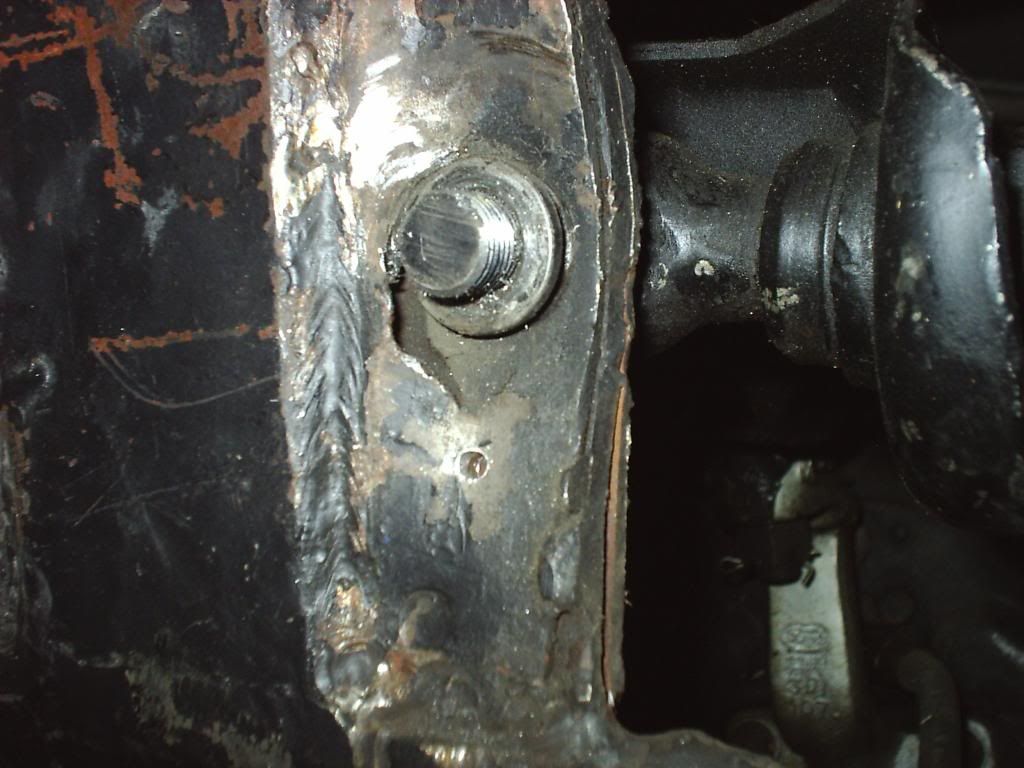
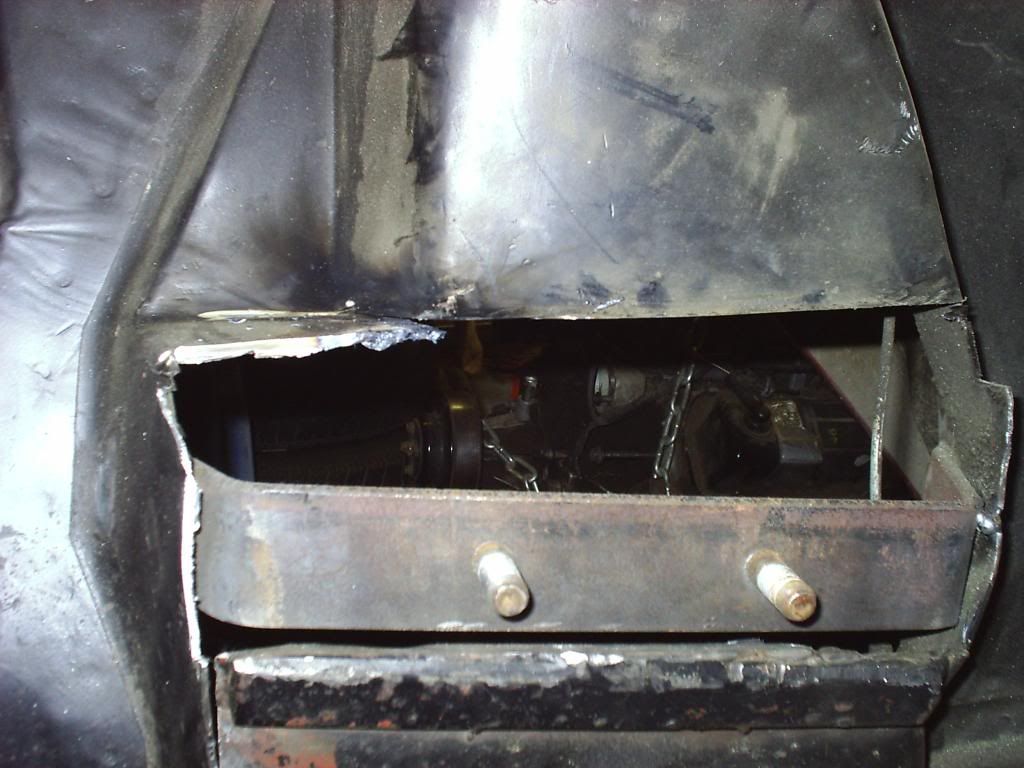
Then I removed the upper and created this piece that bolts to the upper mount with
the correct shims for that location in place, Then welded that piece to the frame/
tower of the car.
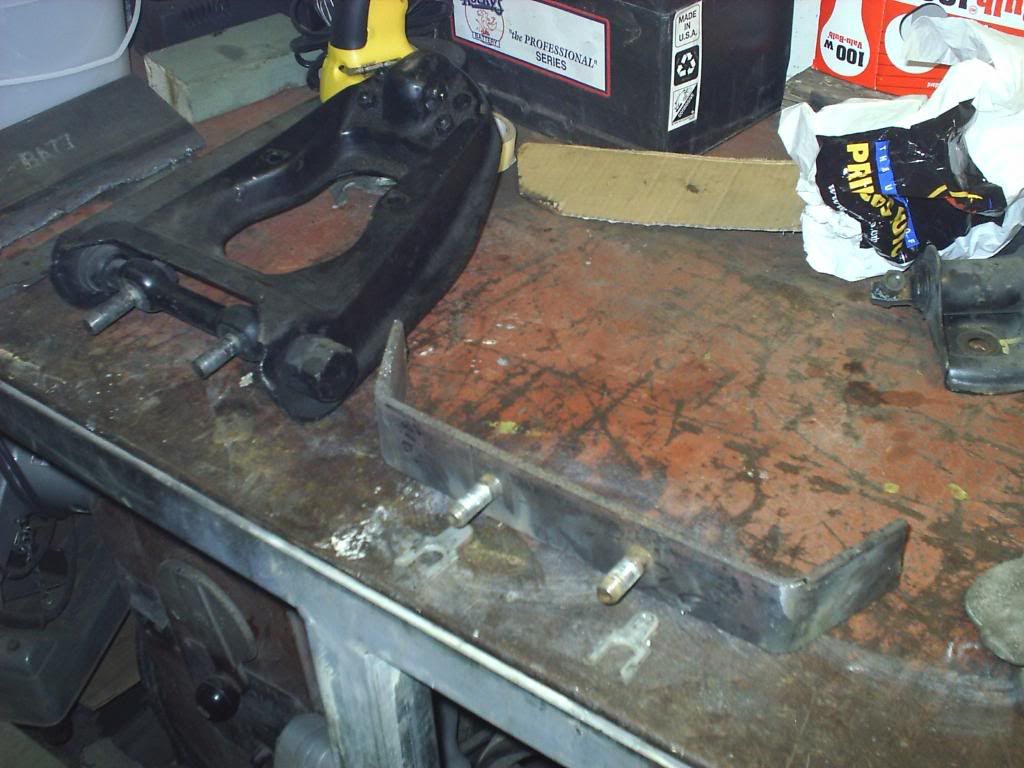
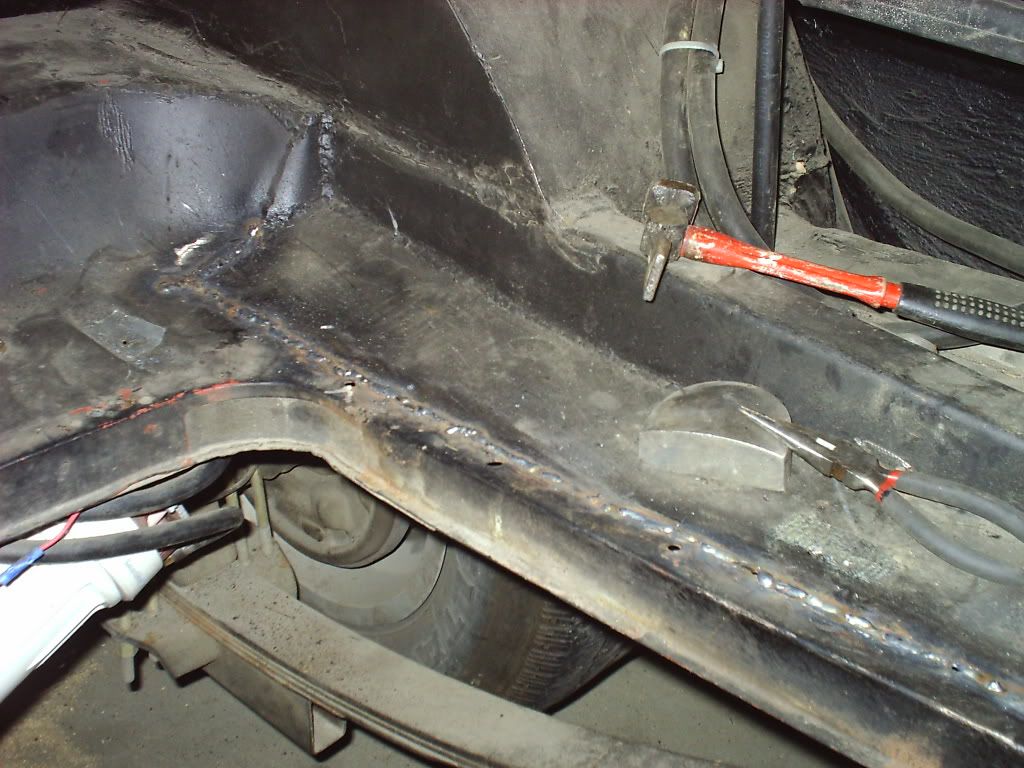
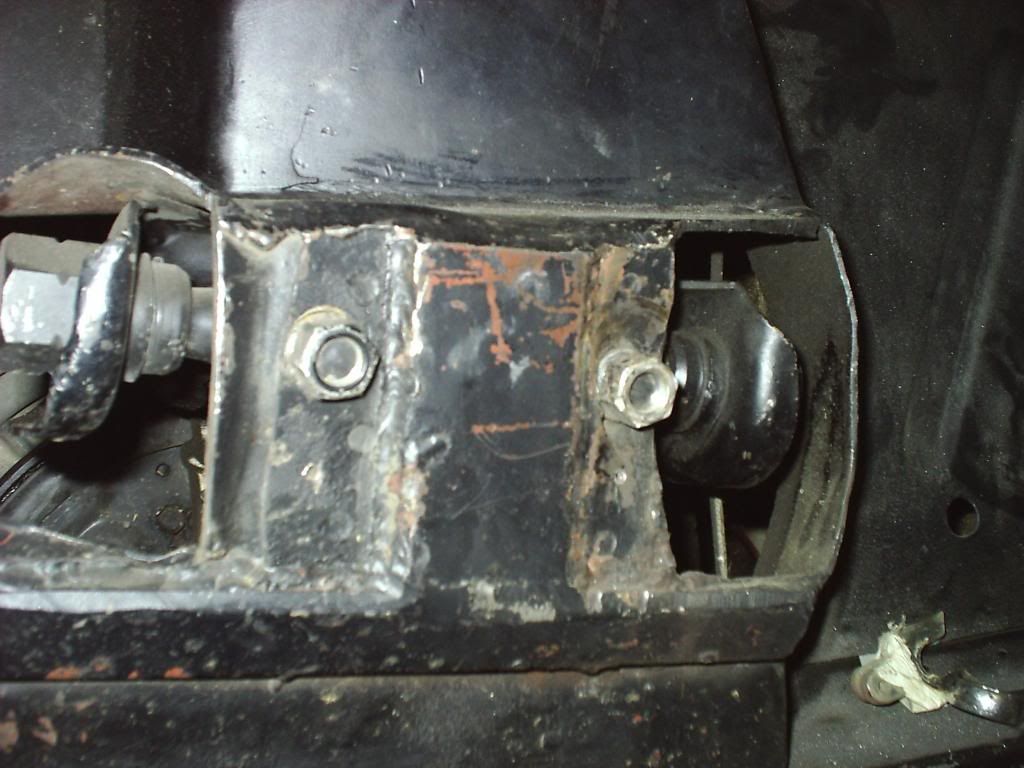
Then removed the nuts and shims and cut off the mount plate entirely!!
Man,, this was a nervous time!!
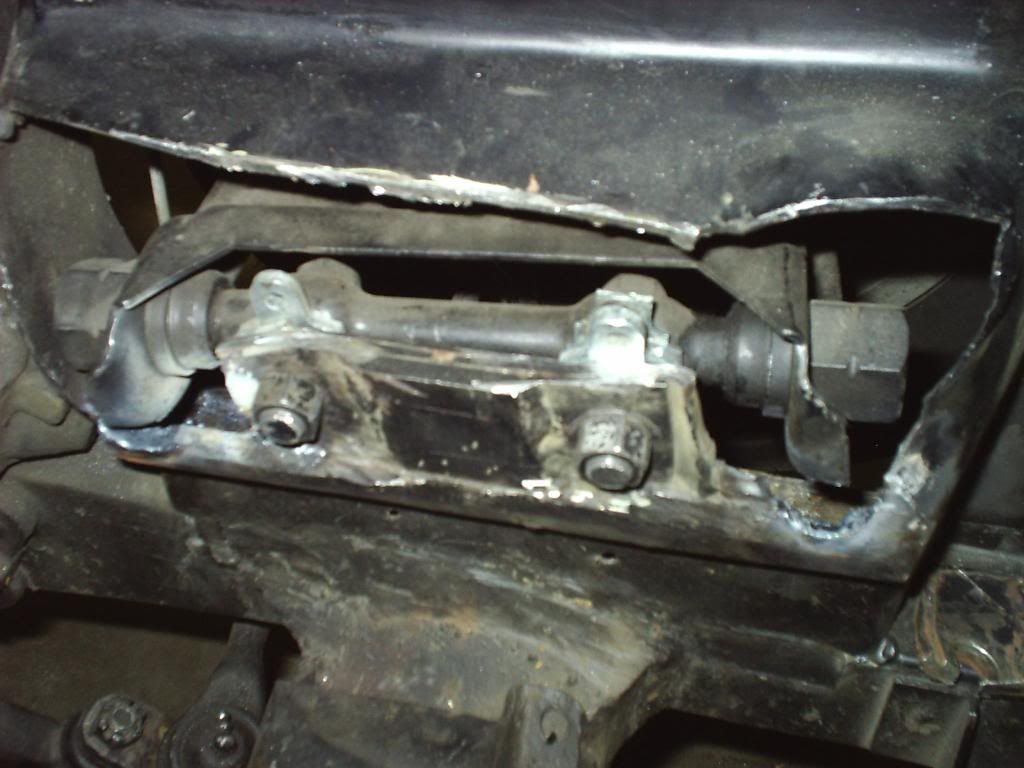
But, it gave me the upper control arm in the correct location.
I then placed a 1/8 shim on the bolts and started with a piece of 1/4in thick
square tubing, looking for what looked decent and cleared the uppers movement.
I forgot to take a finish pic. This mod lowers the front of the car and gives
a better ride. BUT, I want it lower!!