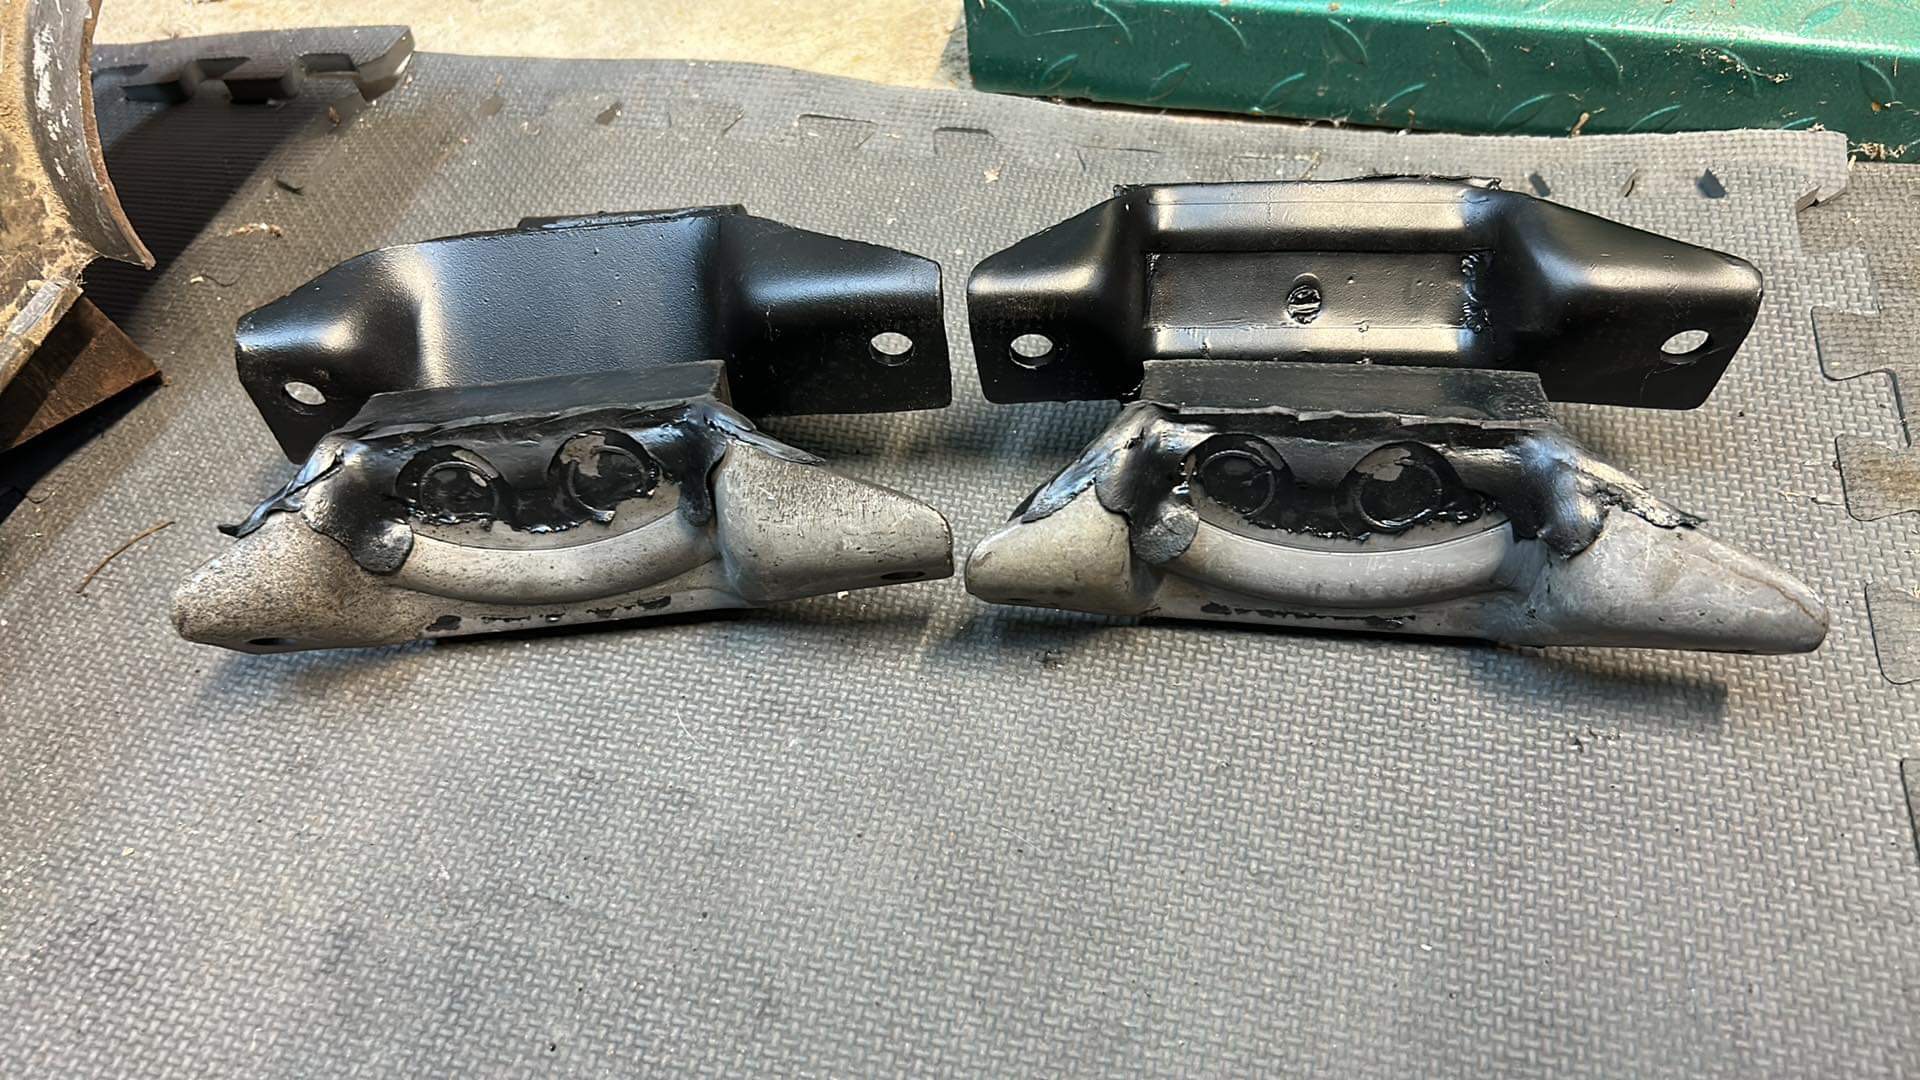
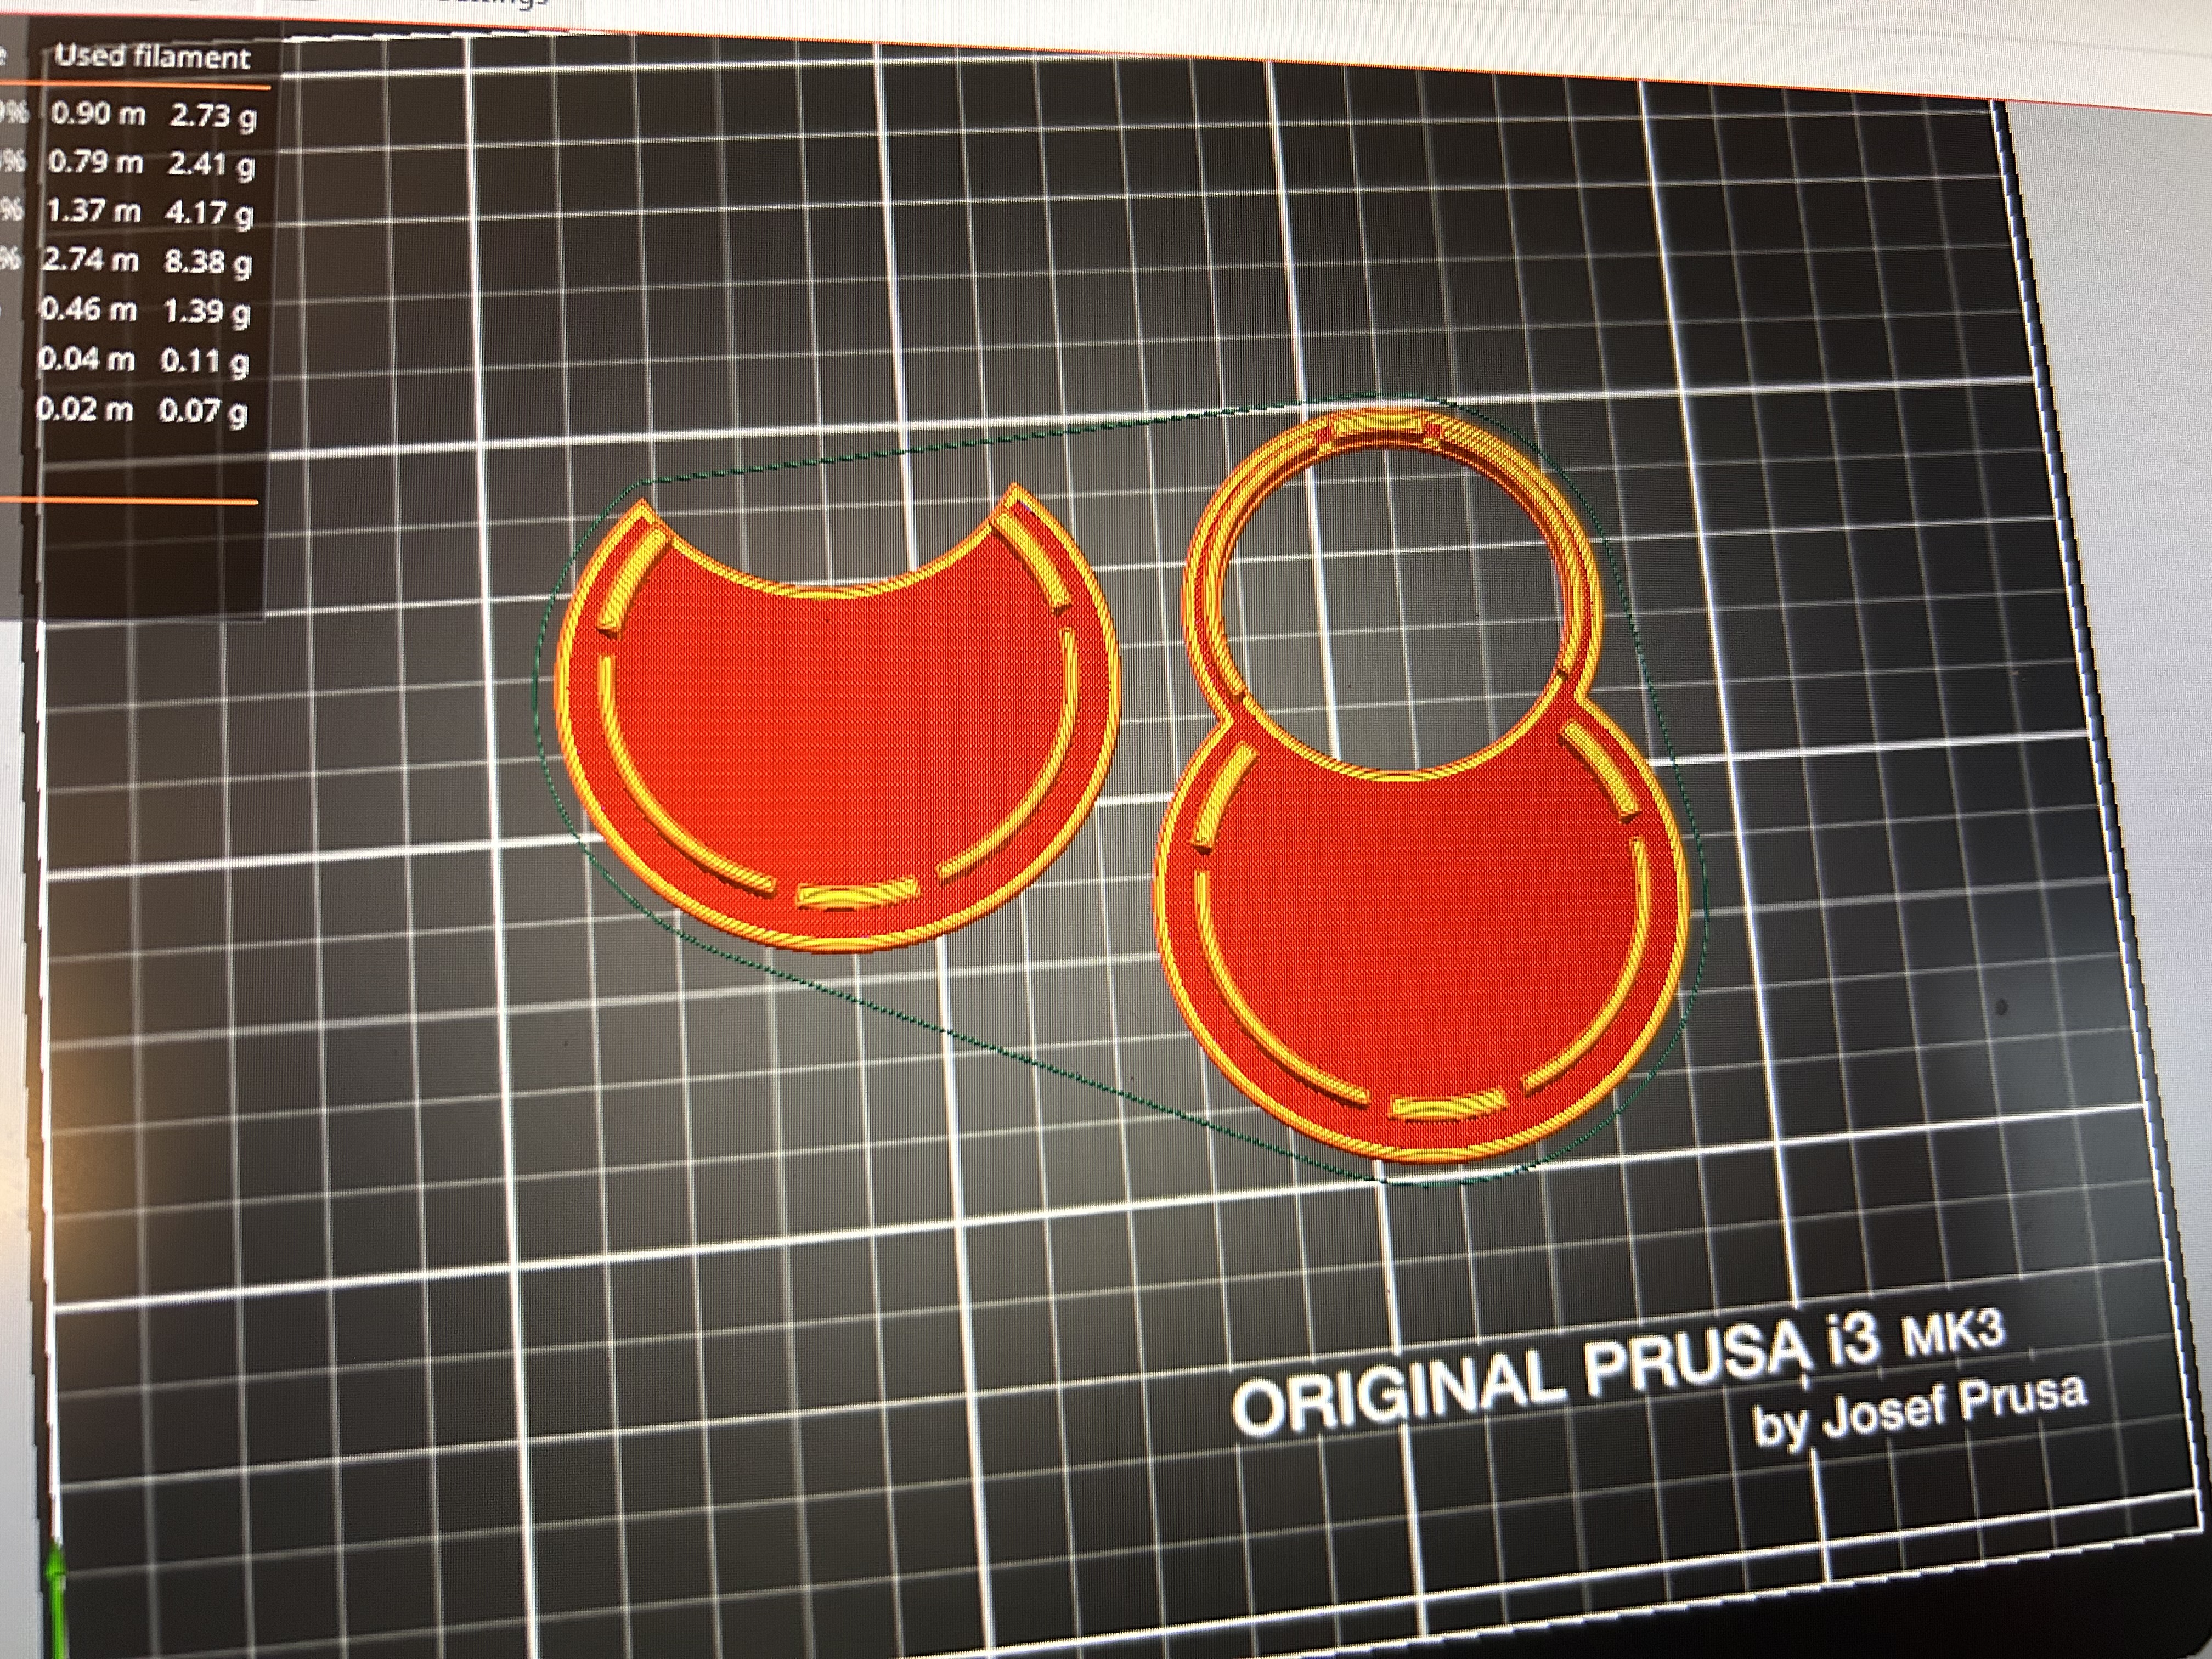
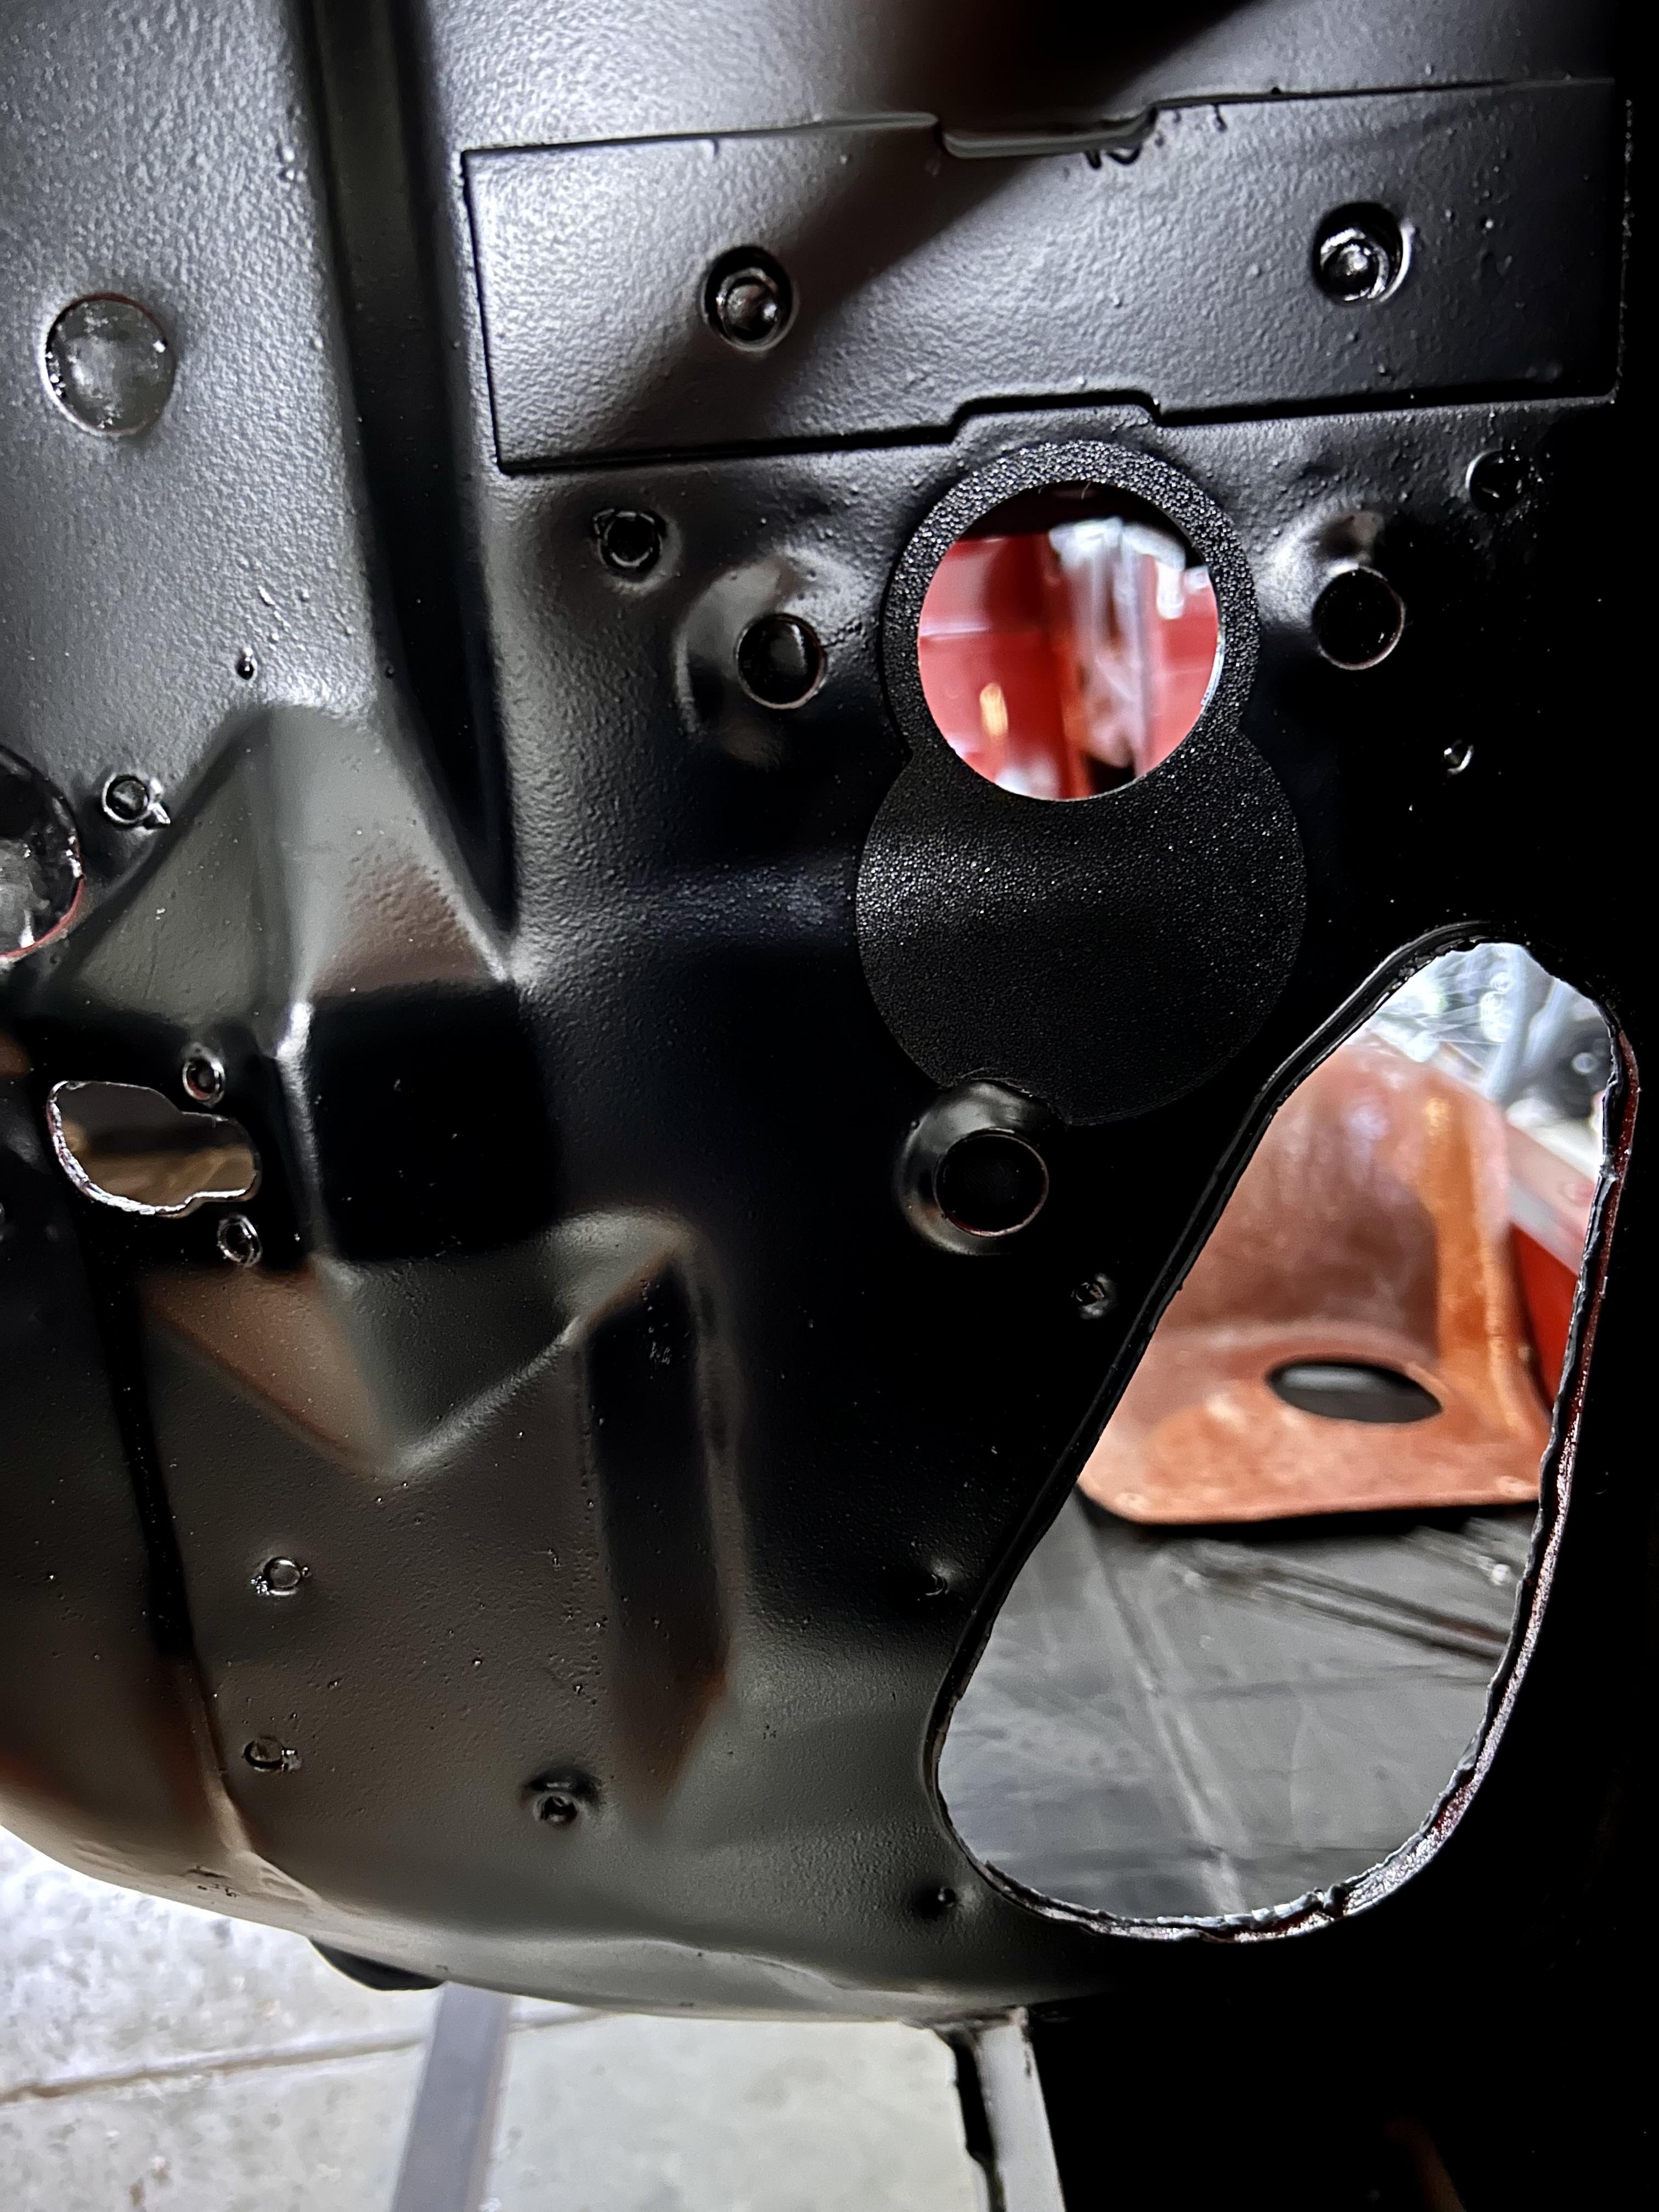
Since I have this motor mount thing figured out on to the next problem - the unsightly extra hole from the PB booster cut below the hole for the MB master. Had I thought this through earlier I would have just put a patch in it when I was welding everything else up. Same for a few extra holes that are open for whatever reason. But I am too far along and don’t feel like welding plugs in. So next best thing, block off plates. Time to fire up Solidworks and put the 3D printer to use.
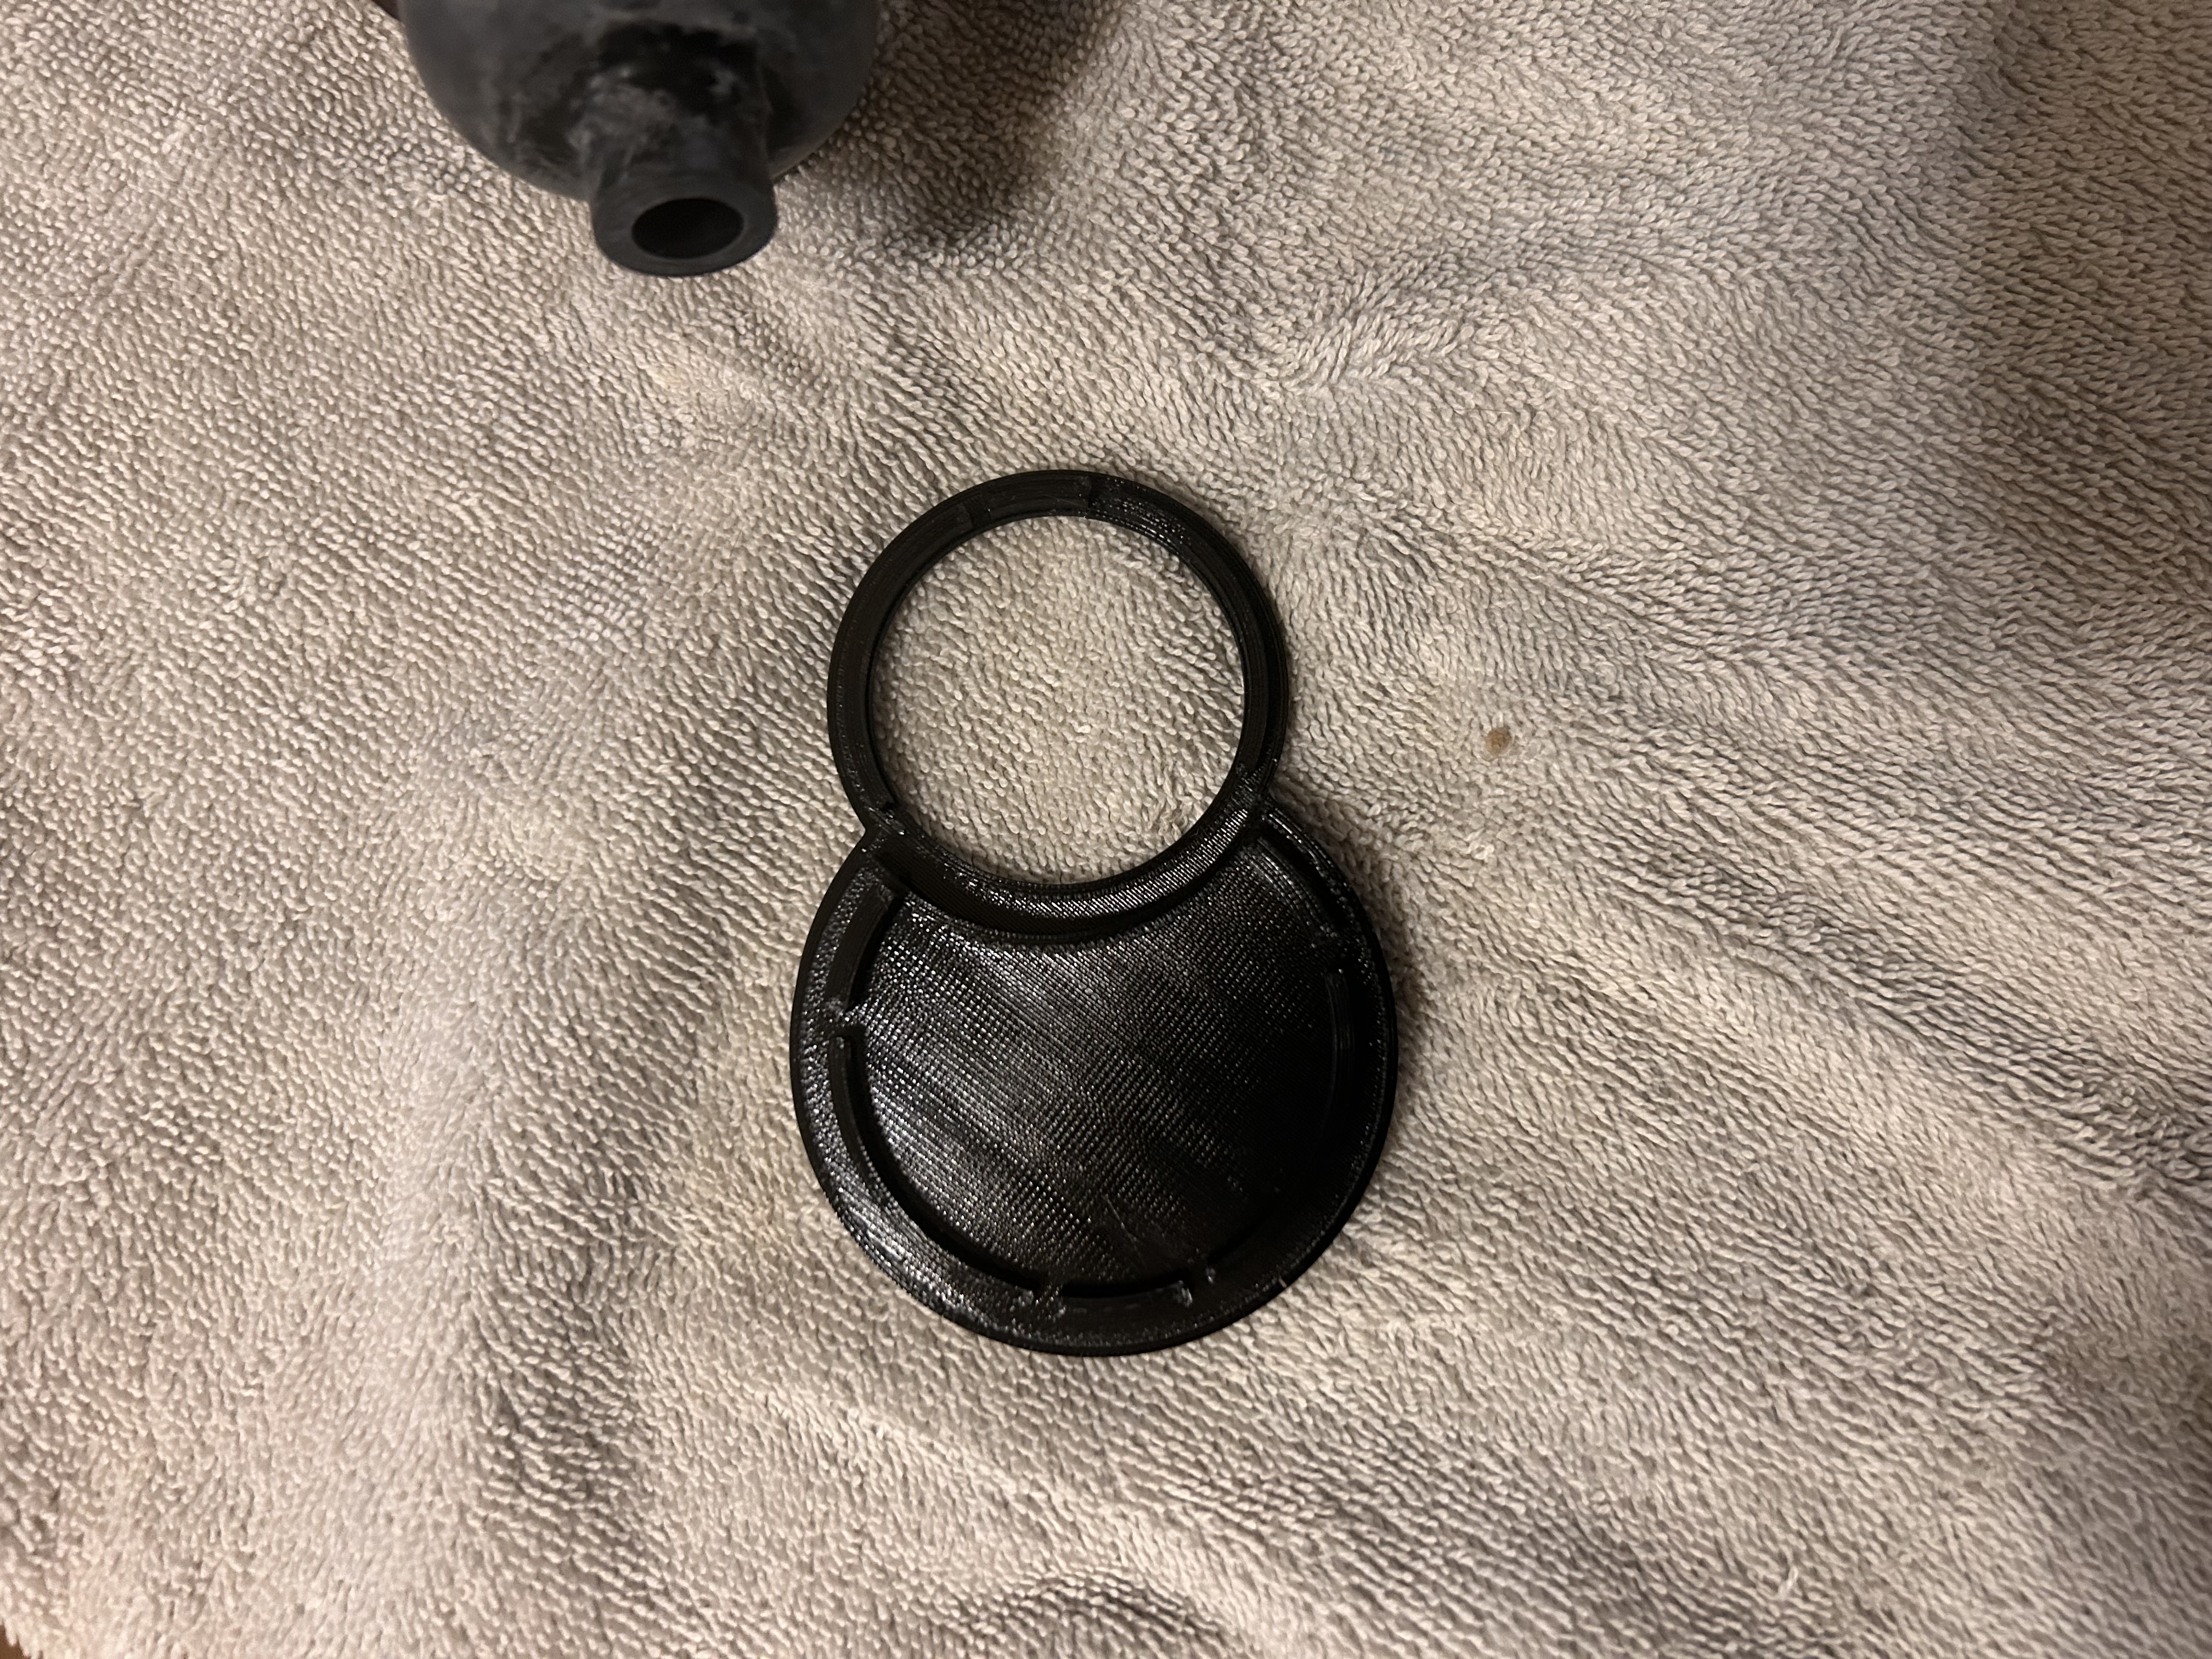
Took a few measurements, 30 minutes of solid modeling and post processing and an hour of printing and I had a prototype in black PETG material. PET is what your pop bottles are made of. For 3D printing the material is modified with a glycol that allows it to melt and flow for printing. It is a UV stable and tough material with good strength, some flexibility and it can be sanded and painted. It melts at like 220 C too so no real issues with it under the hood.
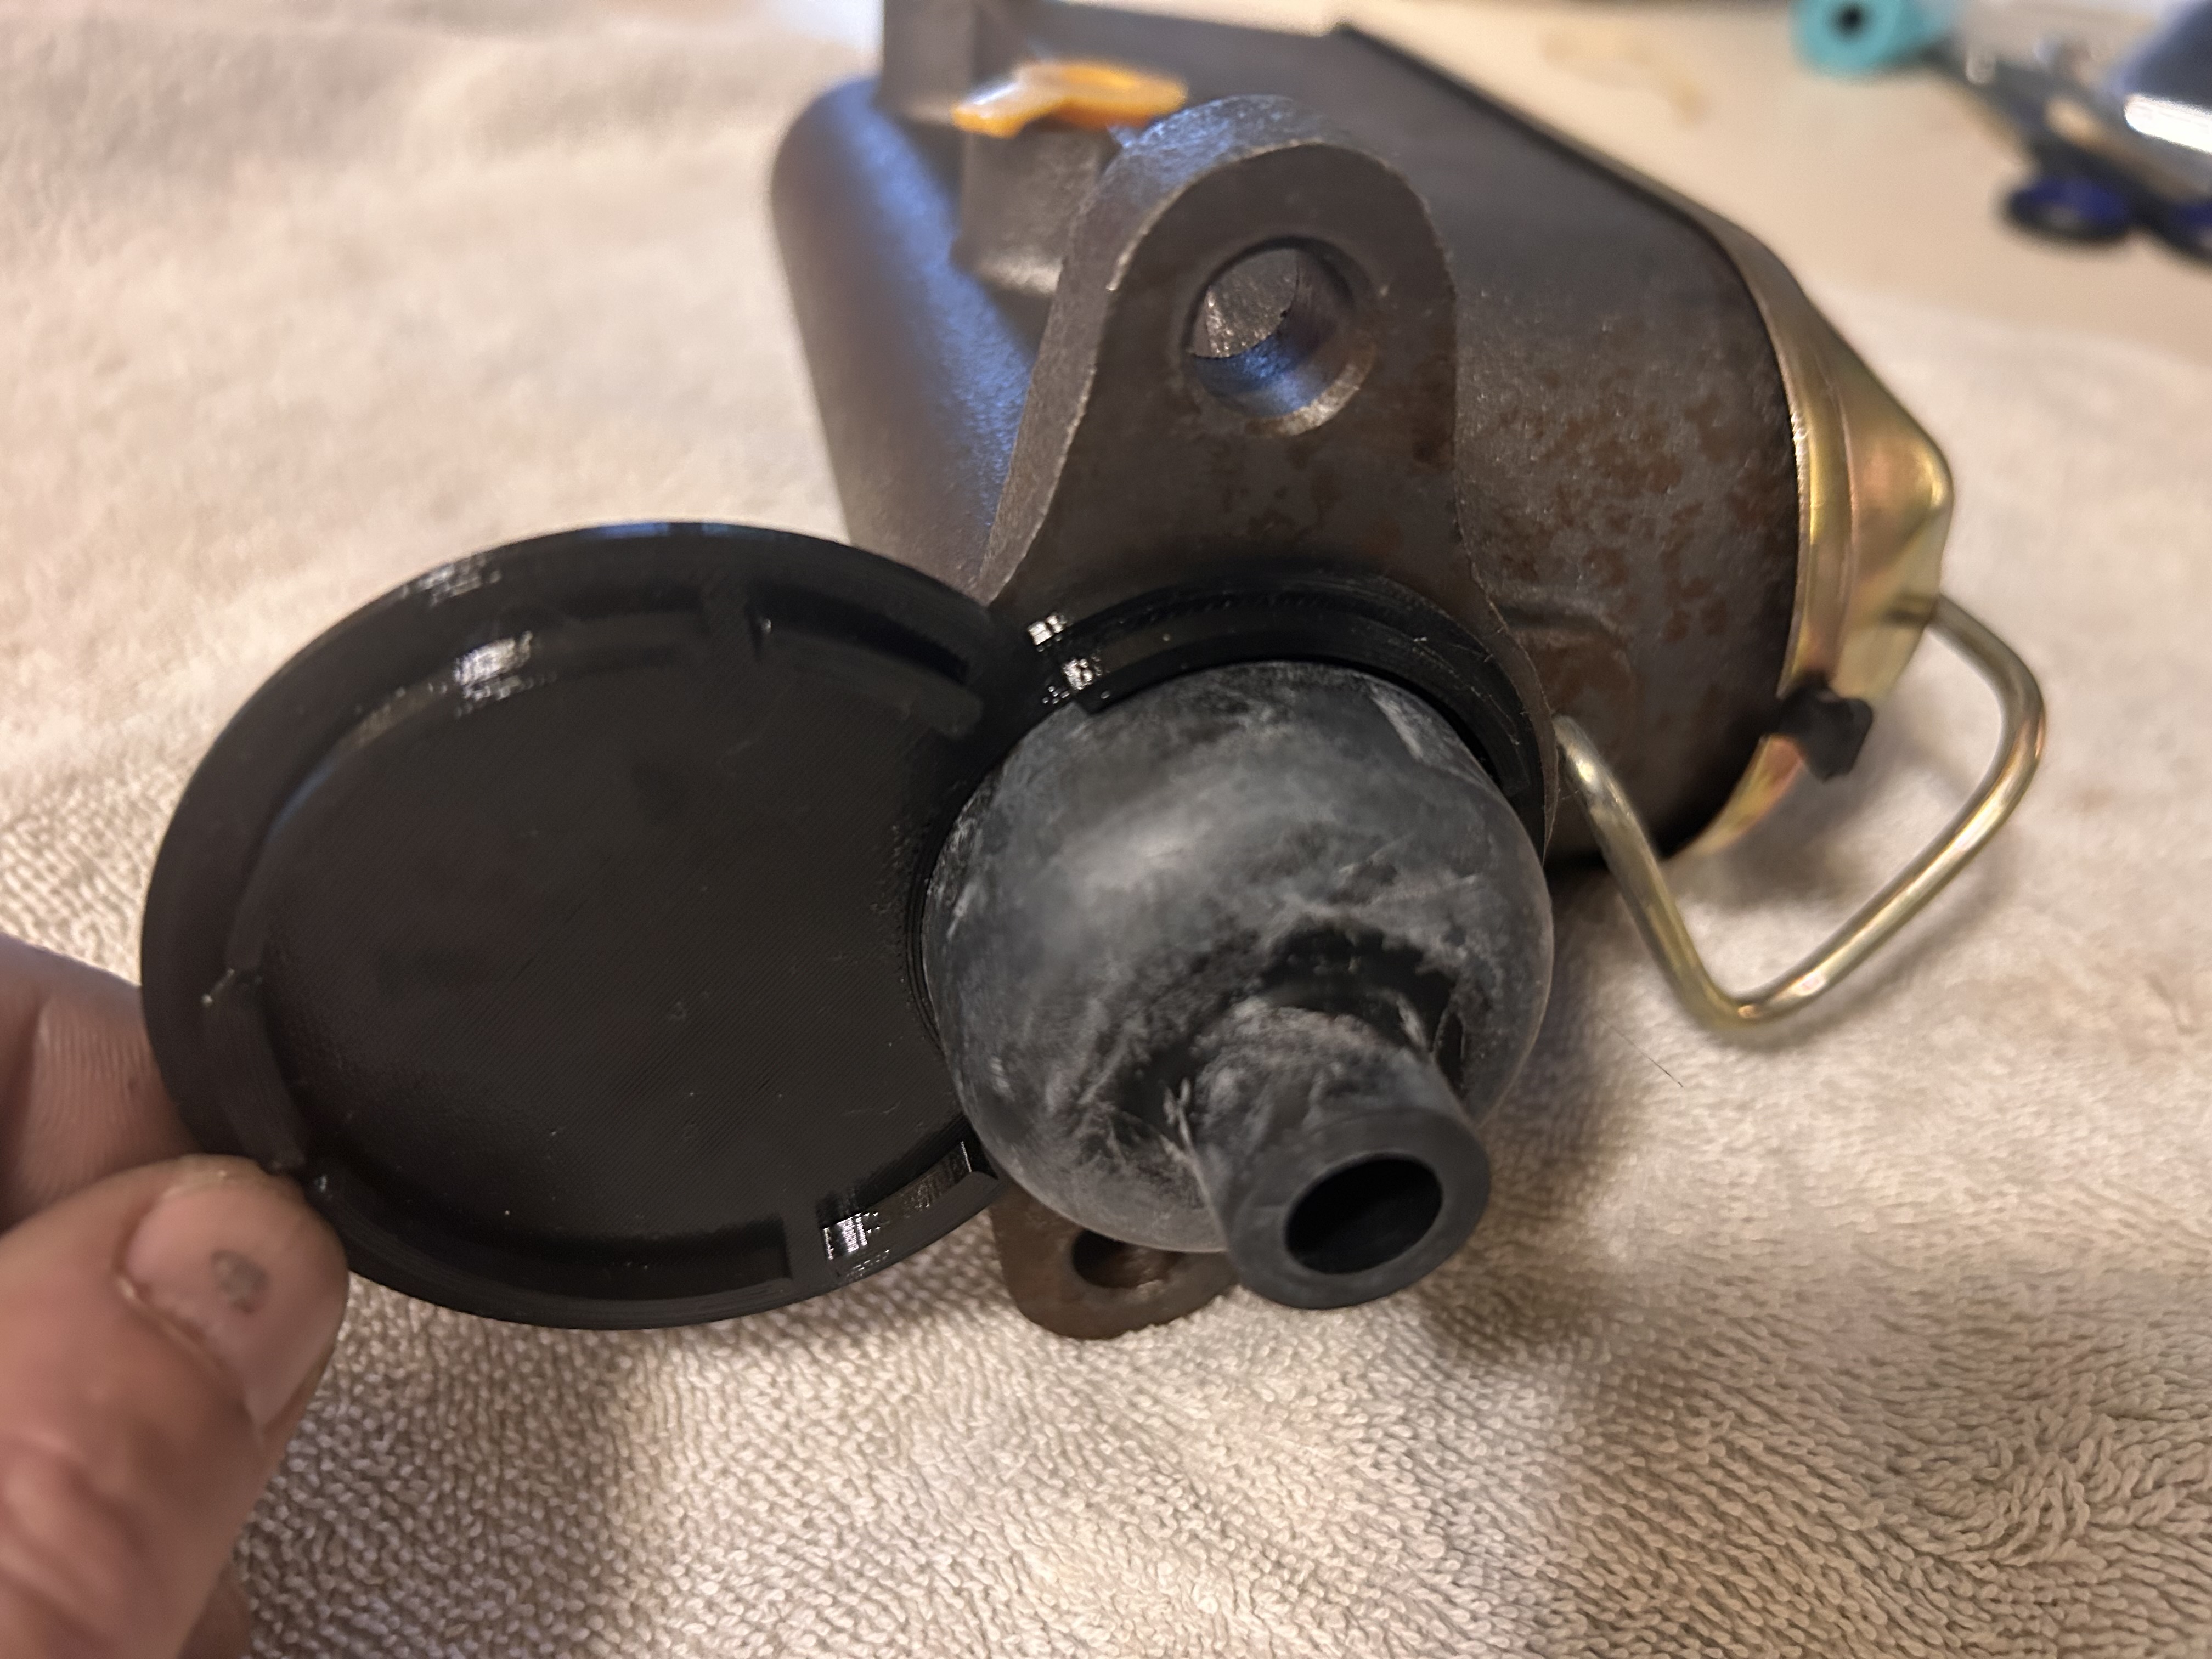
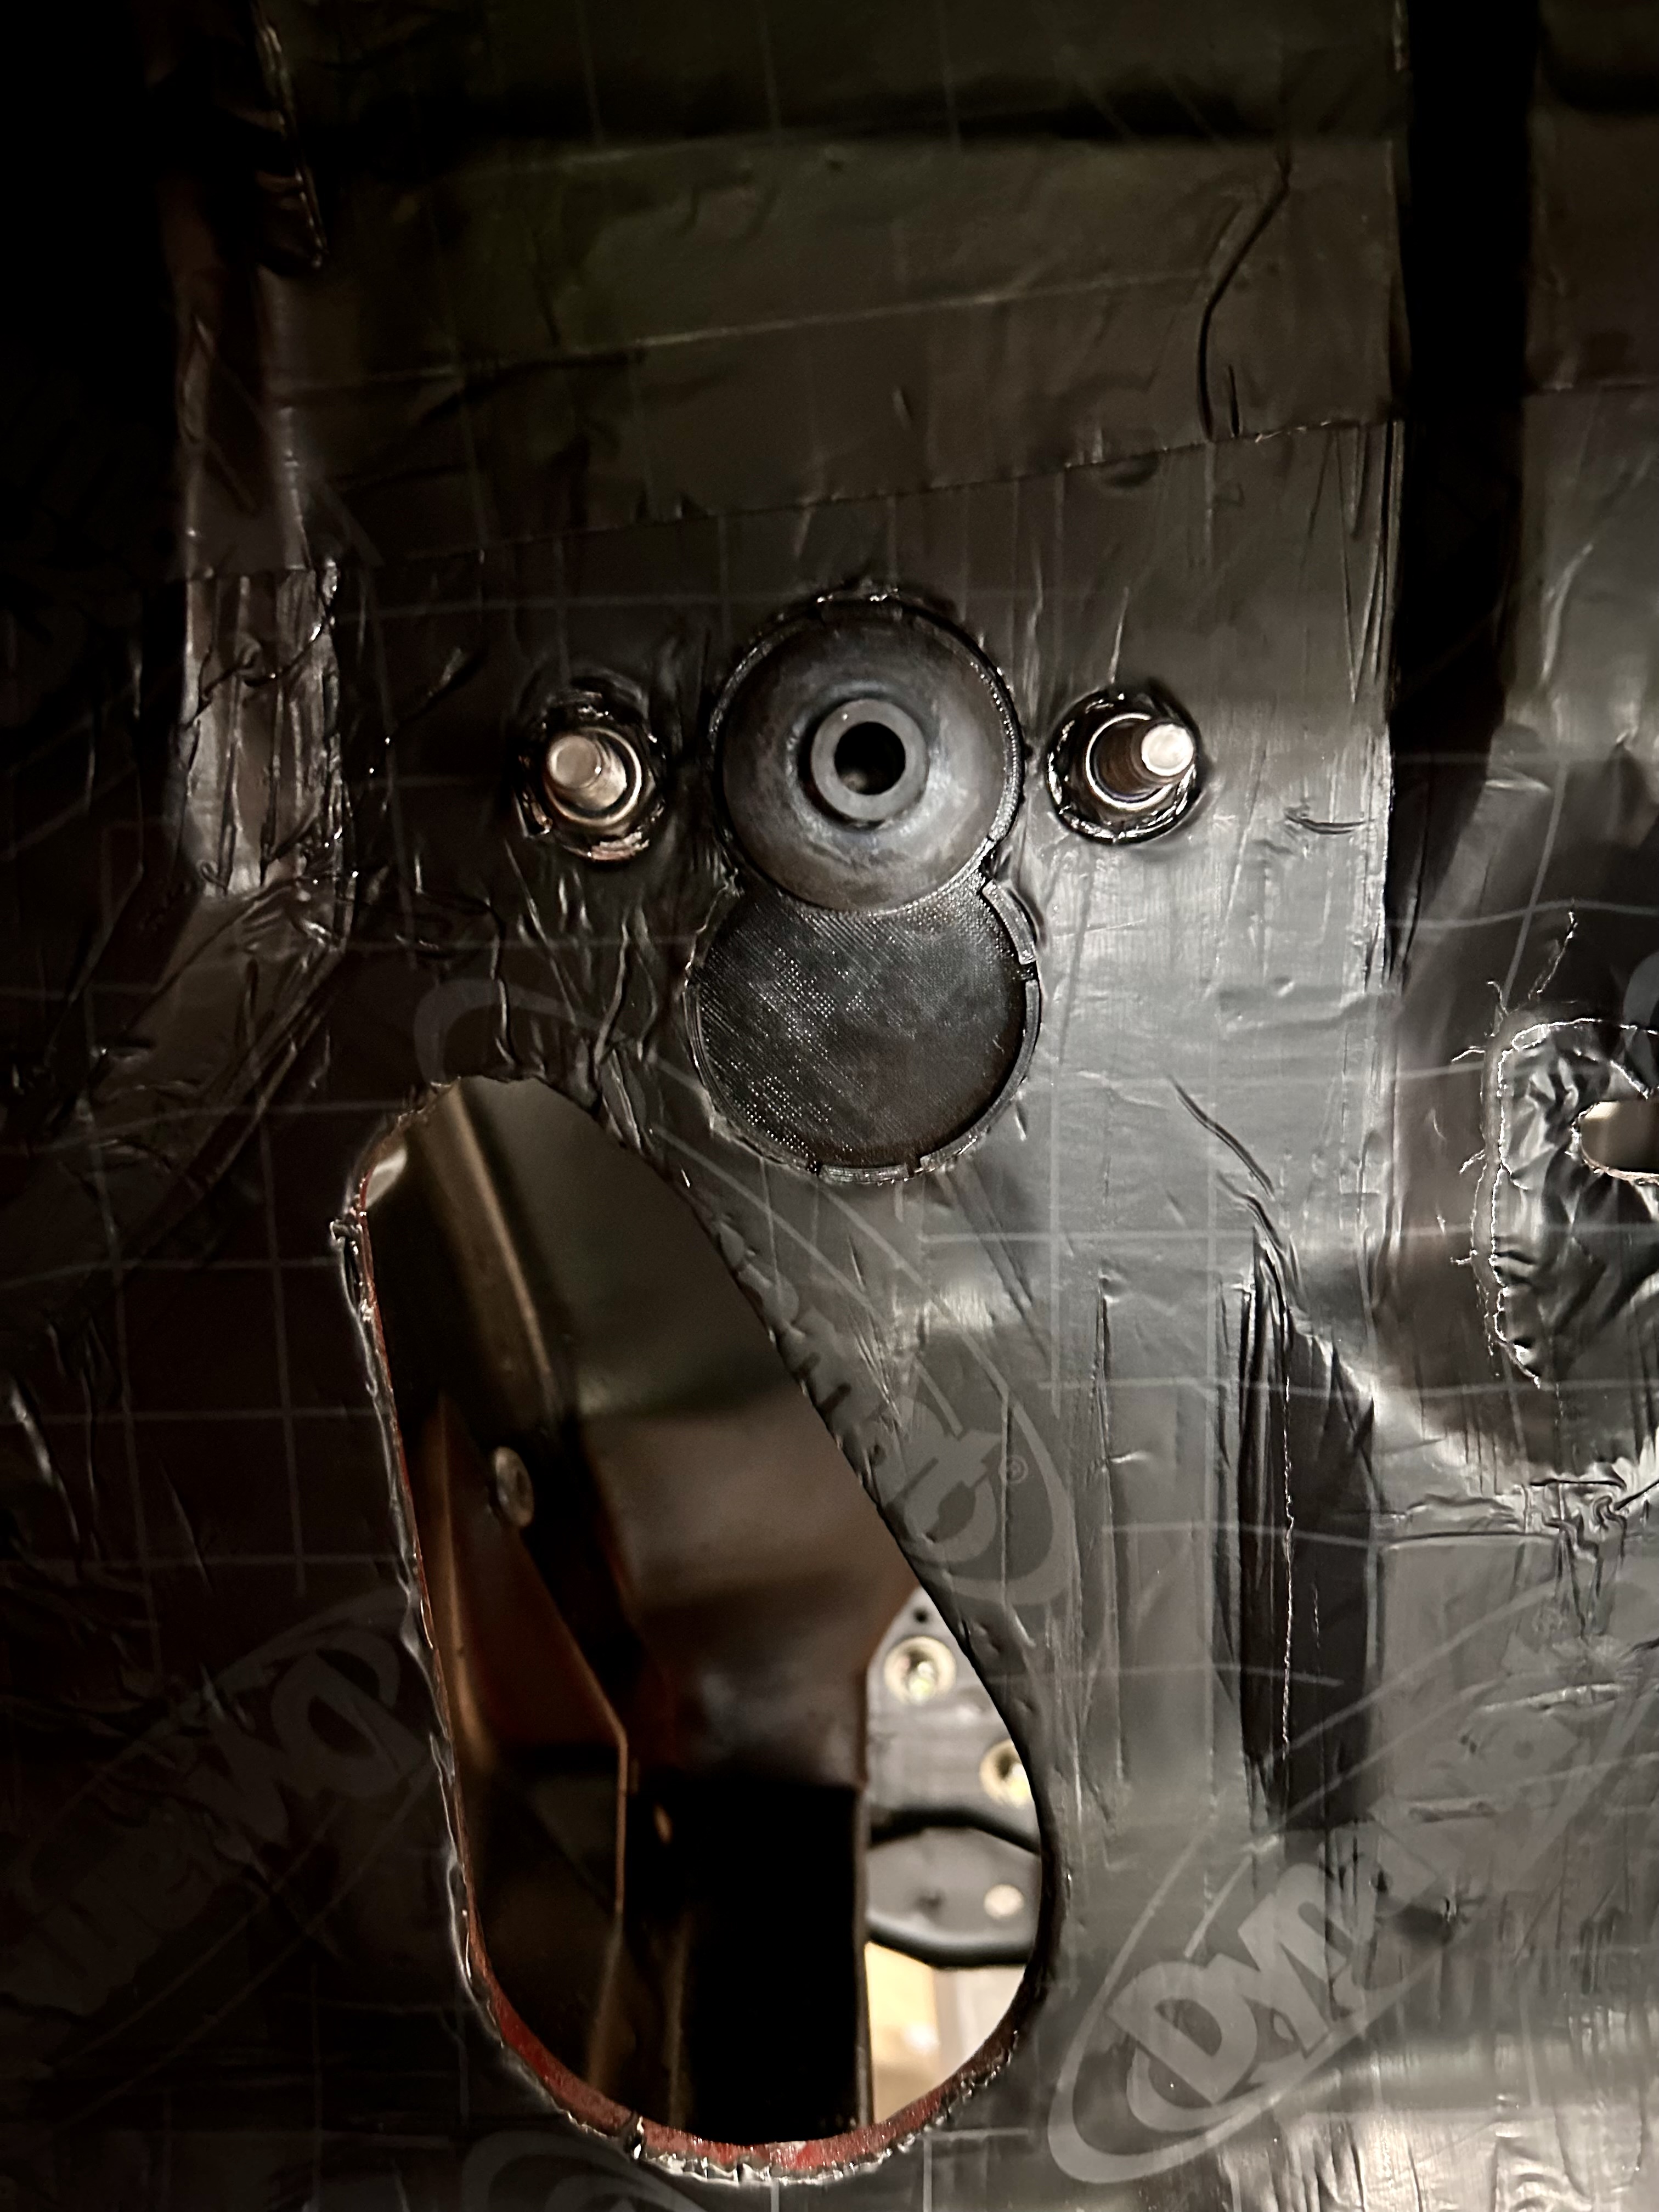
Test fitting went almost flawlessly. The plate blocks fhe bottom hole and also closes up the gap between the top hole and the new MC boot. The plate has some features that snap into the cutout to retain it. It is also flanged so a bead of sealant can be applied if one so desires to seal it to the firewall
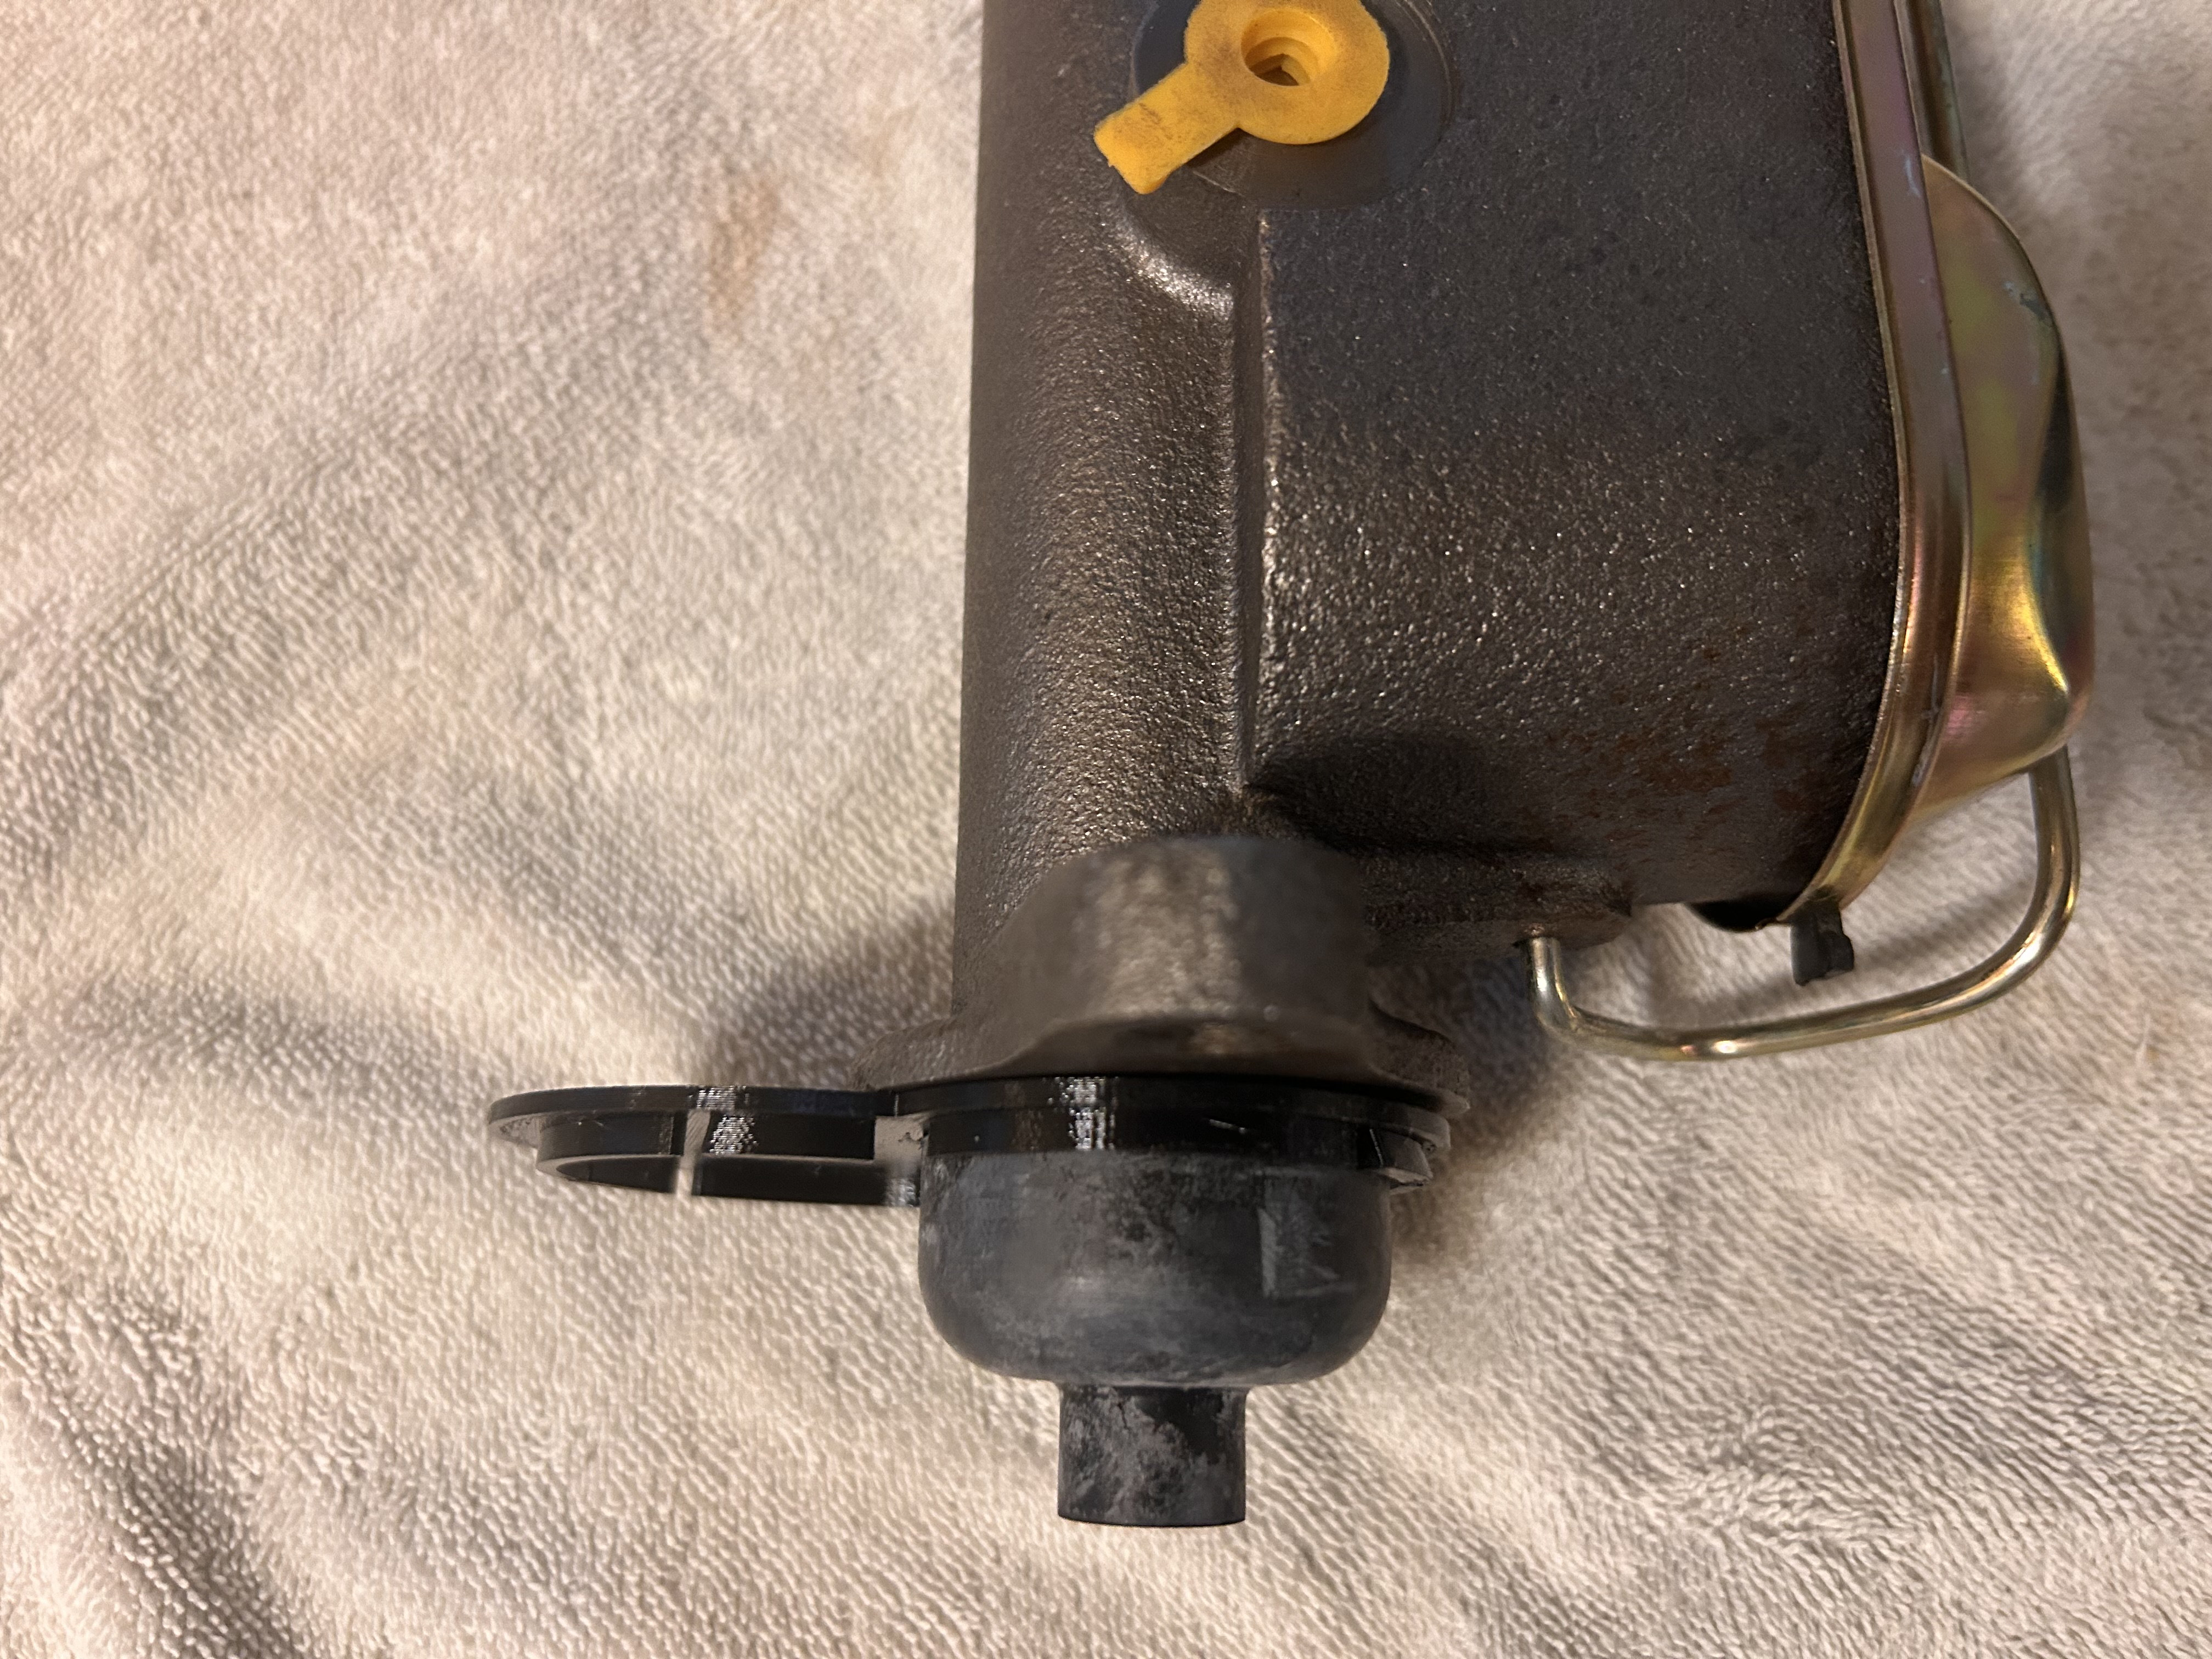
I needed to add a scallop for the 3rd bolt hole used to secure the plate that mounts the PB booster and MC to the firewall. Course rat tail to the rescue.
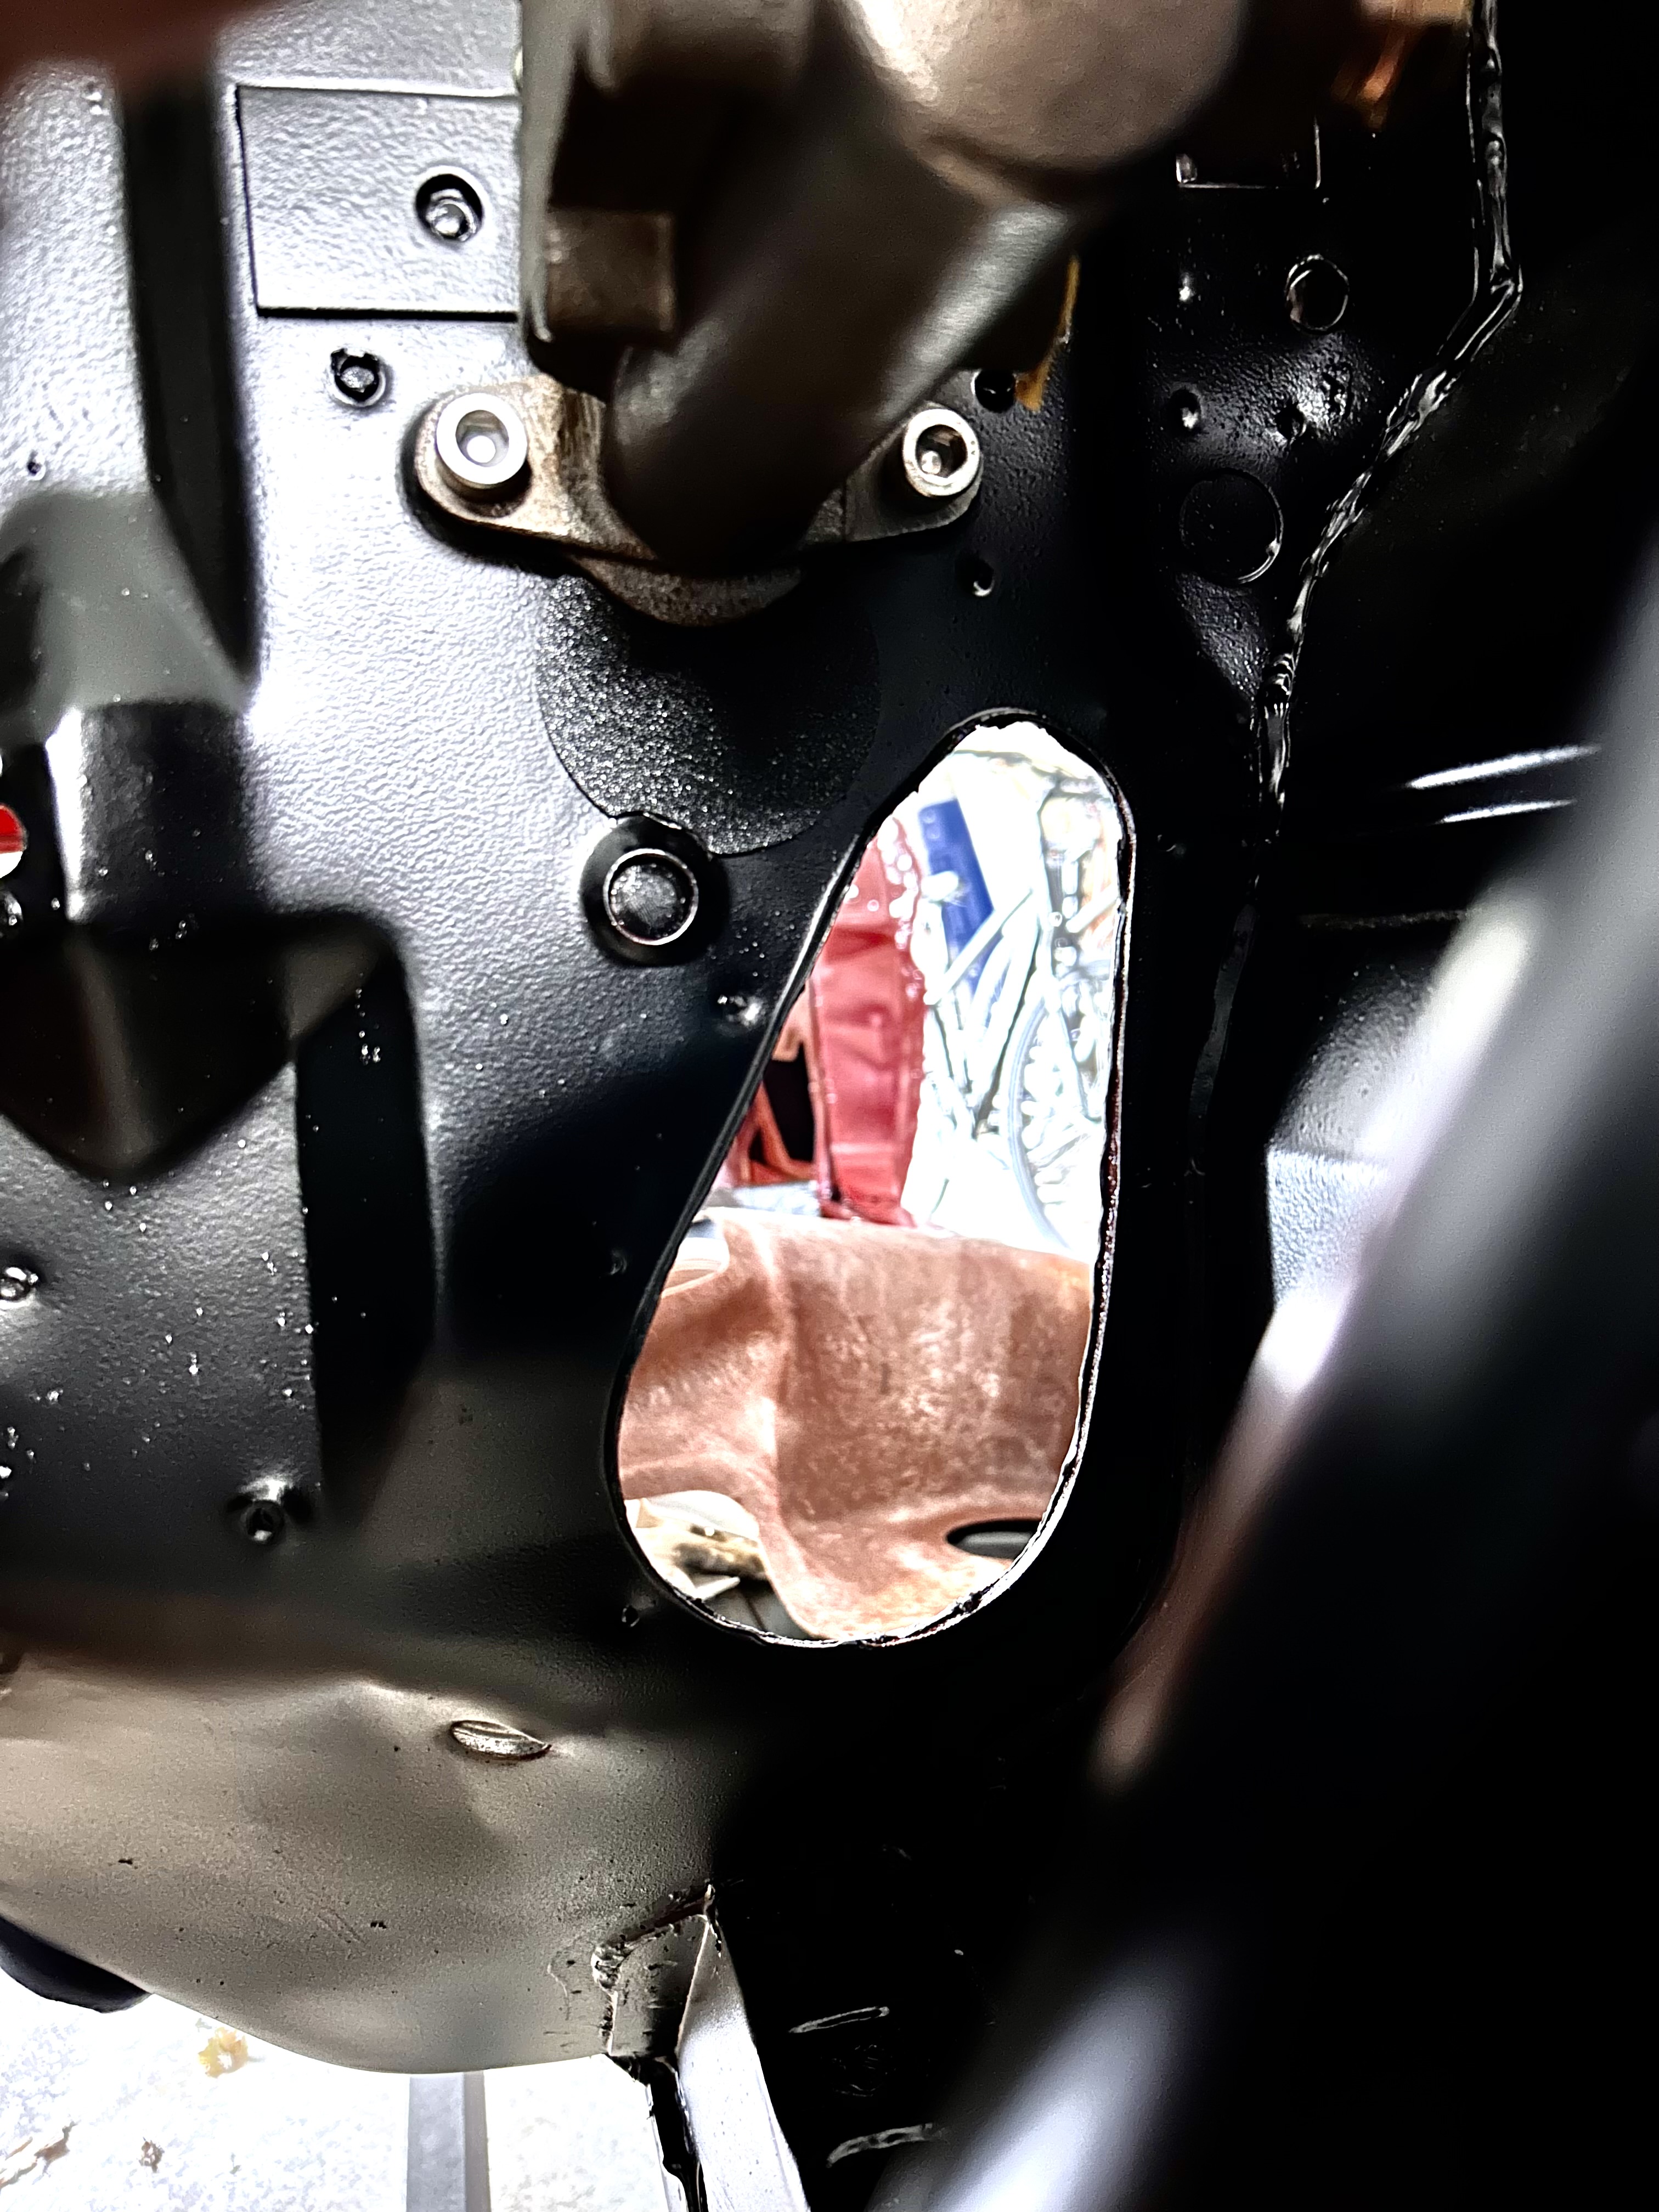
MC bolts up nicely and pinches the top of the plate between it’s flange and the firewall. The bolt holes are pushed outward so that the MC isn’t resting against the firewall. There is a gap of about 0.080 - 0.100 inches.
I made the necessary mods and I will print another that I haven’t hacked up with a file. I also need to make a couple of round plugs to close up a few extra holes that wont be used.
Time for some fun with brake lines!
1964 Cyclone - 2 Dr / HT - A work in progress...