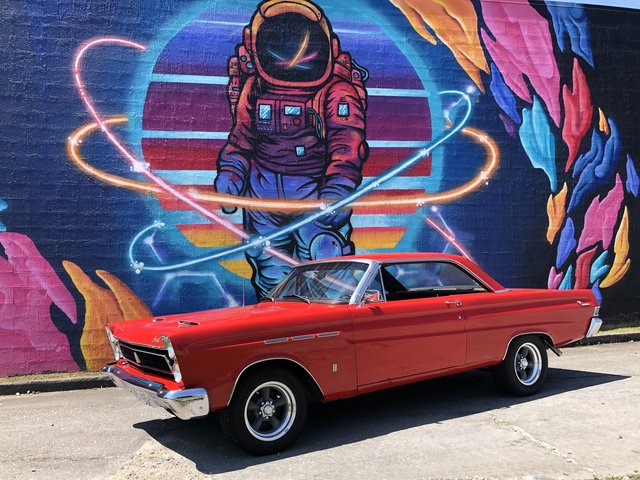
Root's 64 Cyclone Build

The Era of The Square Body Racing Comets
Rootsy
Posts: 166
Joined: Tue May 04, 2010 3:27 pm
Location: La Salle, Michigan

Re: Root's 64 Cyclone Build

Post by Rootsy »

Been collecting parts this week. Pulled my little trailer out of the hole tonight and sorted all of my stainless trim and steel trim that needs to be chromed. Confirmed that every bit of door sealing needs to be replaced. Ouch.

Have my heater box disassembled and it is getting a new sealing kit and new 3 speed motor since my Dec ‘63 built 2 speed sounds horrible when you shut it off (has a ton of axial thrust). The heater core leaks (tested it) but I can’t find a 6x8x2.5” affordable aluminum core so we shall just leave it coreless. I hadn’t planned to run heater hoses anyway.

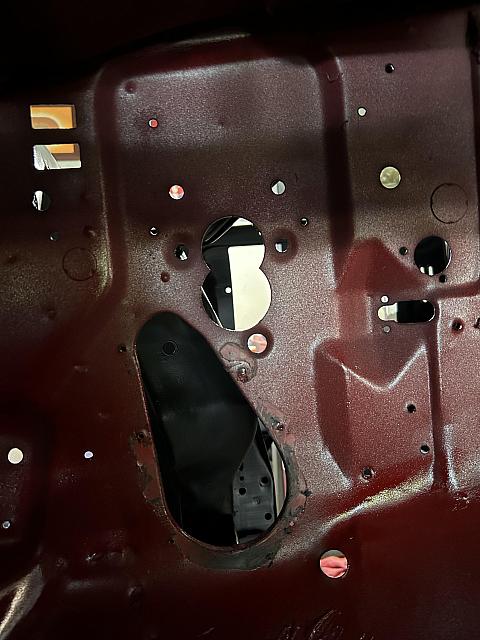
Speaking of brakes - my car too has the re-enforcement plate for the top two holes. I also found the plate used to sandwich between firewall and master cylinder when using PB. Wish my clutch support had all of the cage nuts. It currently has none. I think I will measure the lower hole, 3D model and print a block off. Probably do the same for heater hose holes.

Image
1964 Cyclone - 2 Dr / HT - A work in progress...

User avatar
Joe Travers
Posts: 2446
Joined: Mon Sep 21, 2020 6:23 pm
Location: Louisiana

Re: Root's 64 Cyclone Build

Post by Joe Travers »

Rootsy wrote:
Tue Oct 10, 2023 7:45 pm
I think I will measure the lower hole, 3D model and print a block off. Probably do the same for heater hose holes.
I plugged holes w/ rubber grommets after I pulled my A/C. Just in case you change your mind later...

Joe
Image

1963 1/2 Custom Hardtop
342 stroker, solid roller, T-10, 3.55 posi

User avatar
poboyjo65
Moderator
Posts: 7070
Joined: Thu Oct 20, 2011 9:40 pm
Location: Camden, Tenn.

Re: Root's 64 Cyclone Build

Post by poboyjo65 »

Rootsy wrote:
Sat Oct 07, 2023 6:13 pm


Image
Maybe they all have that extra metal piece, When I looked at this pic I thought it was of the engine bay side. but I see now it is in the cabin.
Rootsy wrote:
Tue Oct 10, 2023 7:45 pm


Speaking of brakes - my car too has the re-enforcement plate for the top two holes. I also found the plate used to sandwich between firewall and master cylinder when using PB. Wish my clutch support had all of the cage nuts. It currently has none. I think I will measure the lower hole, 3D model and print a block off. Probably do the same for heater hose holes.

Image
So yours had another piece below this one to level the surface?

btw I had trouble with a couple of my caged nuts, they are brittle. I think I had to make some new cages. but it seemed to kinda need the wobbleness/looseness of them to be able to get all four bolts started. I was tempted to just put nuts on it, but afraid it might bite me down the road if I didnt put it back like it was.
Image
Johno

Rootsy
Posts: 166
Joined: Tue May 04, 2010 3:27 pm
Location: La Salle, Michigan

Re: Root's 64 Cyclone Build

Post by Rootsy »

Just when I think I know what I am doing I run into a head scratcher.

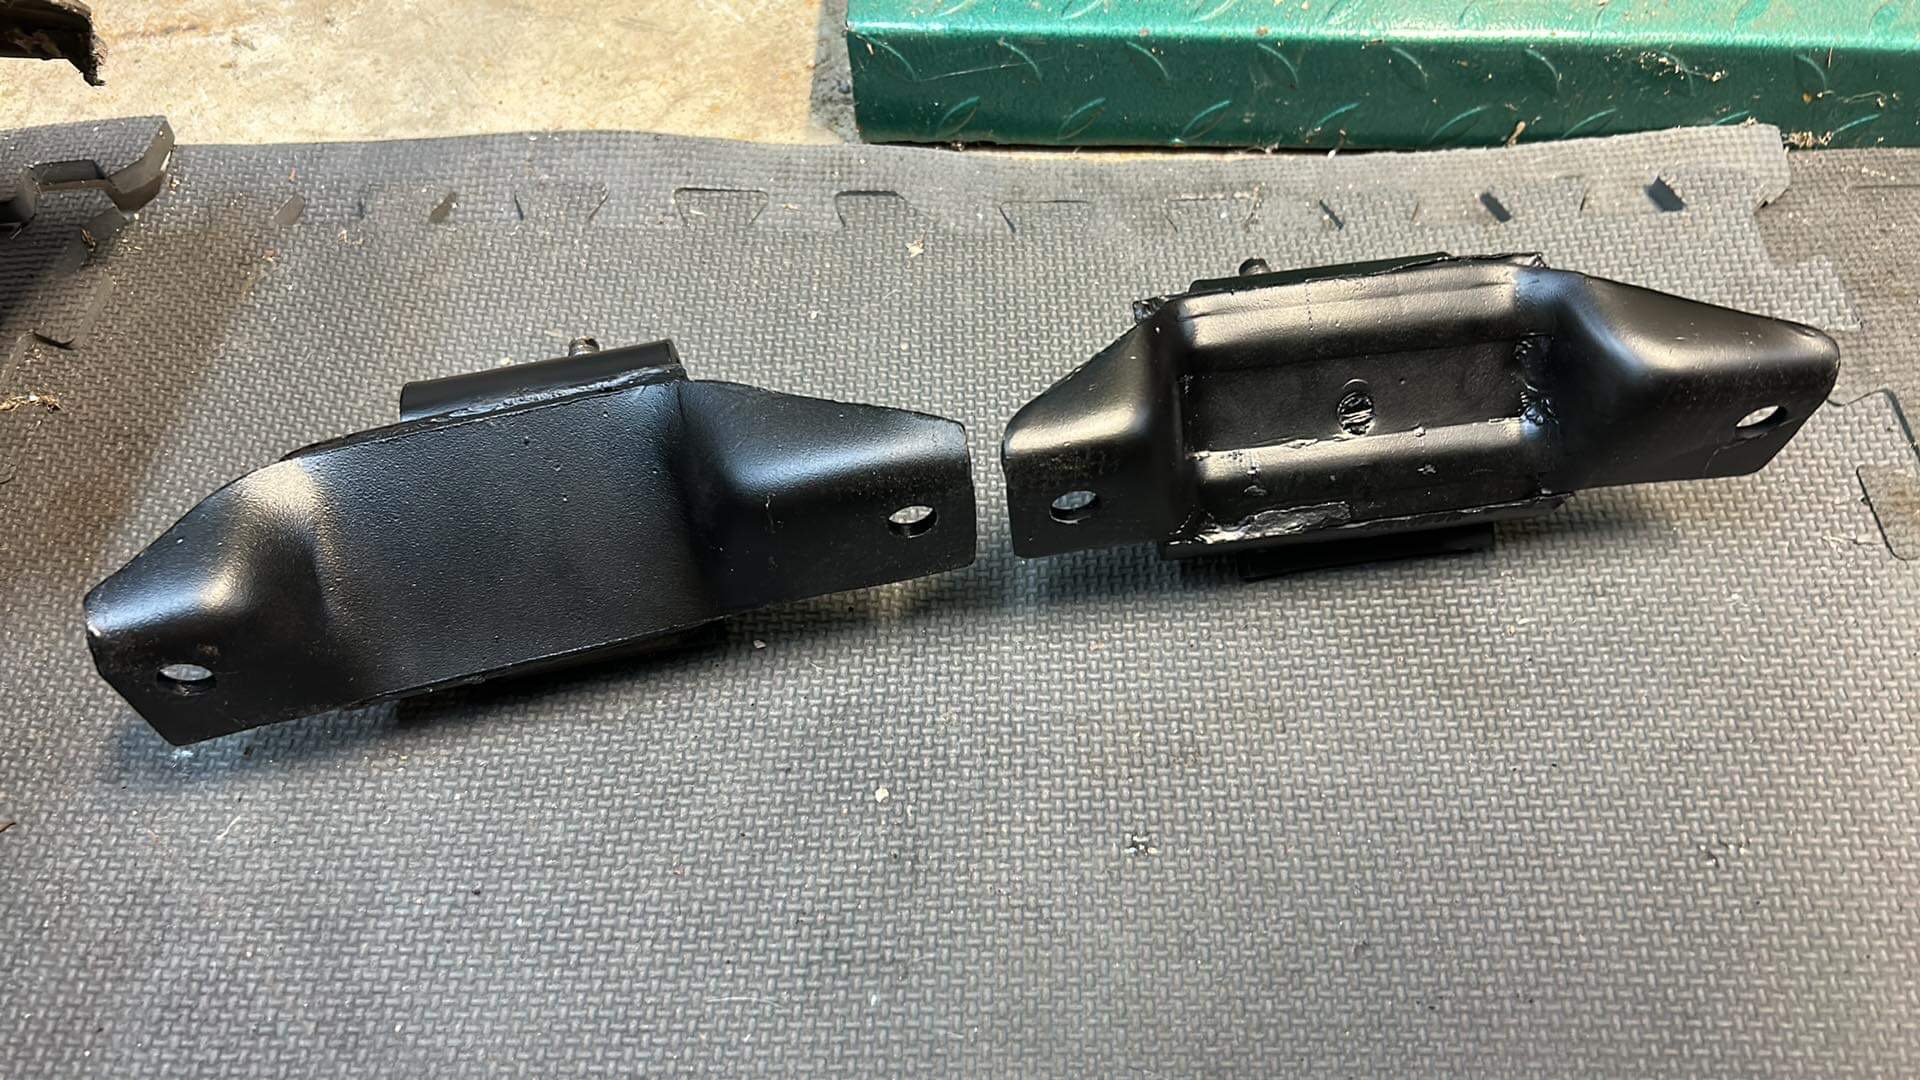
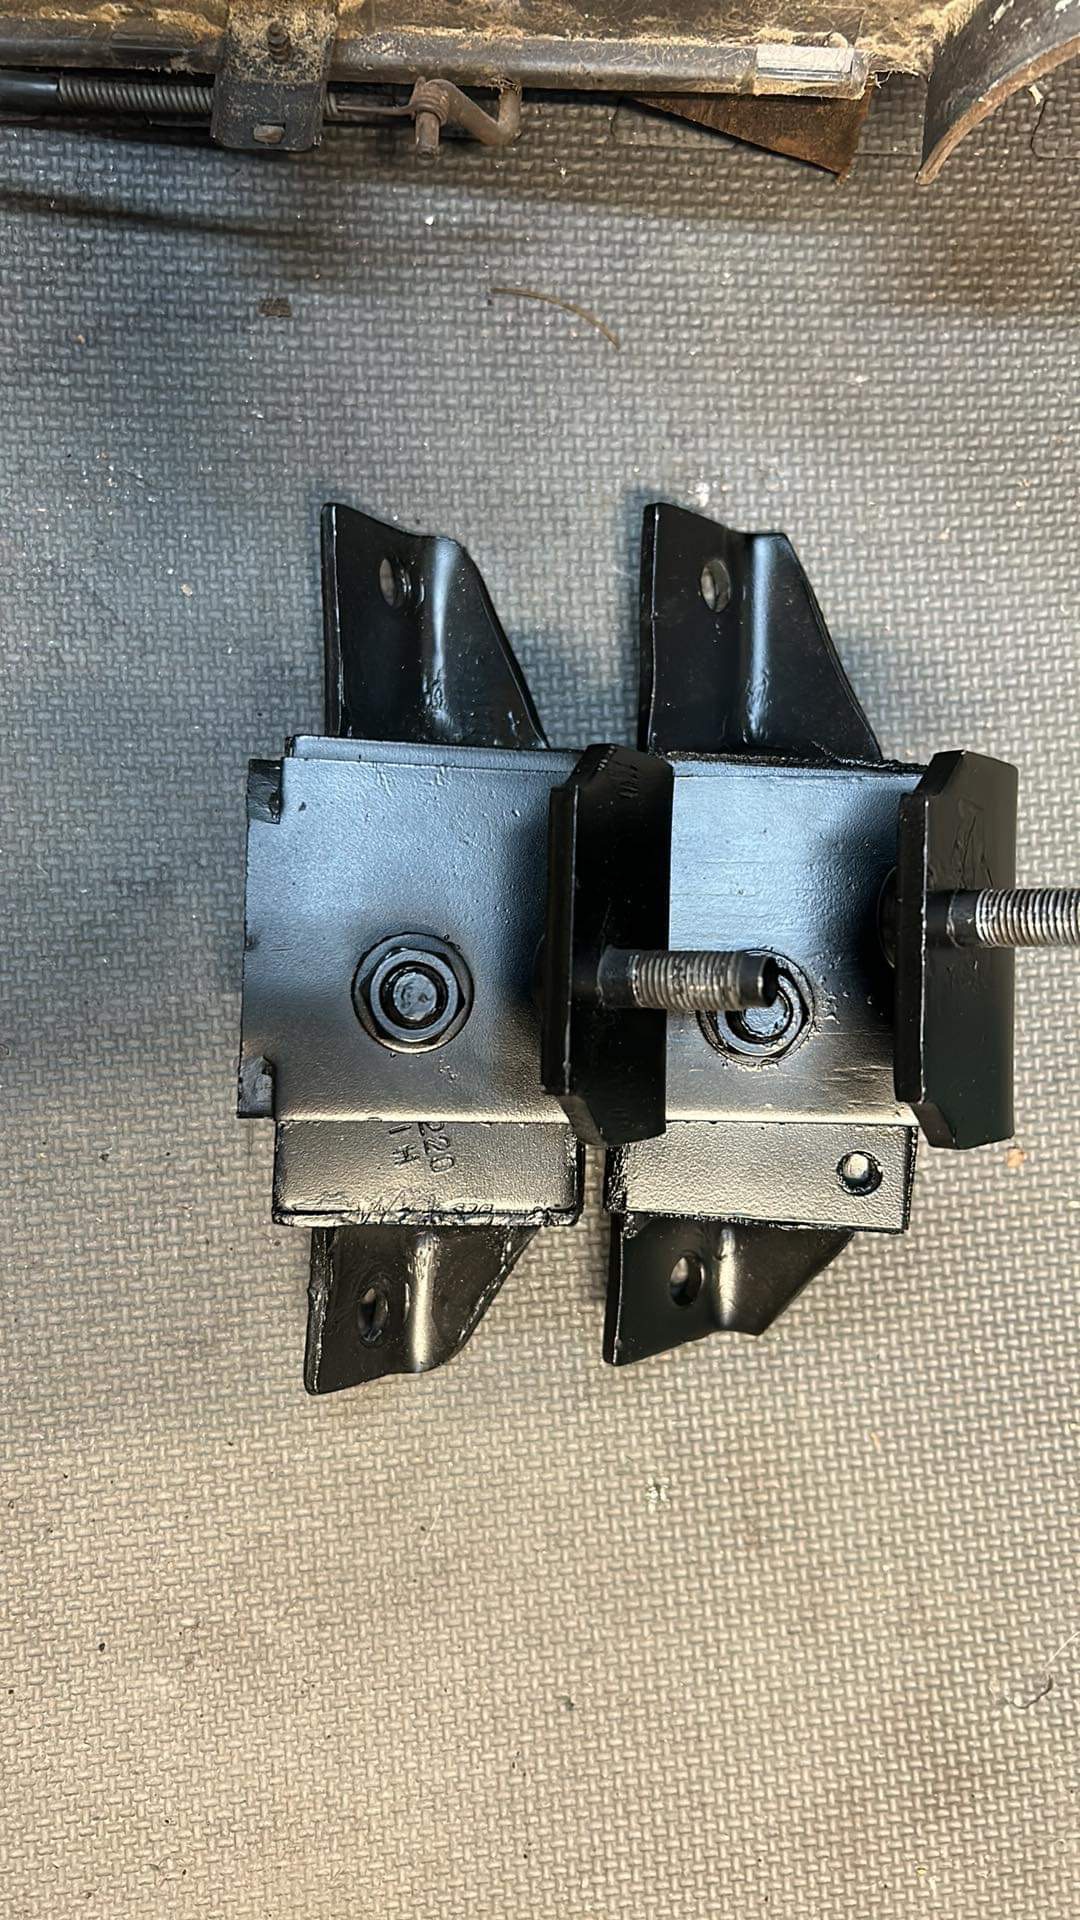
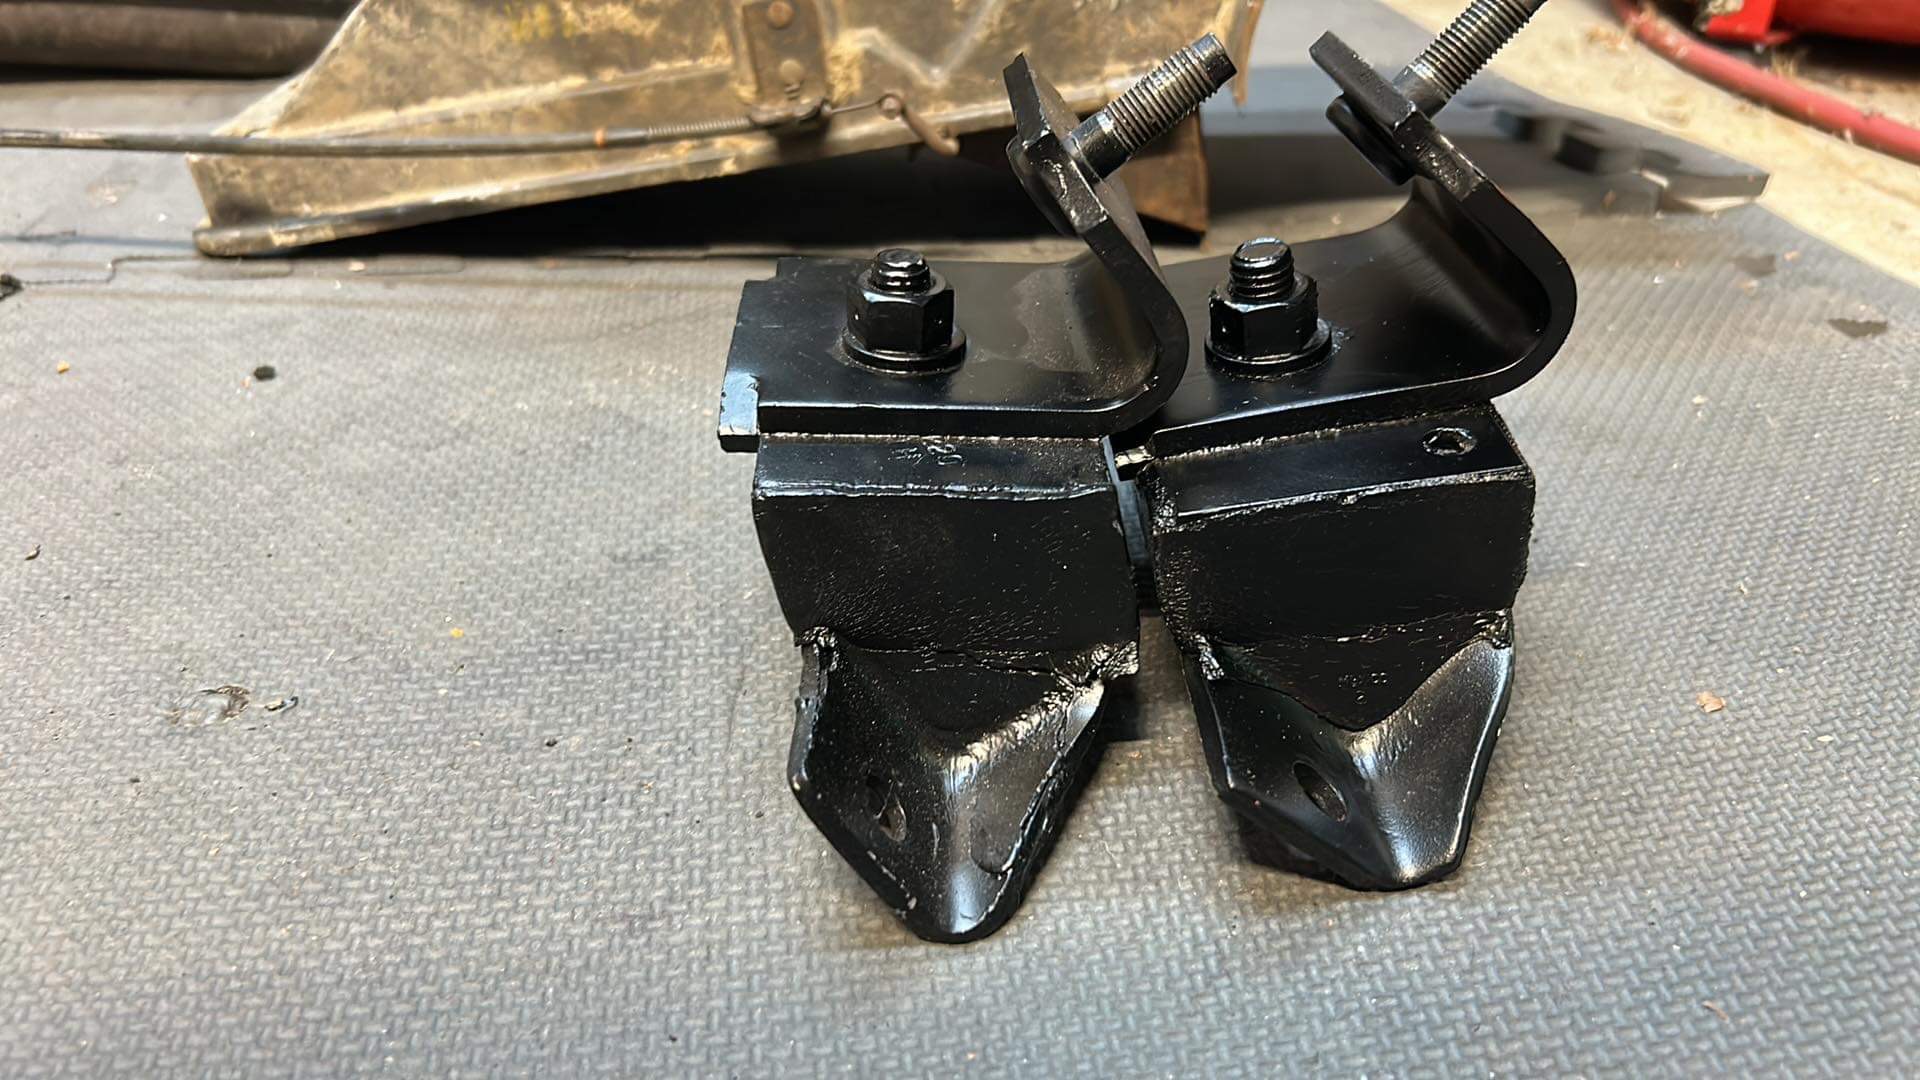
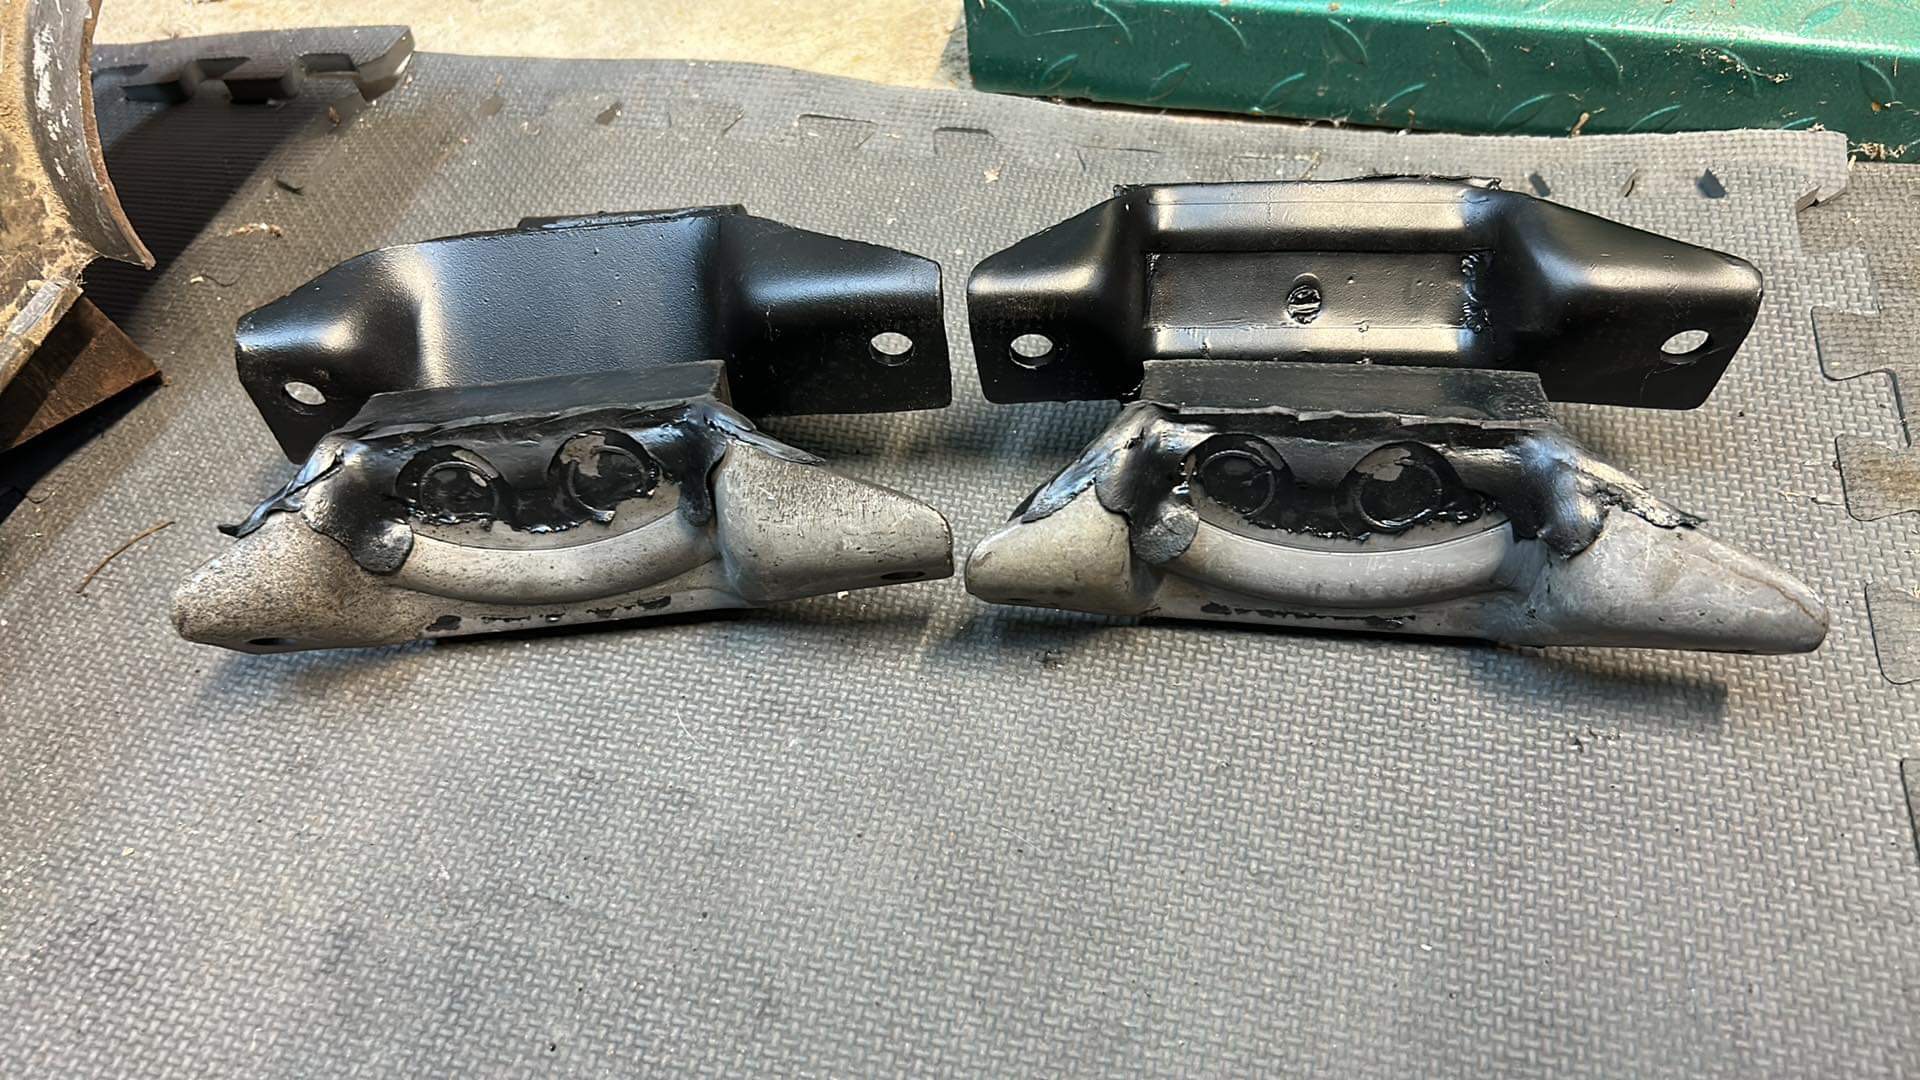
Motor mounts -

I figured I would replace the top rubber mounts while I am at it so while I was at NPD today I bought a pair… now I am confused.

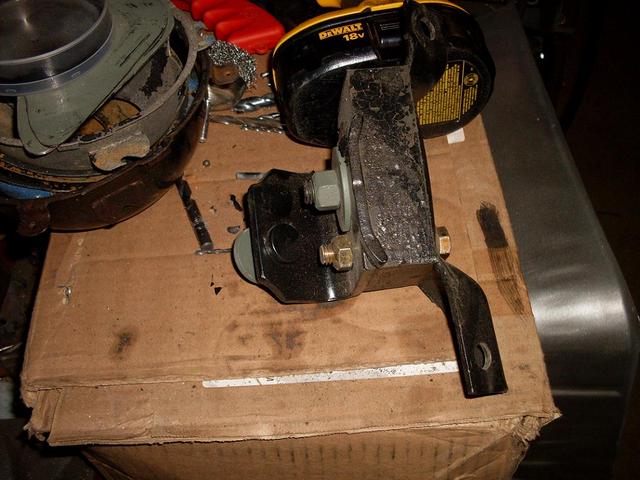
At some point one or both of my “originals” have been replaced. Obvious difference but otherwise look dimensionally identical.

Image

Image

Image

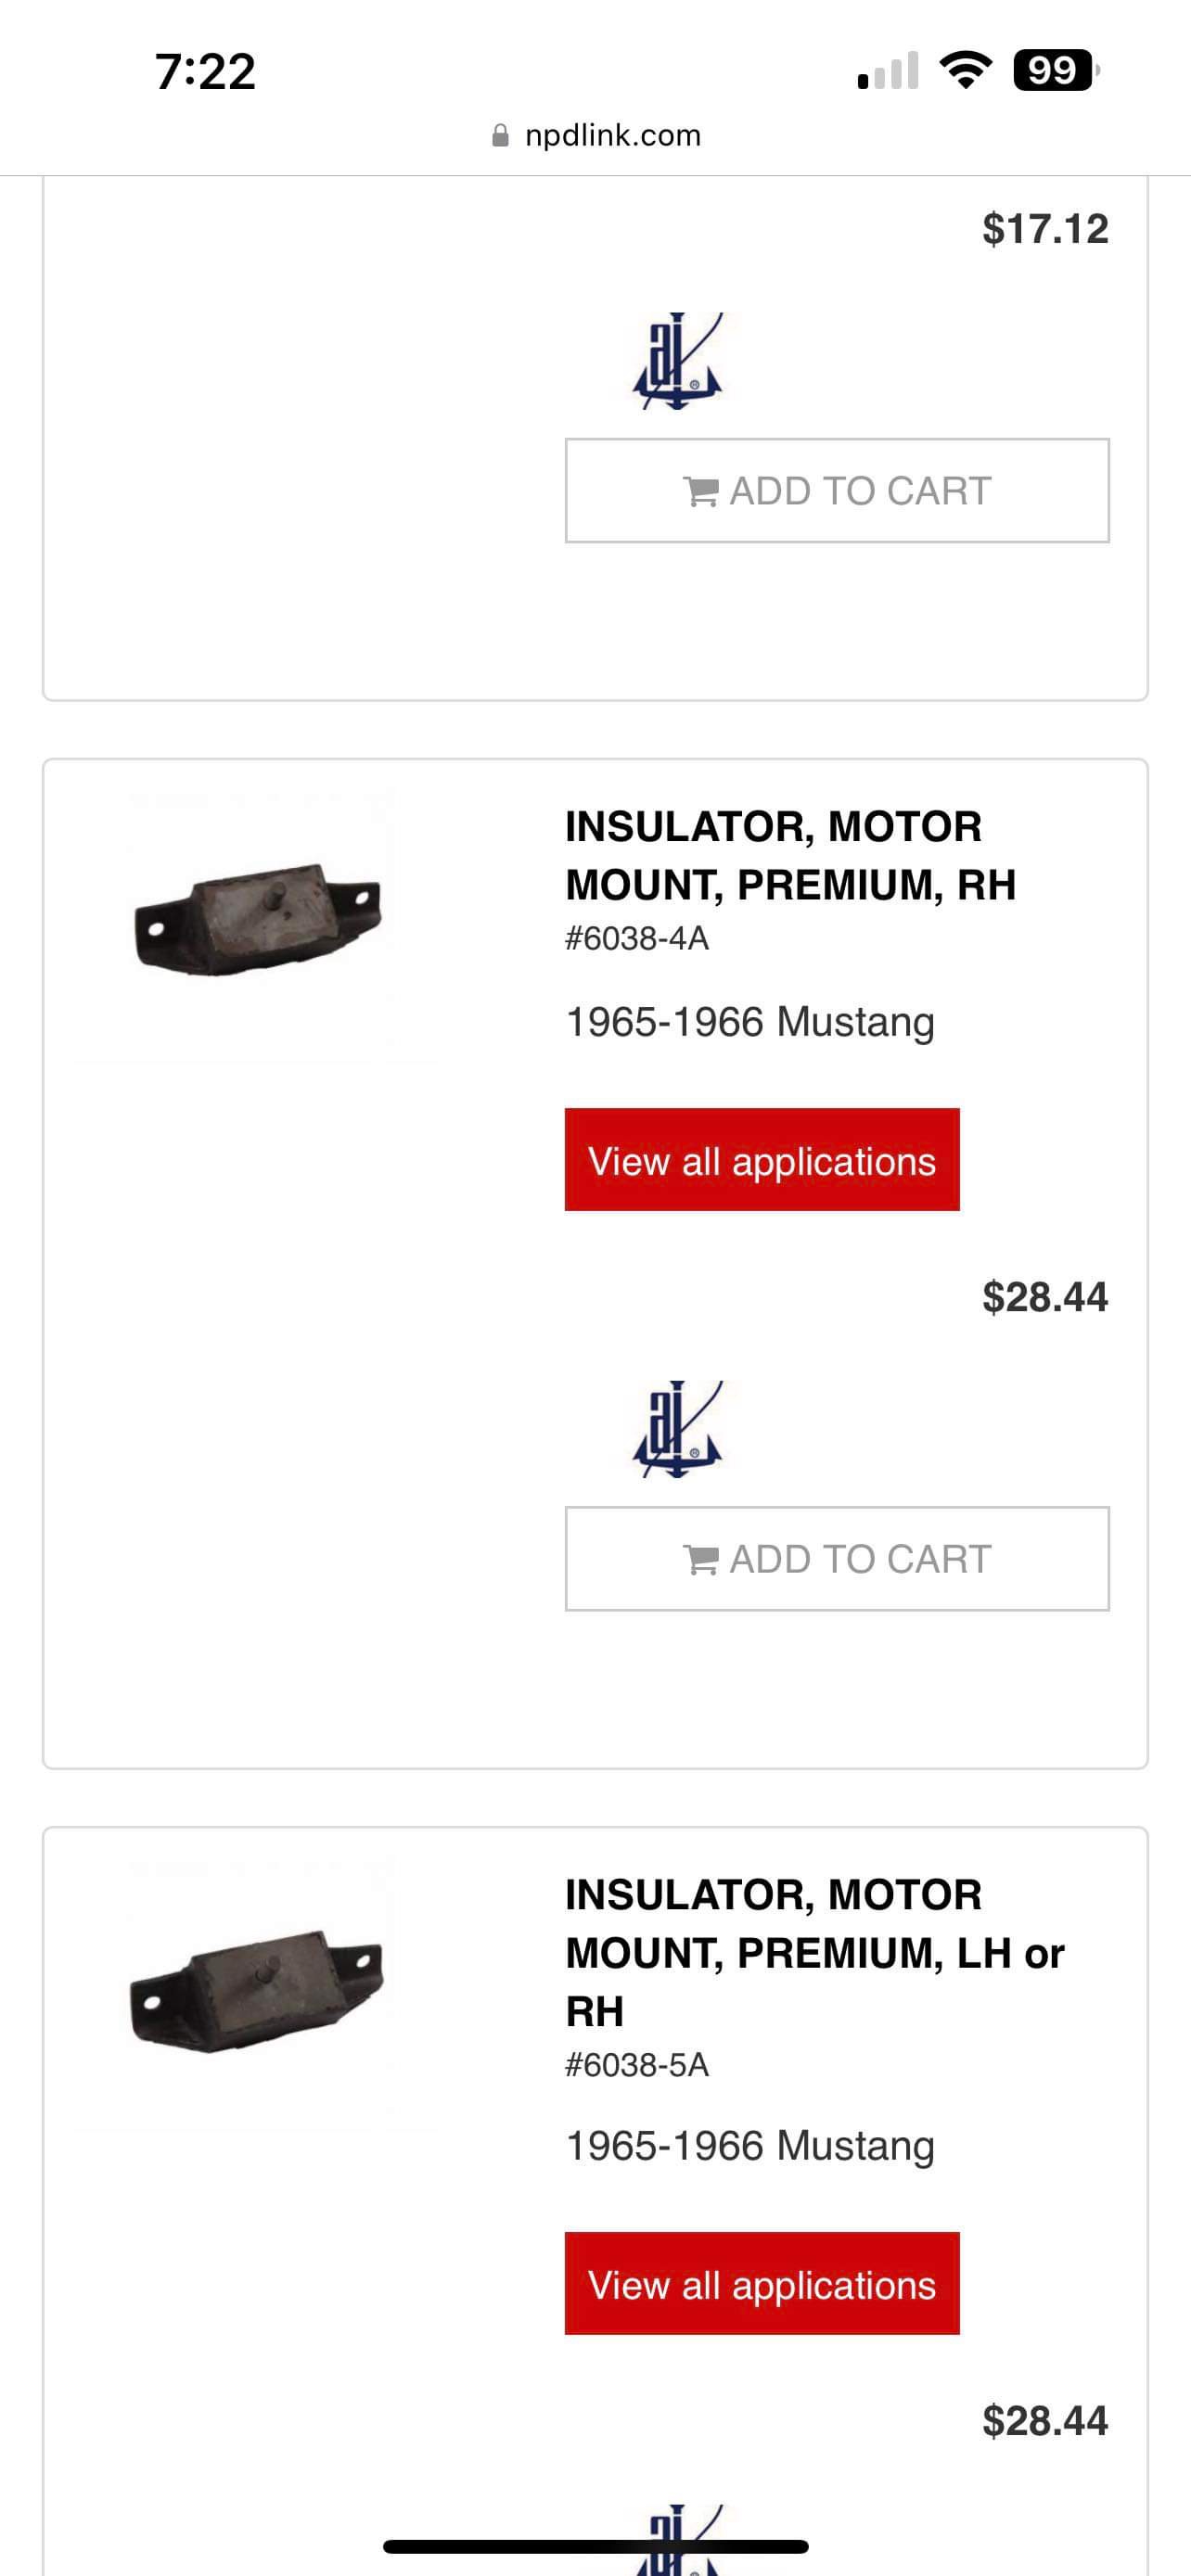
Sweet I look at the NPD catalog it says anchor 2220 LH and RH so I buy two and they match what I have now

Image

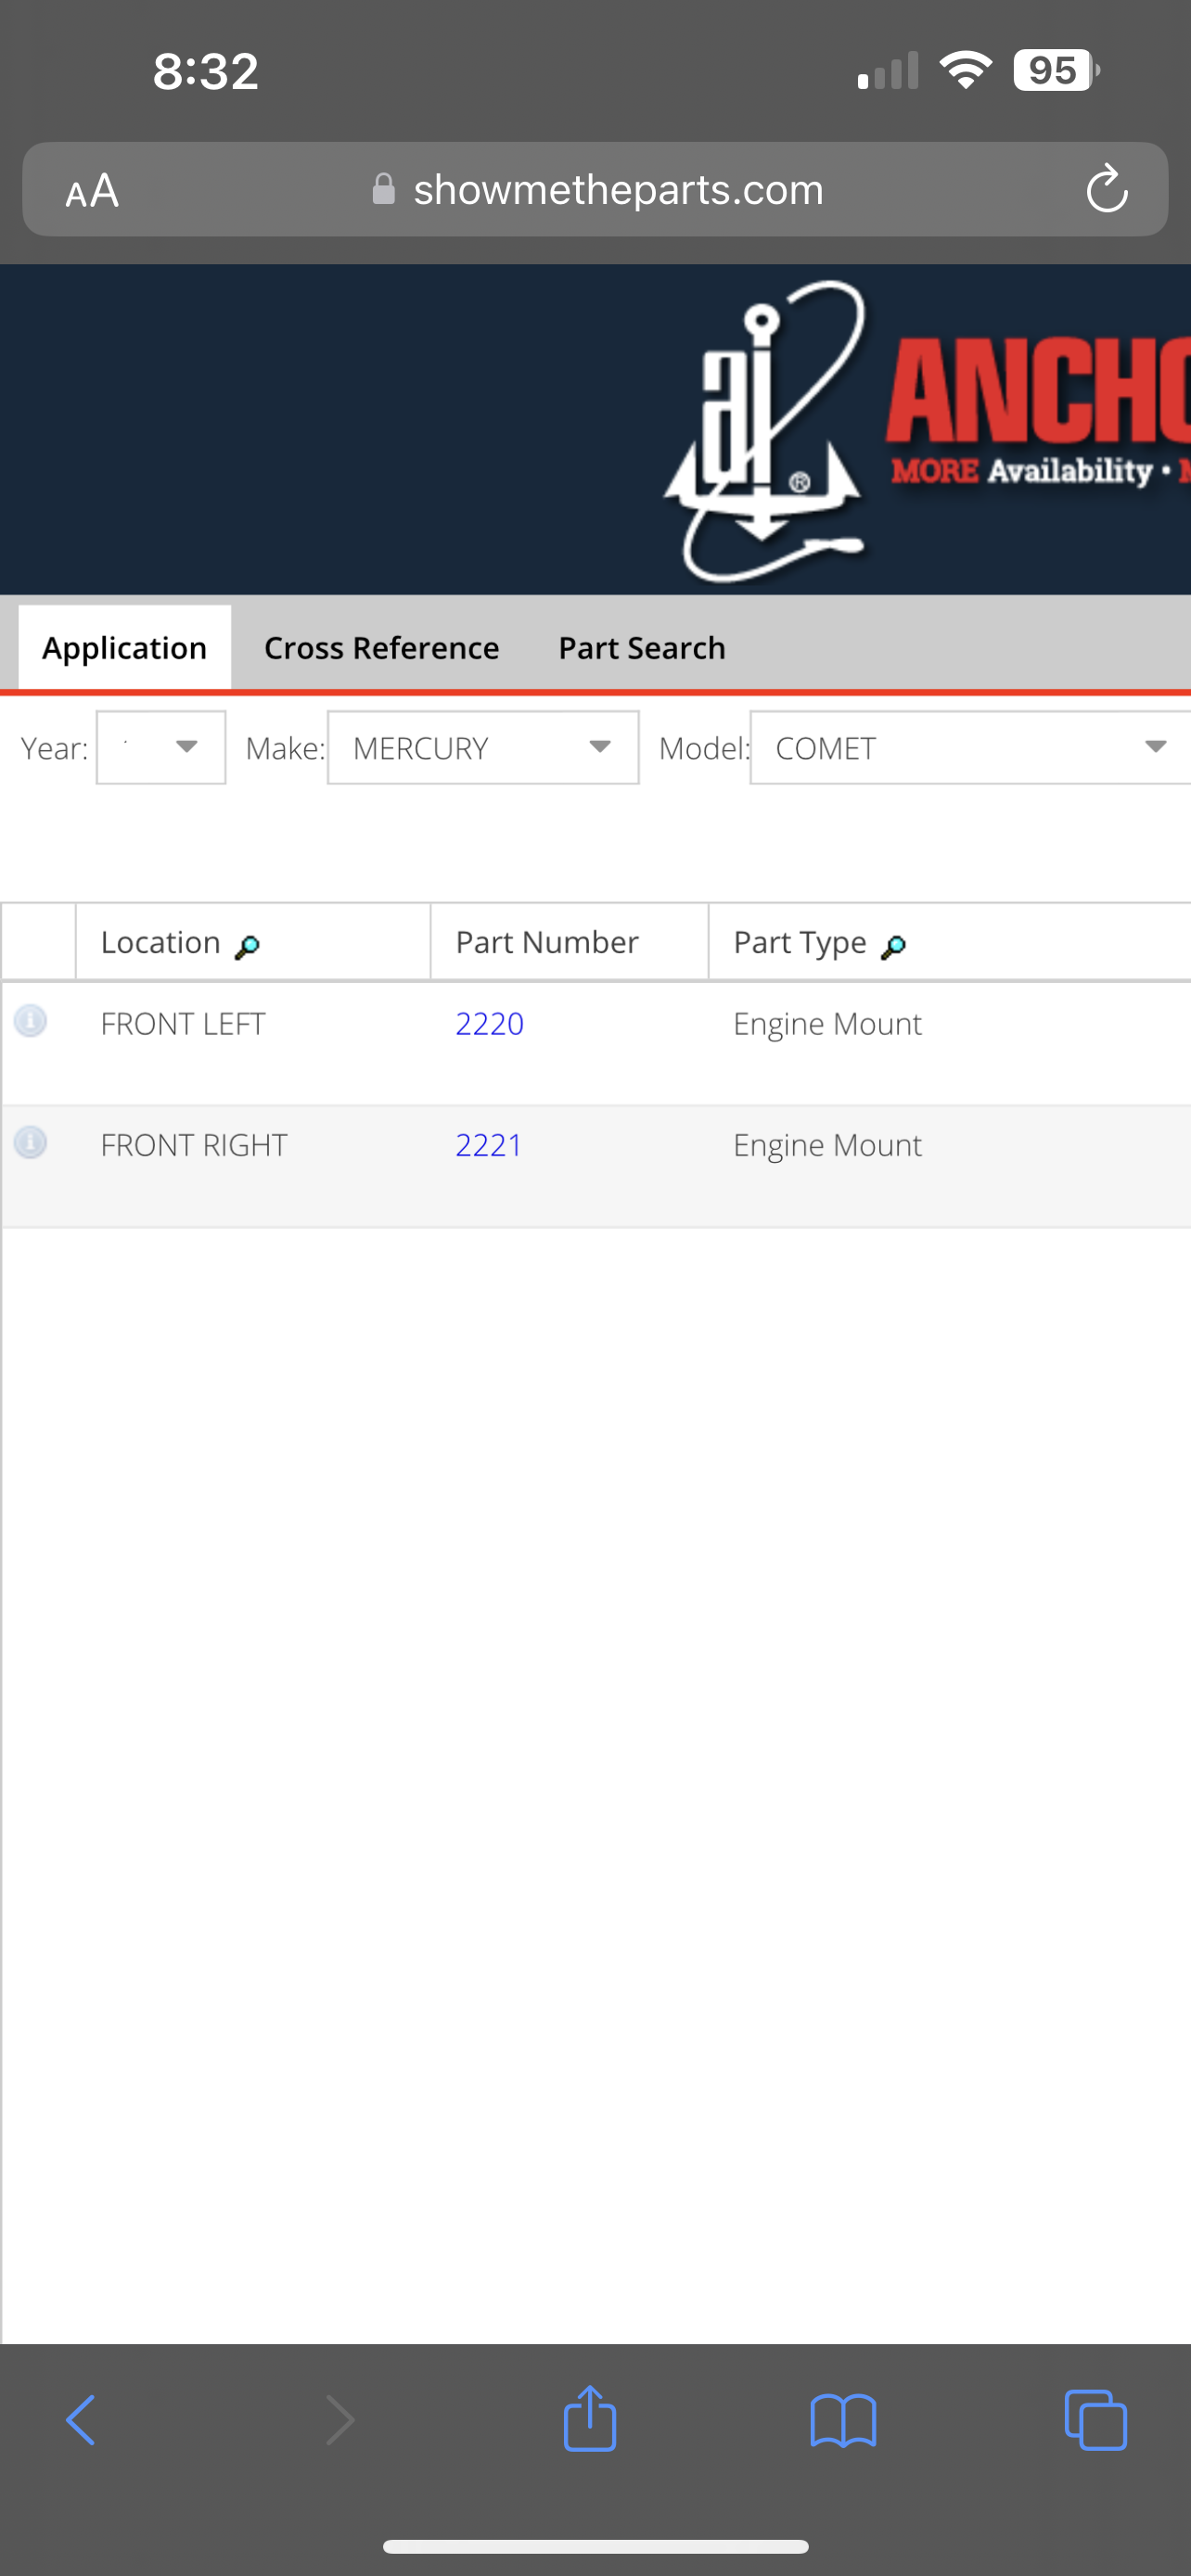
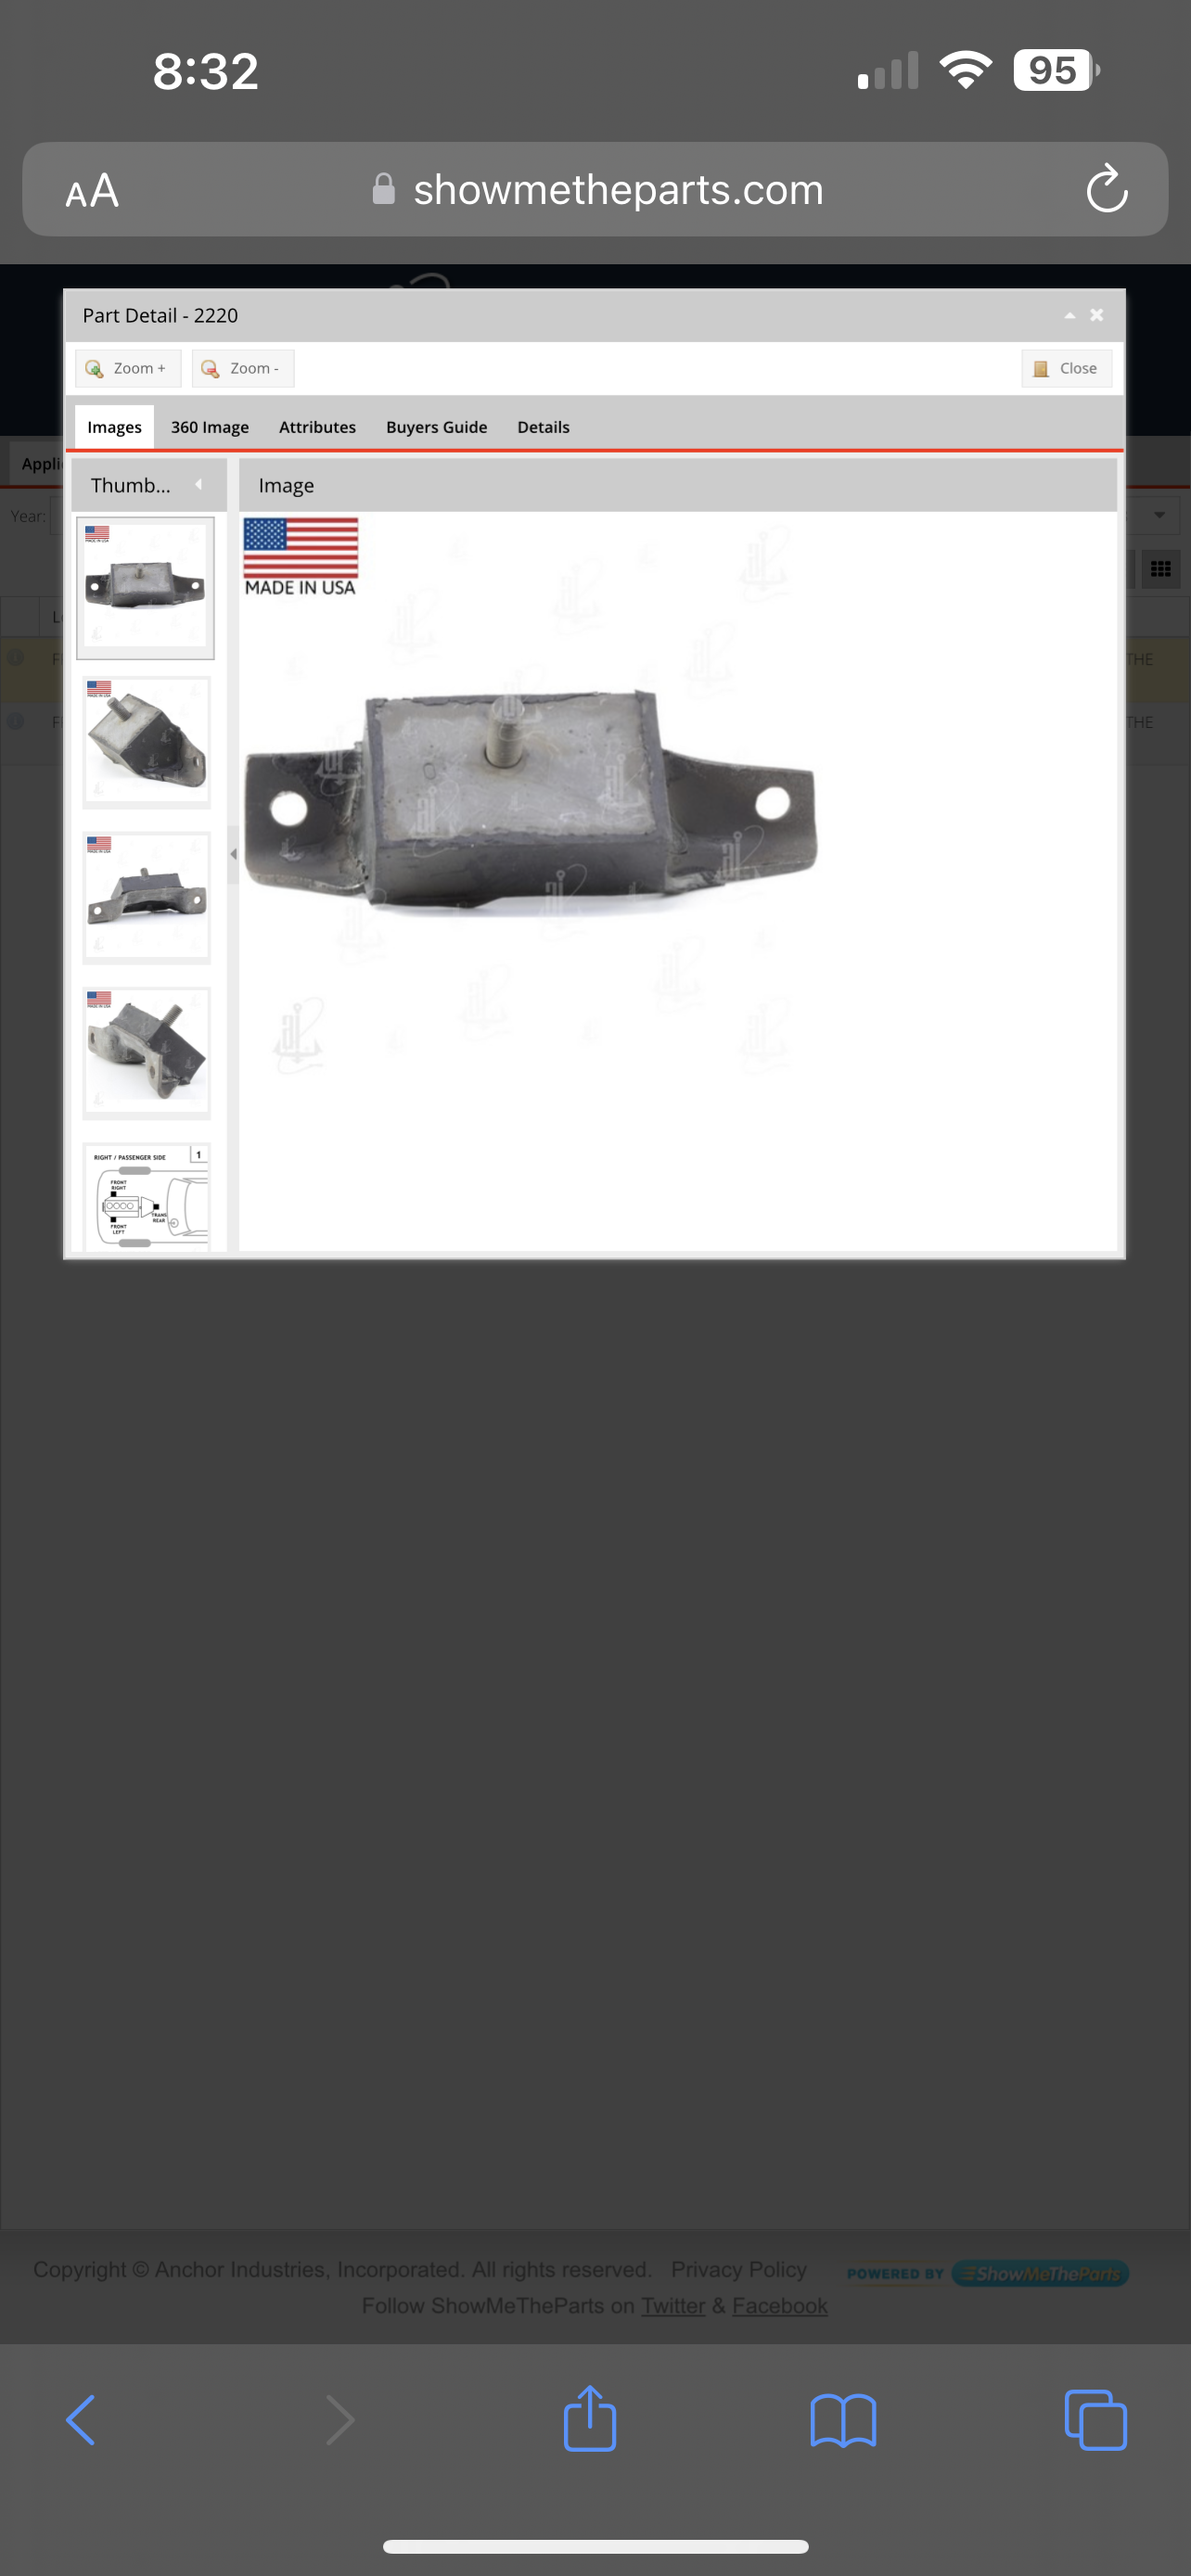
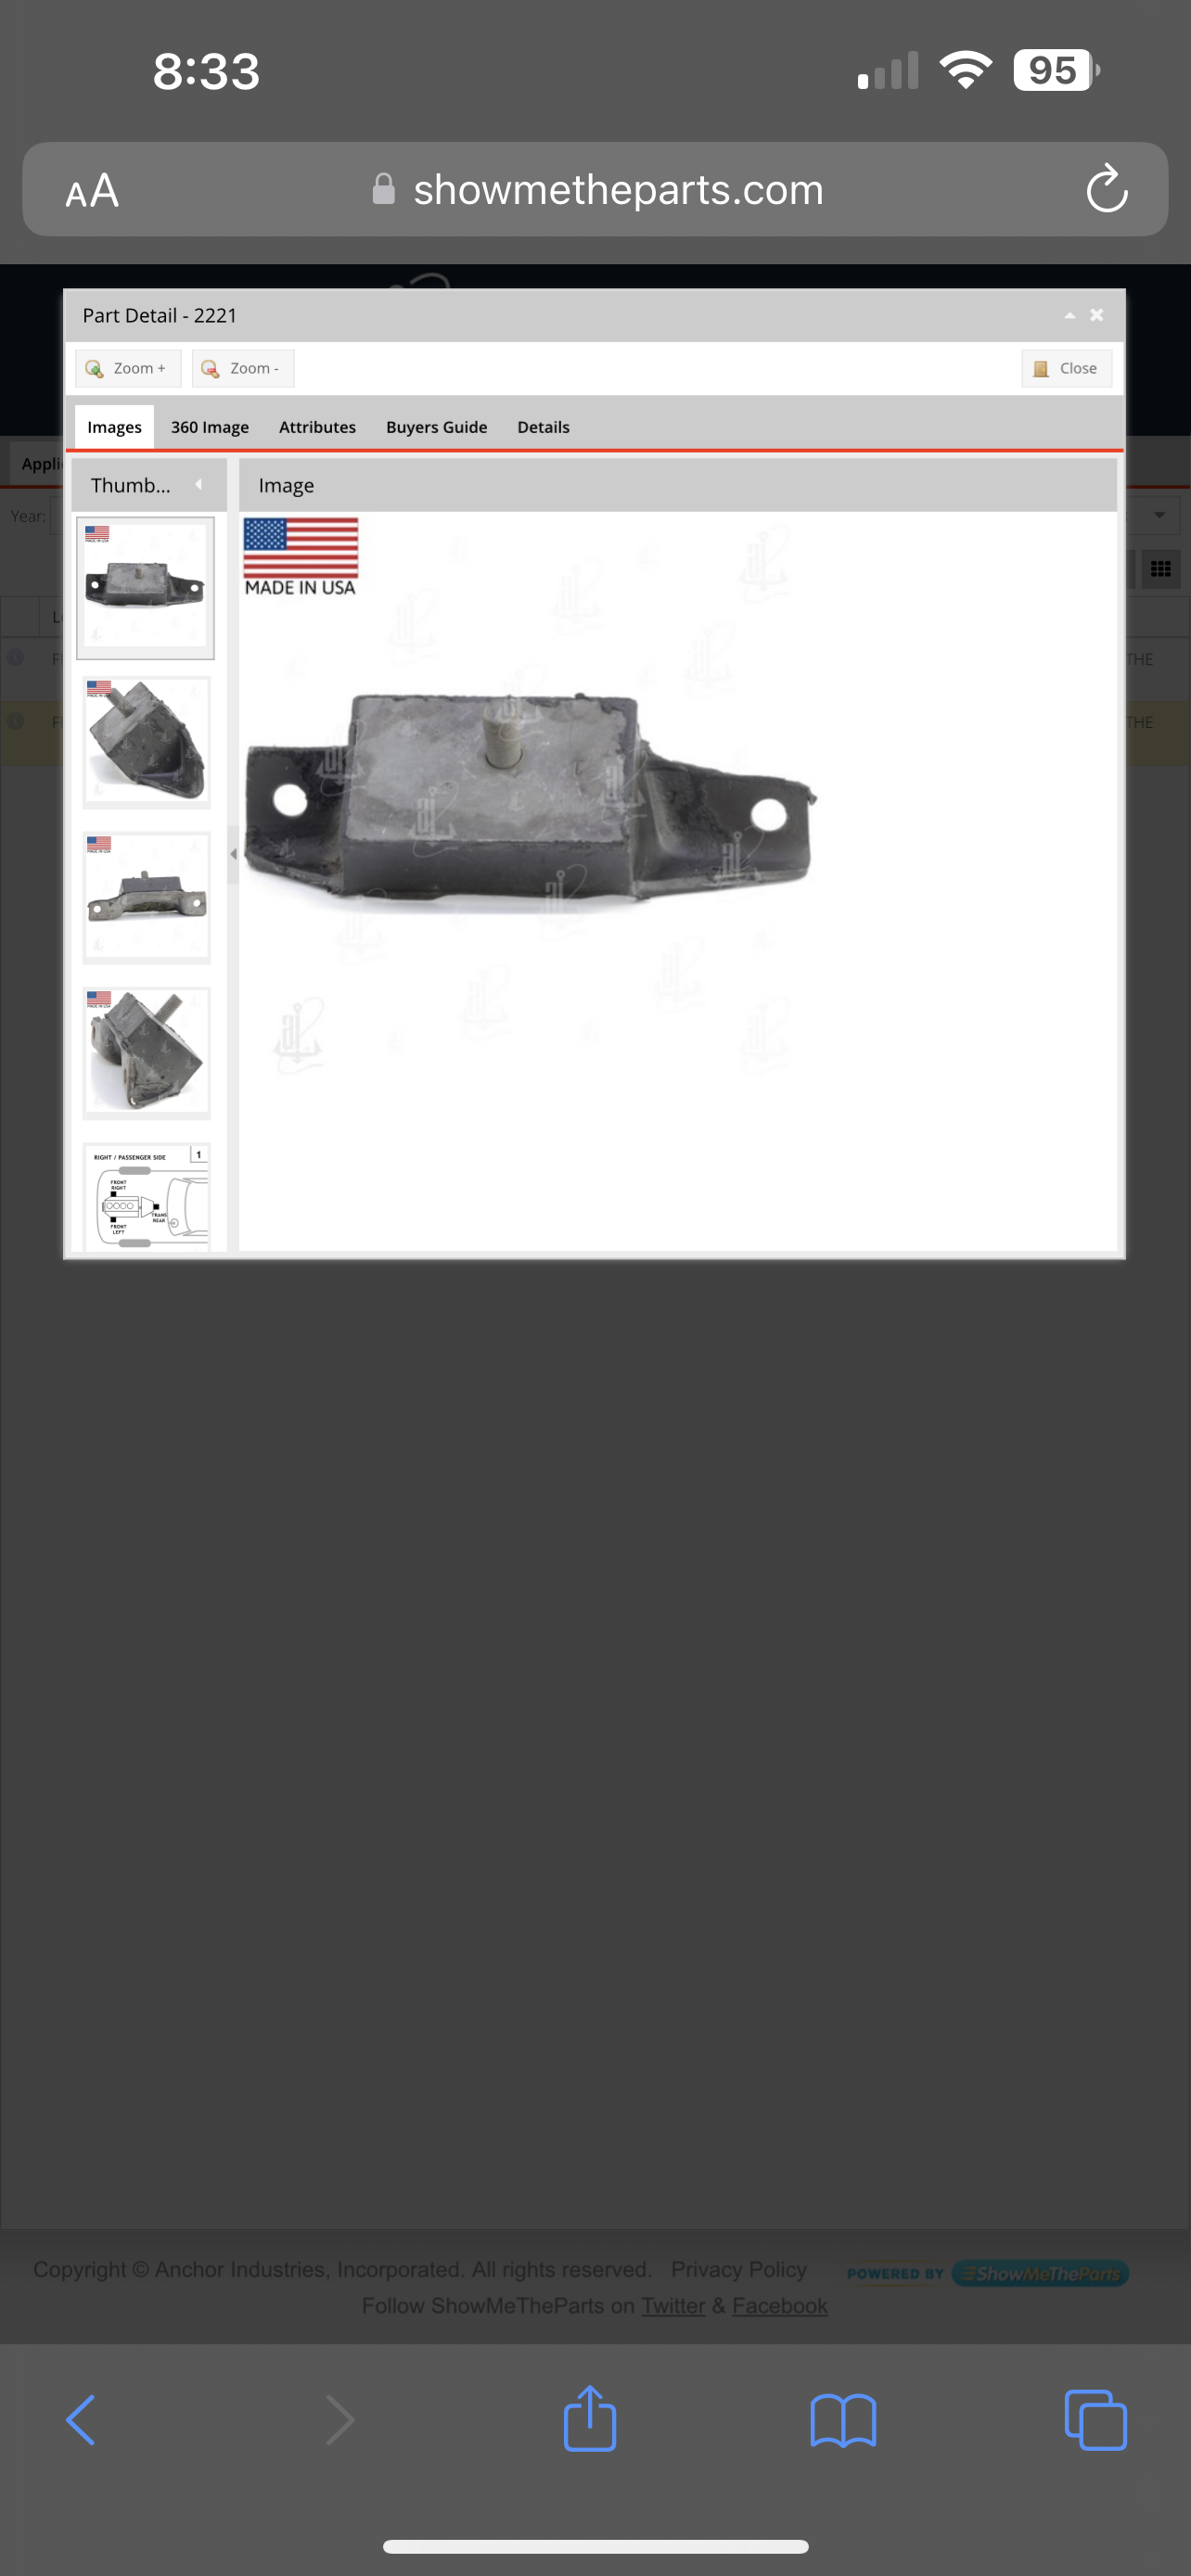
But then I start doing some reading and Anchor lists a LH and RH - 2220 and 2221. Looking at the photo on the Anchor website I see maybe a slight shift in the mounting stud but that is it

Image

Image

Image

The RH listed at NPD is the 2221 but the photo looks the same as the LH 2220.

Image

I thought that the offset in the hole vs stud location of the intermediate bracket cancelled the need for handed upper rubber mounts.

Can anyone tell me what is correct?!?
1964 Cyclone - 2 Dr / HT - A work in progress...

Lou's Comet
Posts: 1544
Joined: Sat Nov 26, 2011 8:56 pm
Location: Jeannette, Pa.

Re: Root's 64 Cyclone Build

Post by Lou's Comet »

2221 is right side mount, 2220 is left side mount.

Lou

User avatar
poboyjo65
Moderator
Posts: 7070
Joined: Thu Oct 20, 2011 9:40 pm
Location: Camden, Tenn.

Re: Root's 64 Cyclone Build

Post by poboyjo65 »

If you want to pin them these are easy to pin with the V shaped intermediate pieces ,after you mock up your motor & get it where you want it for header fitment & all just tighten up the rubber part to the V part & when you take then both out together still bolted tight then you can simply drill a hole thru both & put a big bolt & lock nut thru them both, no counter sinking needed.
Image
Image
Johno

User avatar
Boss/Cyclone
Site Admin
Posts: 2740
Joined: Thu Oct 19, 2006 9:55 pm
Location: South Central Michigan (Near Michigan International Speedway)

Re: Root's 64 Cyclone Build

Post by Boss/Cyclone »

I just changed to 66 Mustang frame mounts and motor mounts. They bolt right up and have after market polyurethane mounts available too.
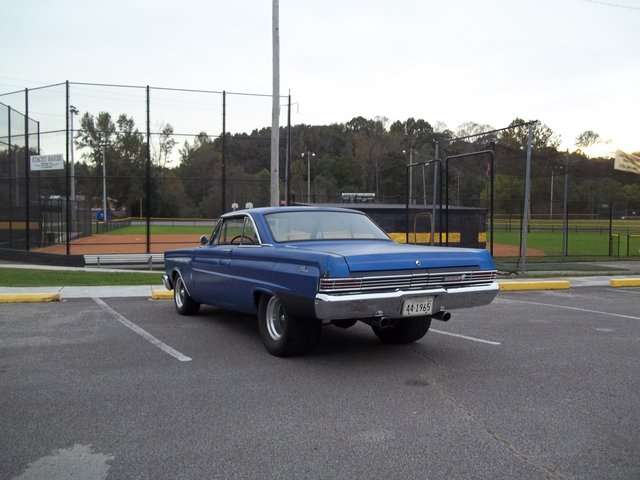
1965 Mercury Cyclone former drag car, 1971 Boss 351 engine, 4 speed, ladder bars, etc. Now returned to a street car.
Image
Larry

User avatar
Boss/Cyclone
Site Admin
Posts: 2740
Joined: Thu Oct 19, 2006 9:55 pm
Location: South Central Michigan (Near Michigan International Speedway)

Re: Root's 64 Cyclone Build

Post by Boss/Cyclone »

1965 Mercury Cyclone former drag car, 1971 Boss 351 engine, 4 speed, ladder bars, etc. Now returned to a street car.
Image
Larry

Rootsy
Posts: 166
Joined: Tue May 04, 2010 3:27 pm
Location: La Salle, Michigan

Re: Root's 64 Cyclone Build

Post by Rootsy »

I picked up an Anchor 2221 from Advanced auto today on my way to work. They had one in stock and it cost me less than $7 with tax (seriously). The 2220 is like $11 and change at the moment.

So if anyone needs mounts that is the place to shop locally If your local store has them on hand.

By comparison NPD broke it off @ $21 a piece. Car parts.com seems to be pretty inexpensive too. But otherwise prices are all over the map. Gotta love the Internet.

Update:

Removed the old rubber mounts from the mid mount brackets and both of them are marked 2220. Guess that is why I was scratching my head. Just need to figure out which mid plate goes to which side. I don't see a R or L marked on them. The hole vs stud location is different between the two, that is obvious.

My Google FU was strong this morning and stumbled across this resource. Case closed.

http://www.kpautomotive.com/tech-tips.html
1964 Cyclone - 2 Dr / HT - A work in progress...

Rootsy
Posts: 166
Joined: Tue May 04, 2010 3:27 pm
Location: La Salle, Michigan

Re: Root's 64 Cyclone Build

Post by Rootsy »

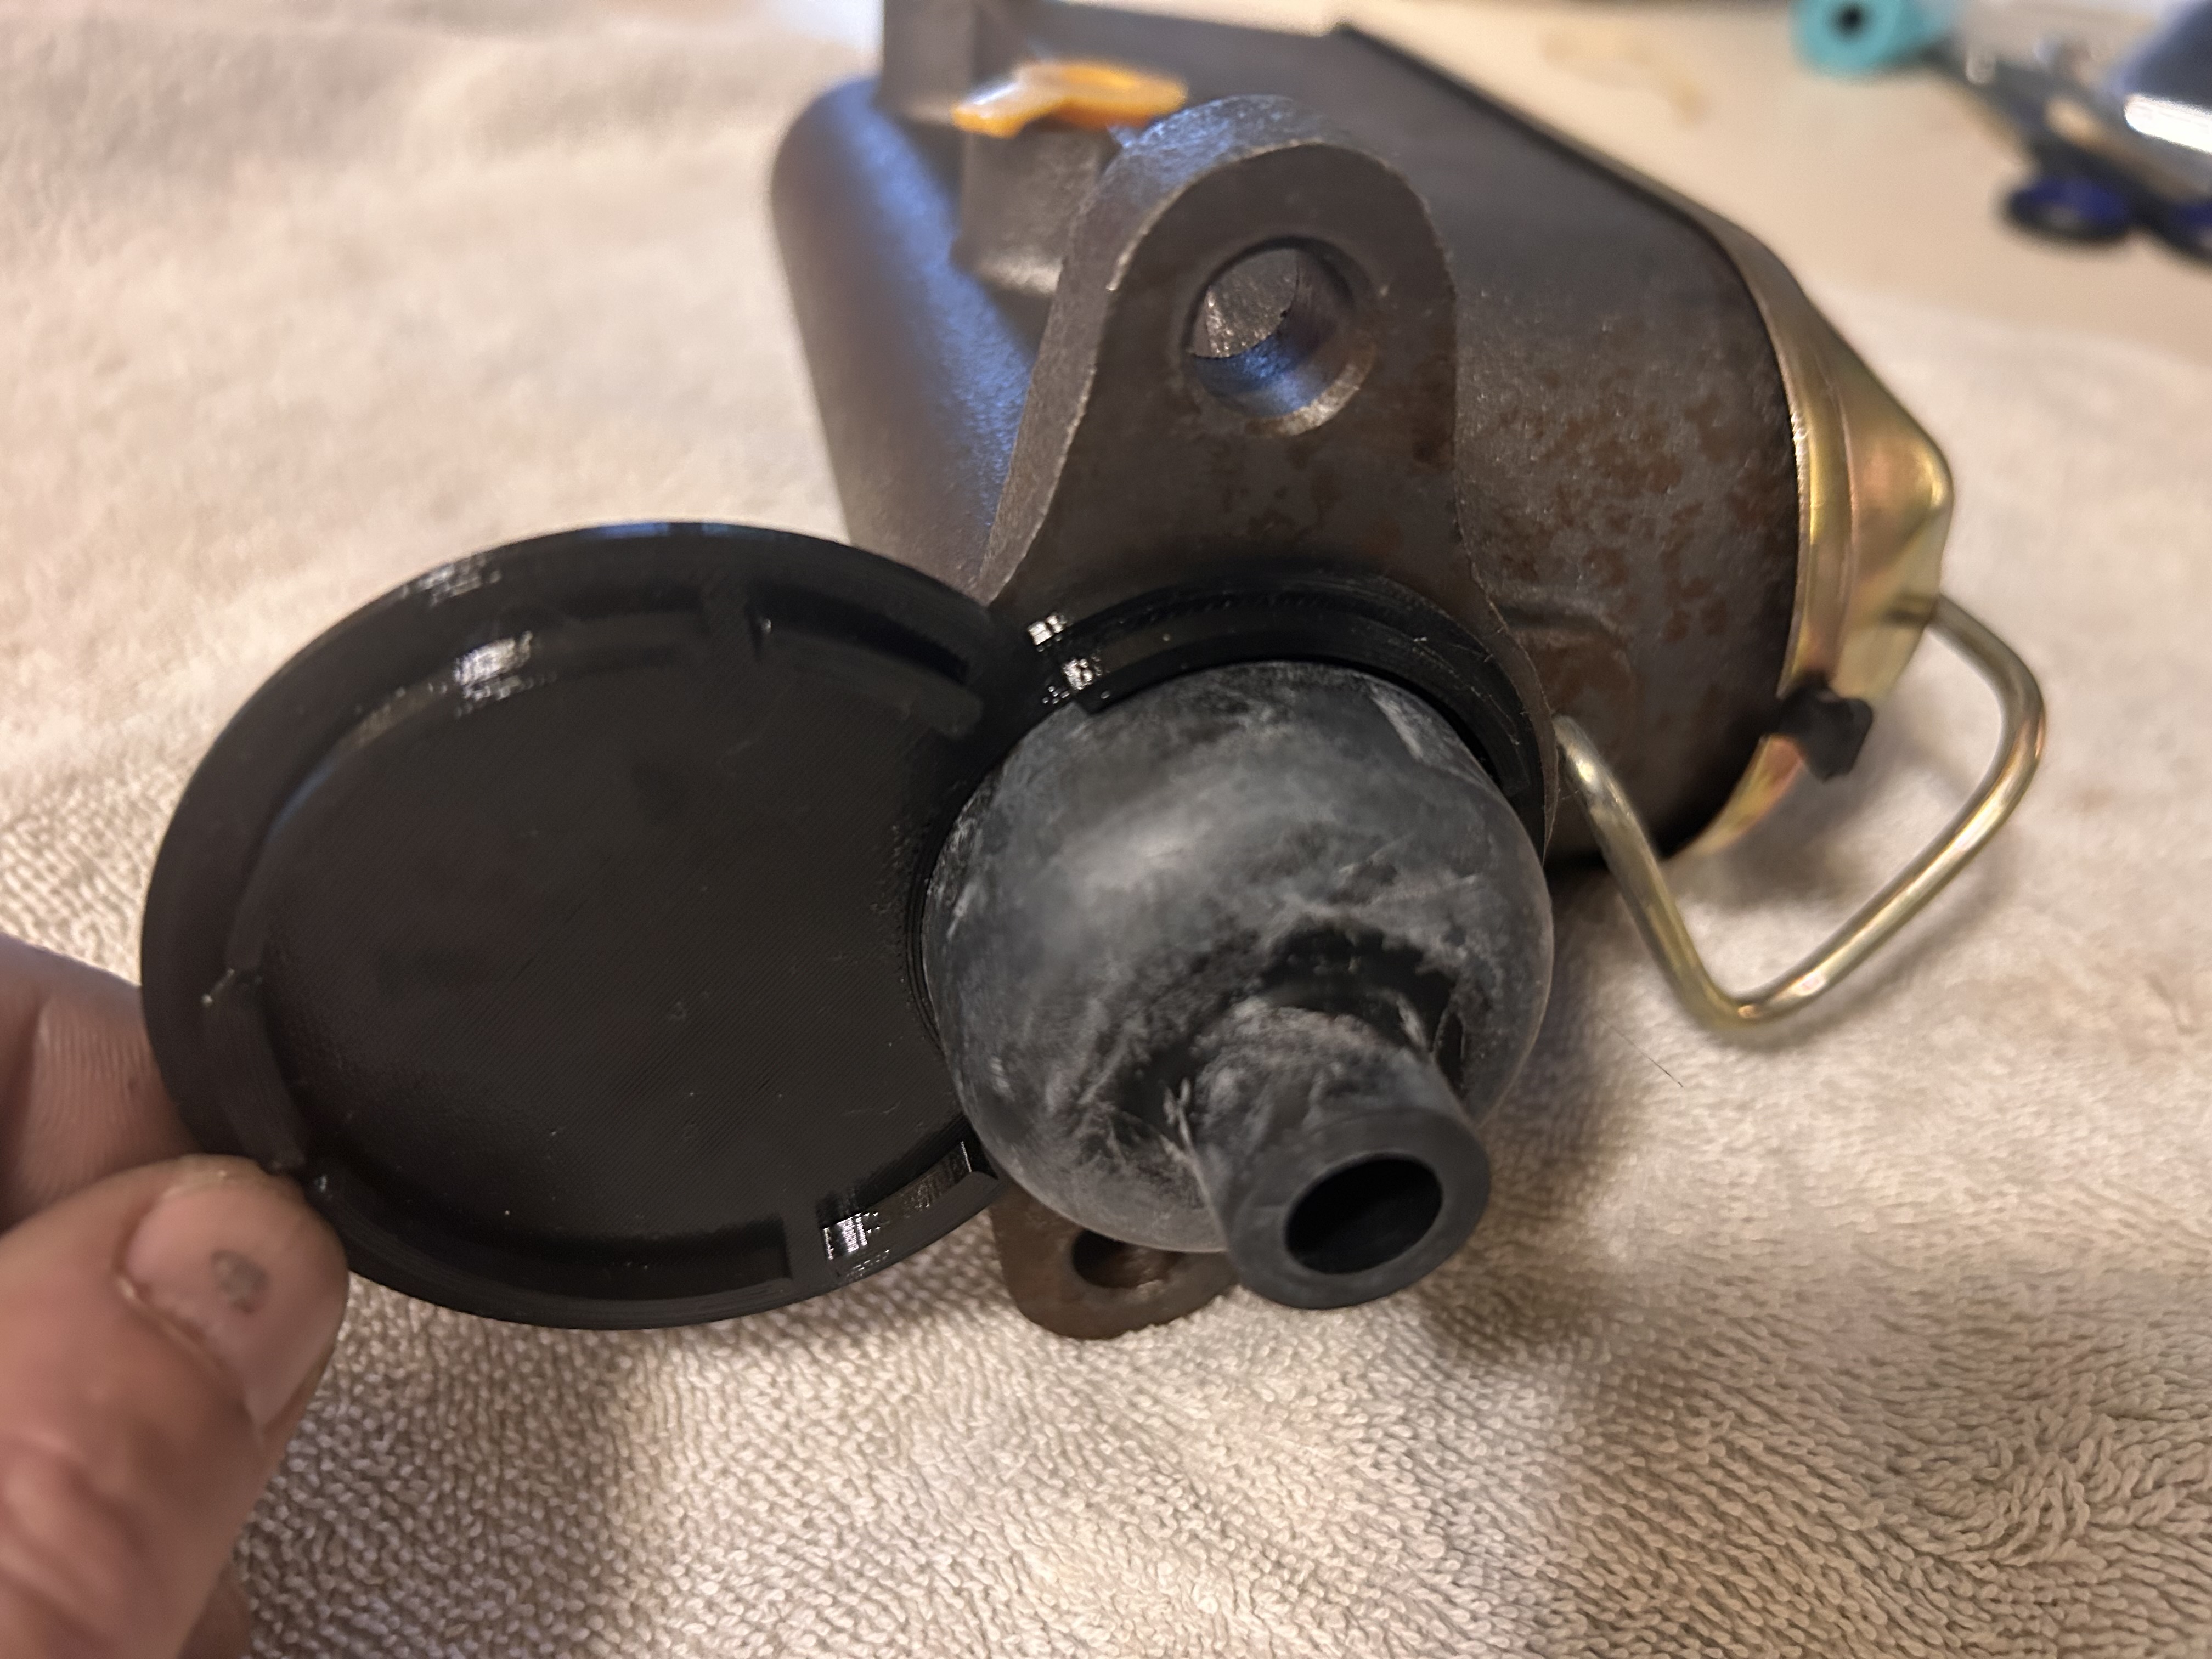
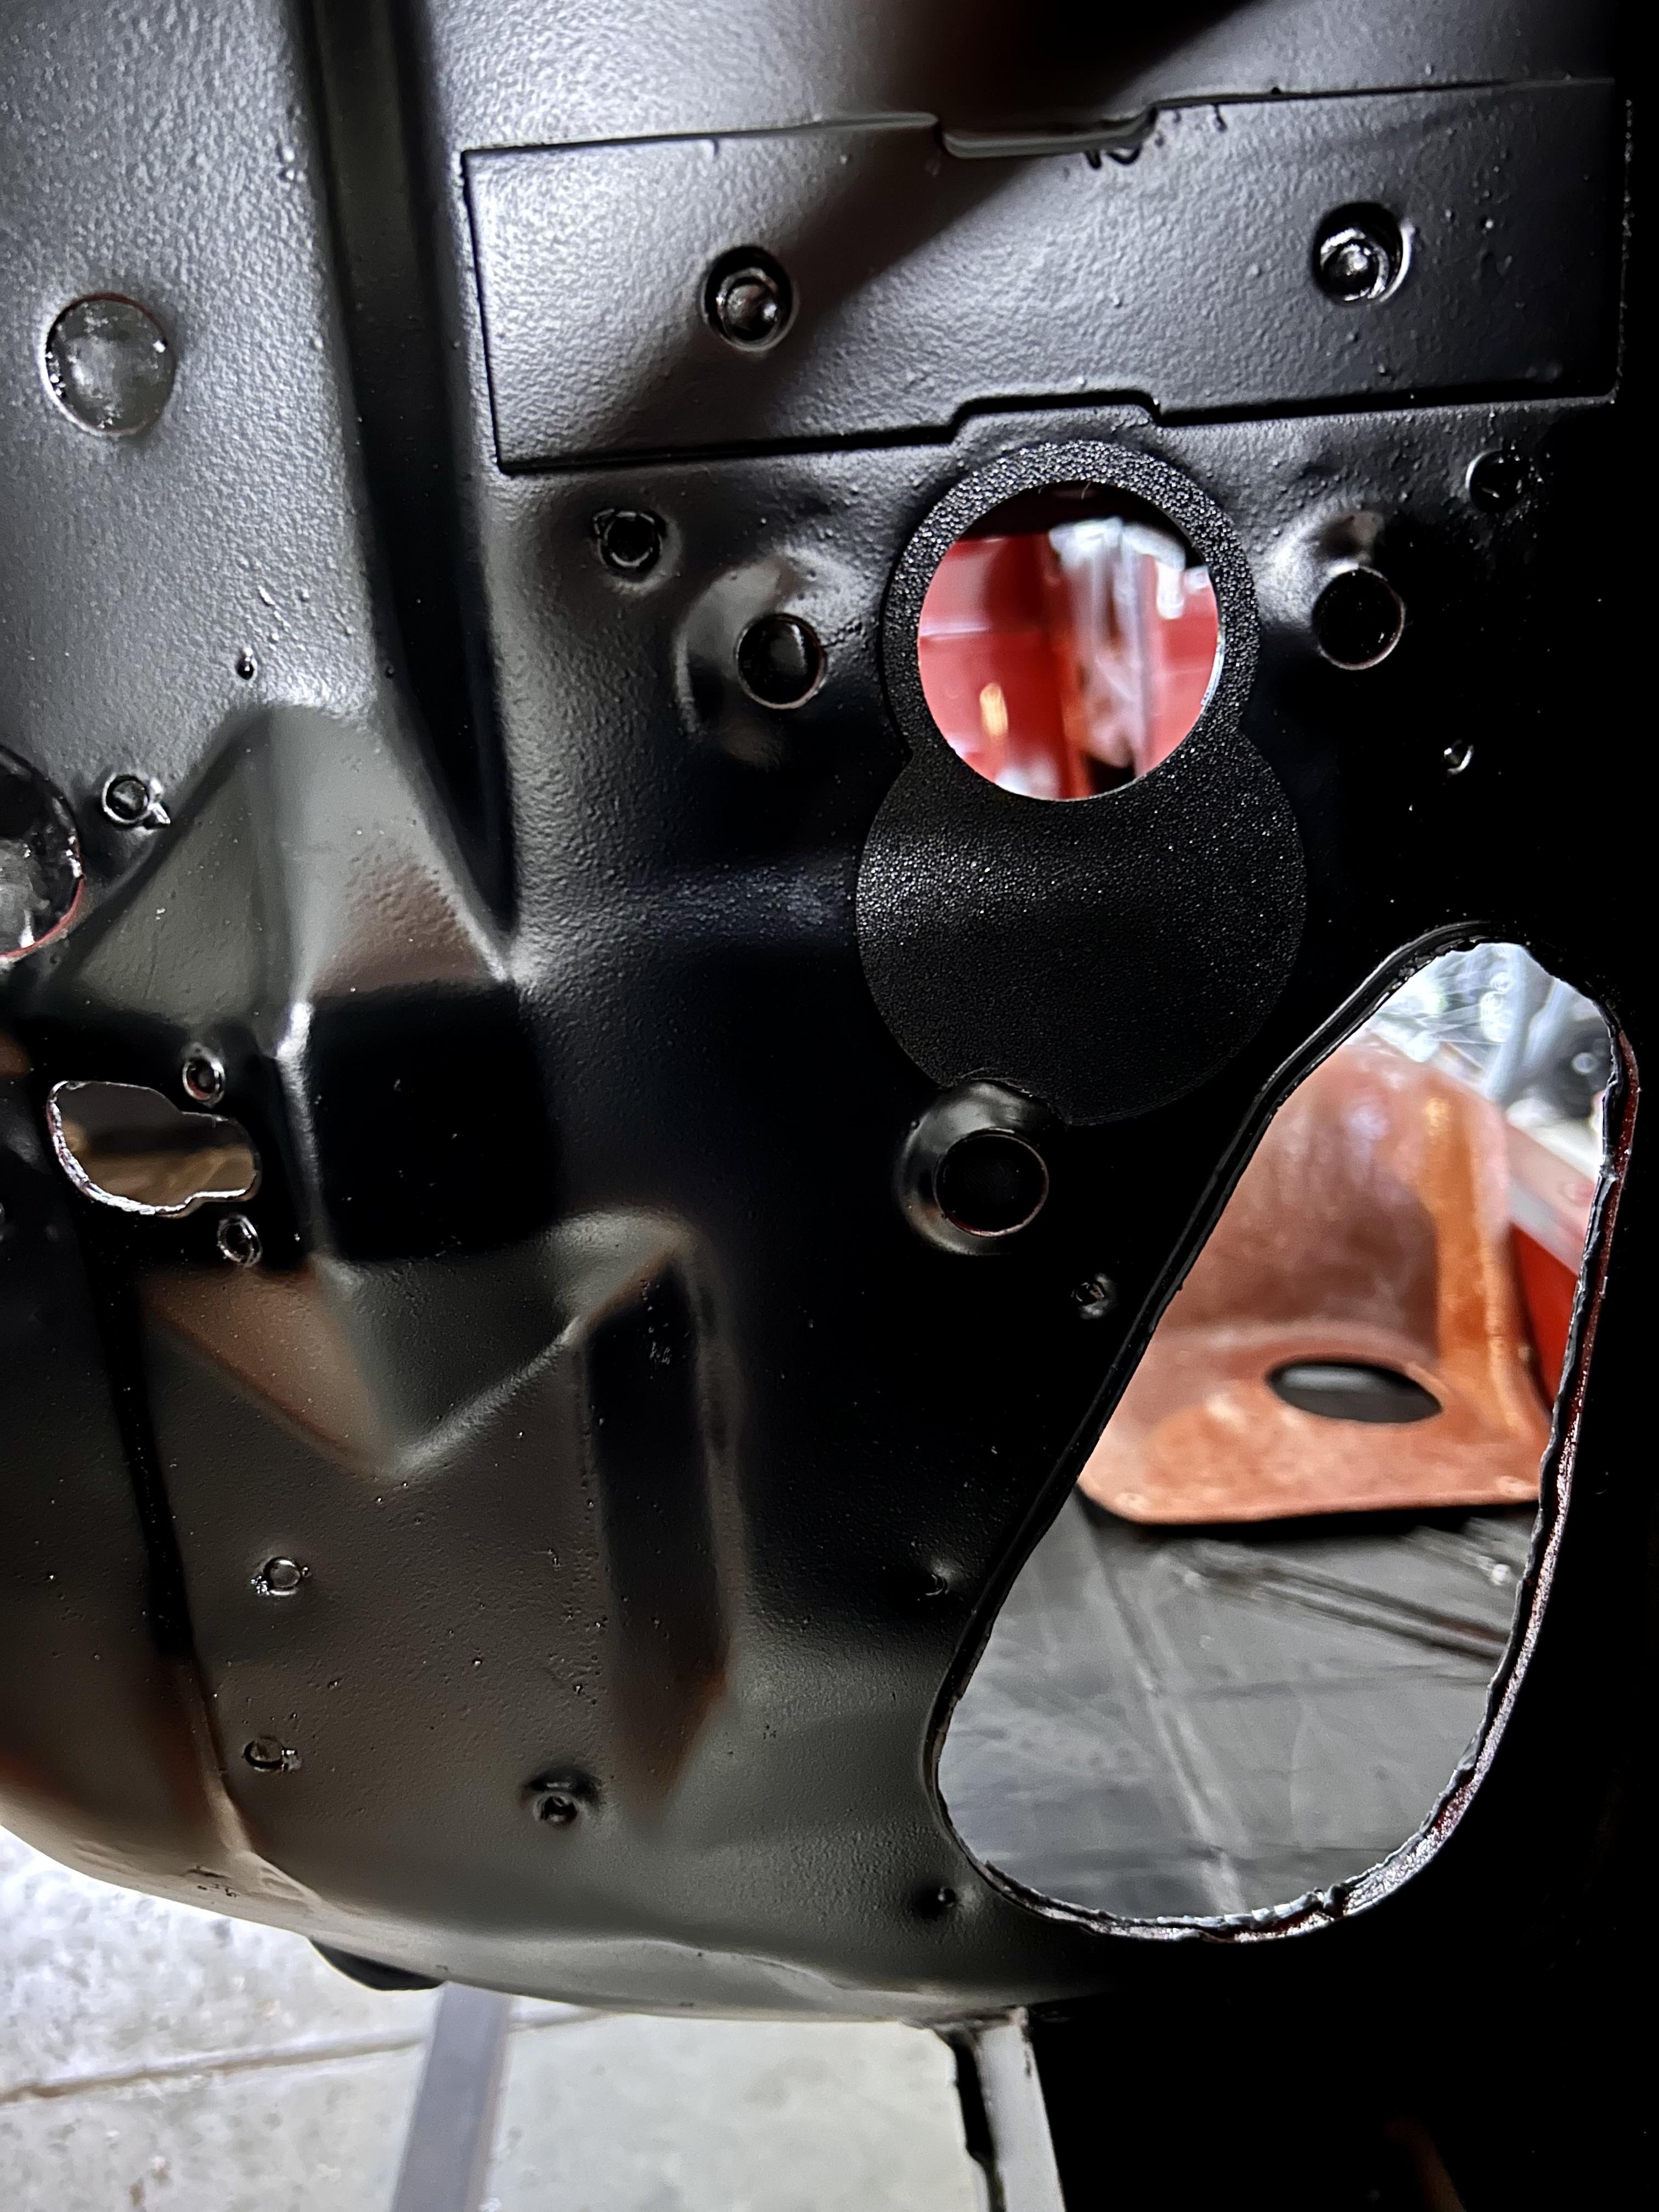
Since I have this motor mount thing figured out on to the next problem - the unsightly extra hole from the PB booster cut below the hole for the MB master. Had I thought this through earlier I would have just put a patch in it when I was welding everything else up. Same for a few extra holes that are open for whatever reason. But I am too far along and don’t feel like welding plugs in. So next best thing, block off plates. Time to fire up Solidworks and put the 3D printer to use.

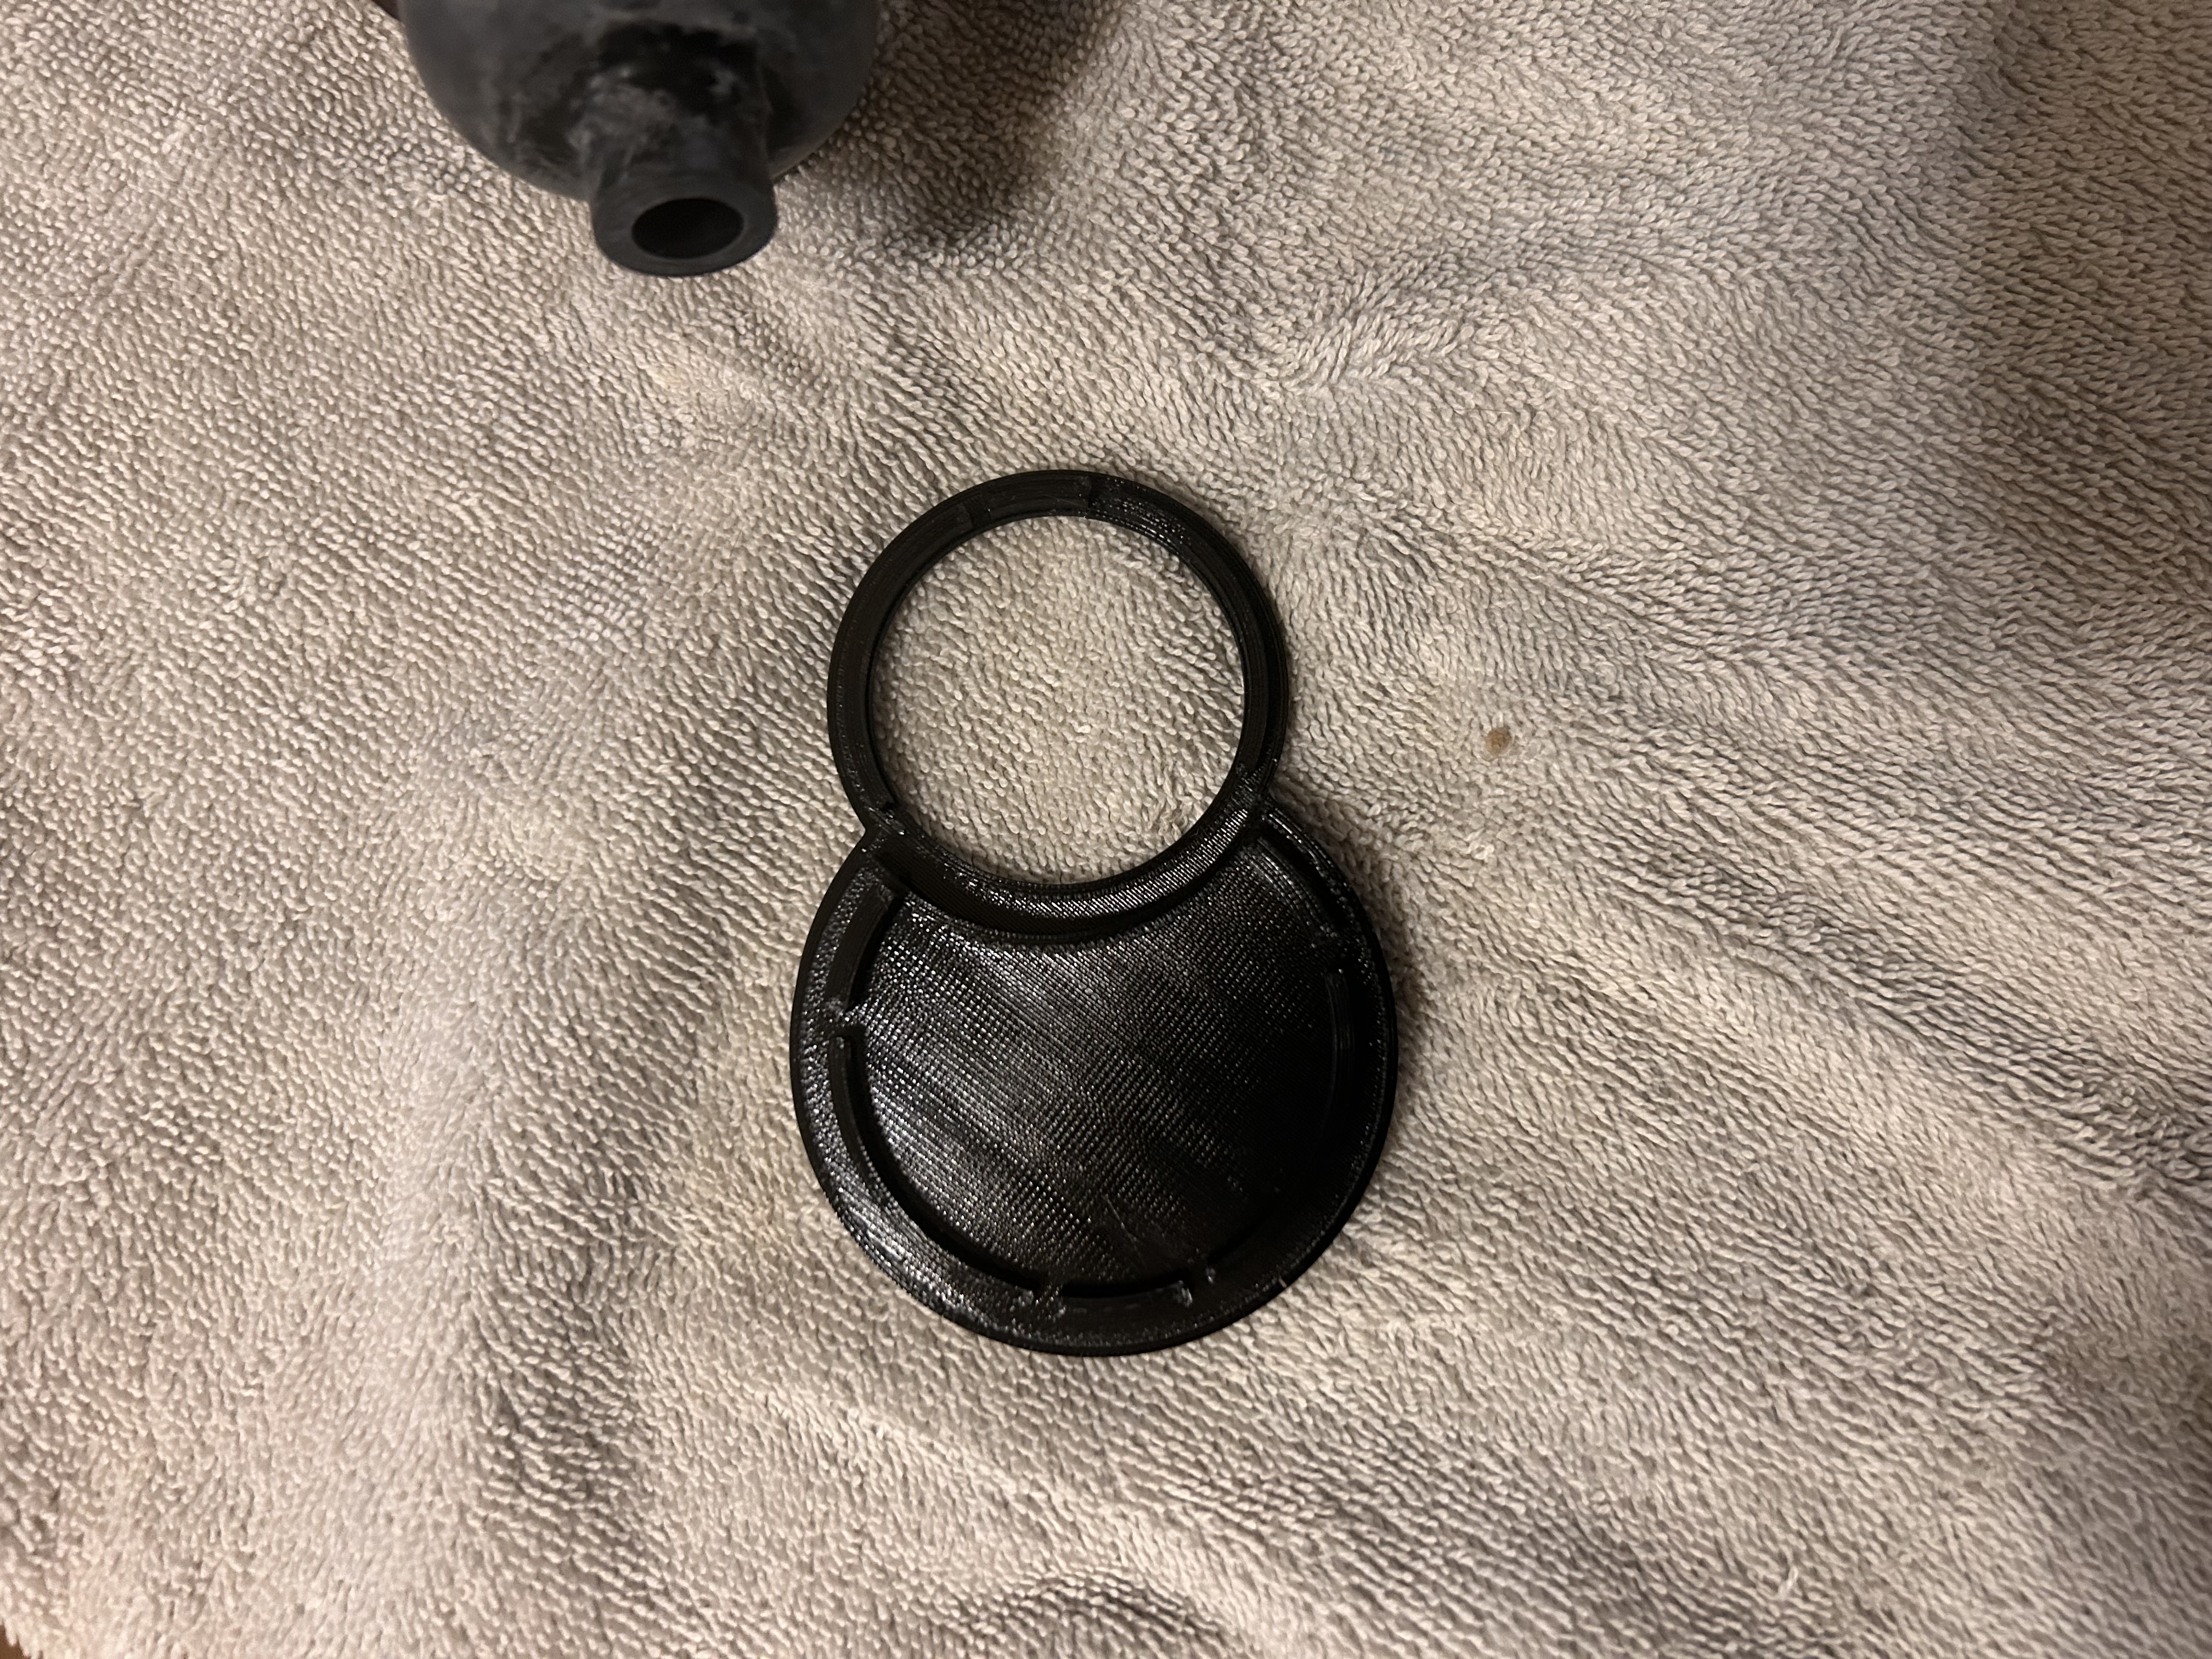
Took a few measurements, 30 minutes of solid modeling and post processing and an hour of printing and I had a prototype in black PETG material. PET is what your pop bottles are made of. For 3D printing the material is modified with a glycol that allows it to melt and flow for printing. It is a UV stable and tough material with good strength, some flexibility and it can be sanded and painted. It melts at like 220 C too so no real issues with it under the hood.
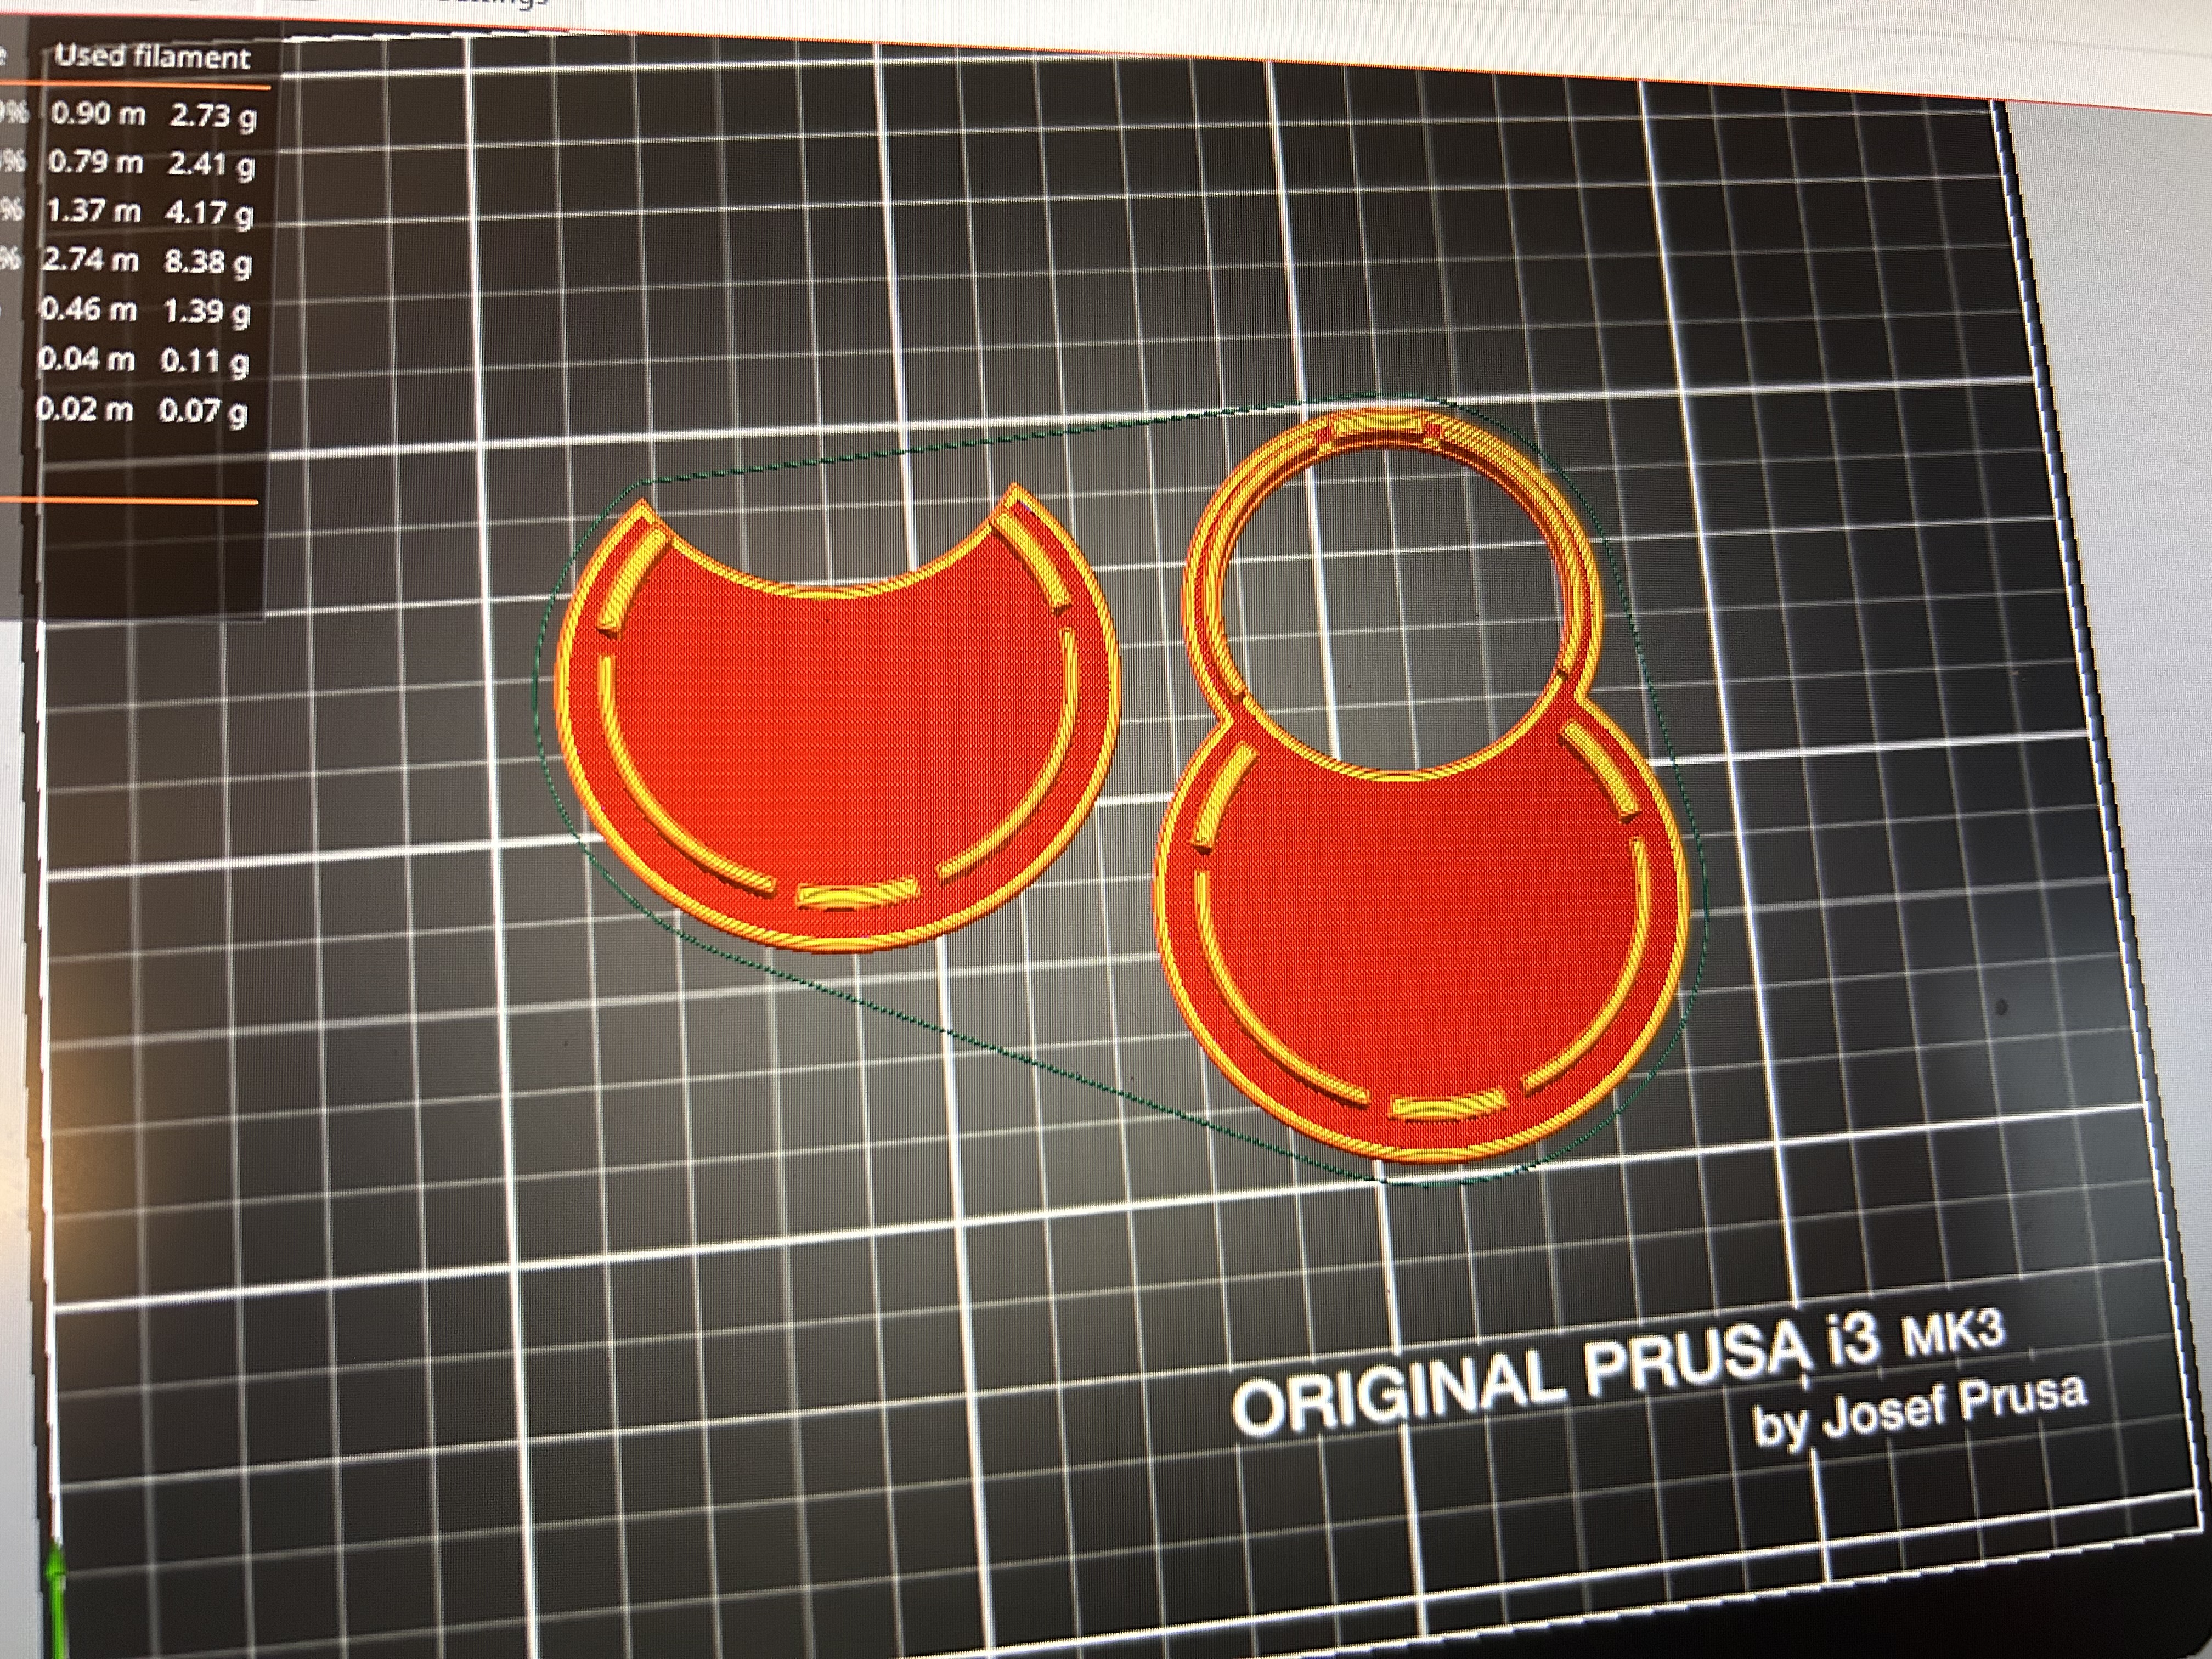
Image

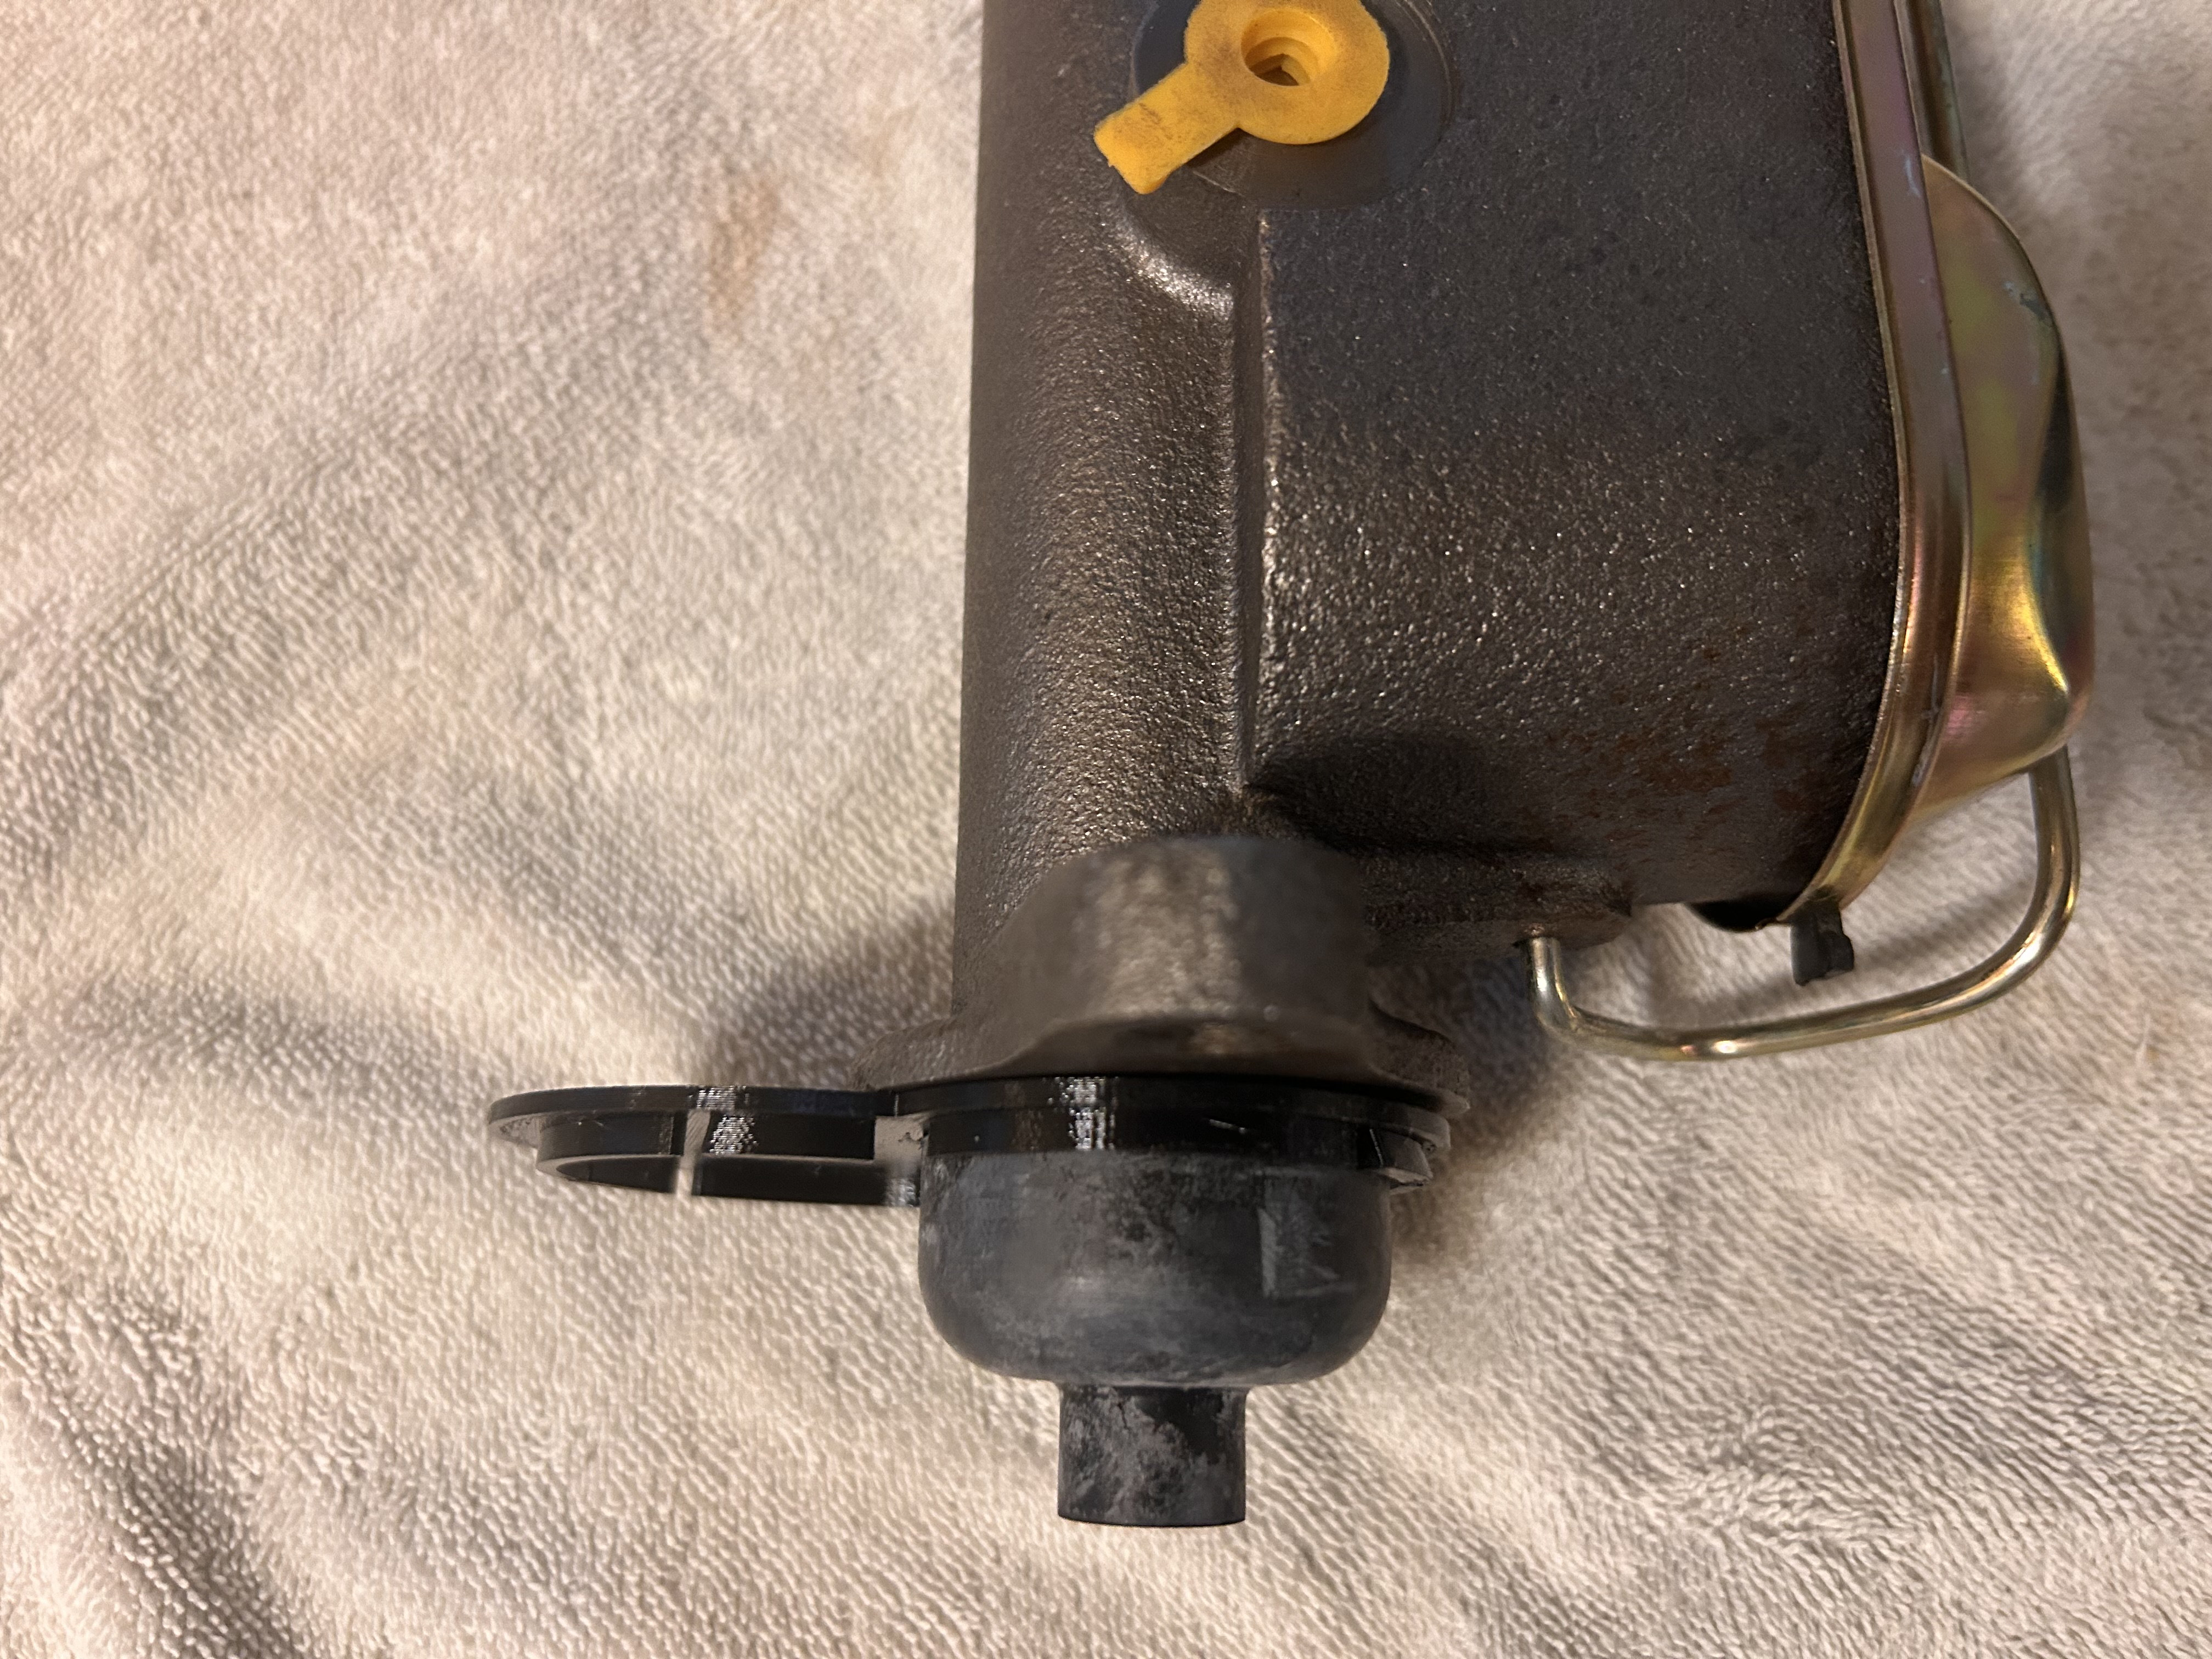
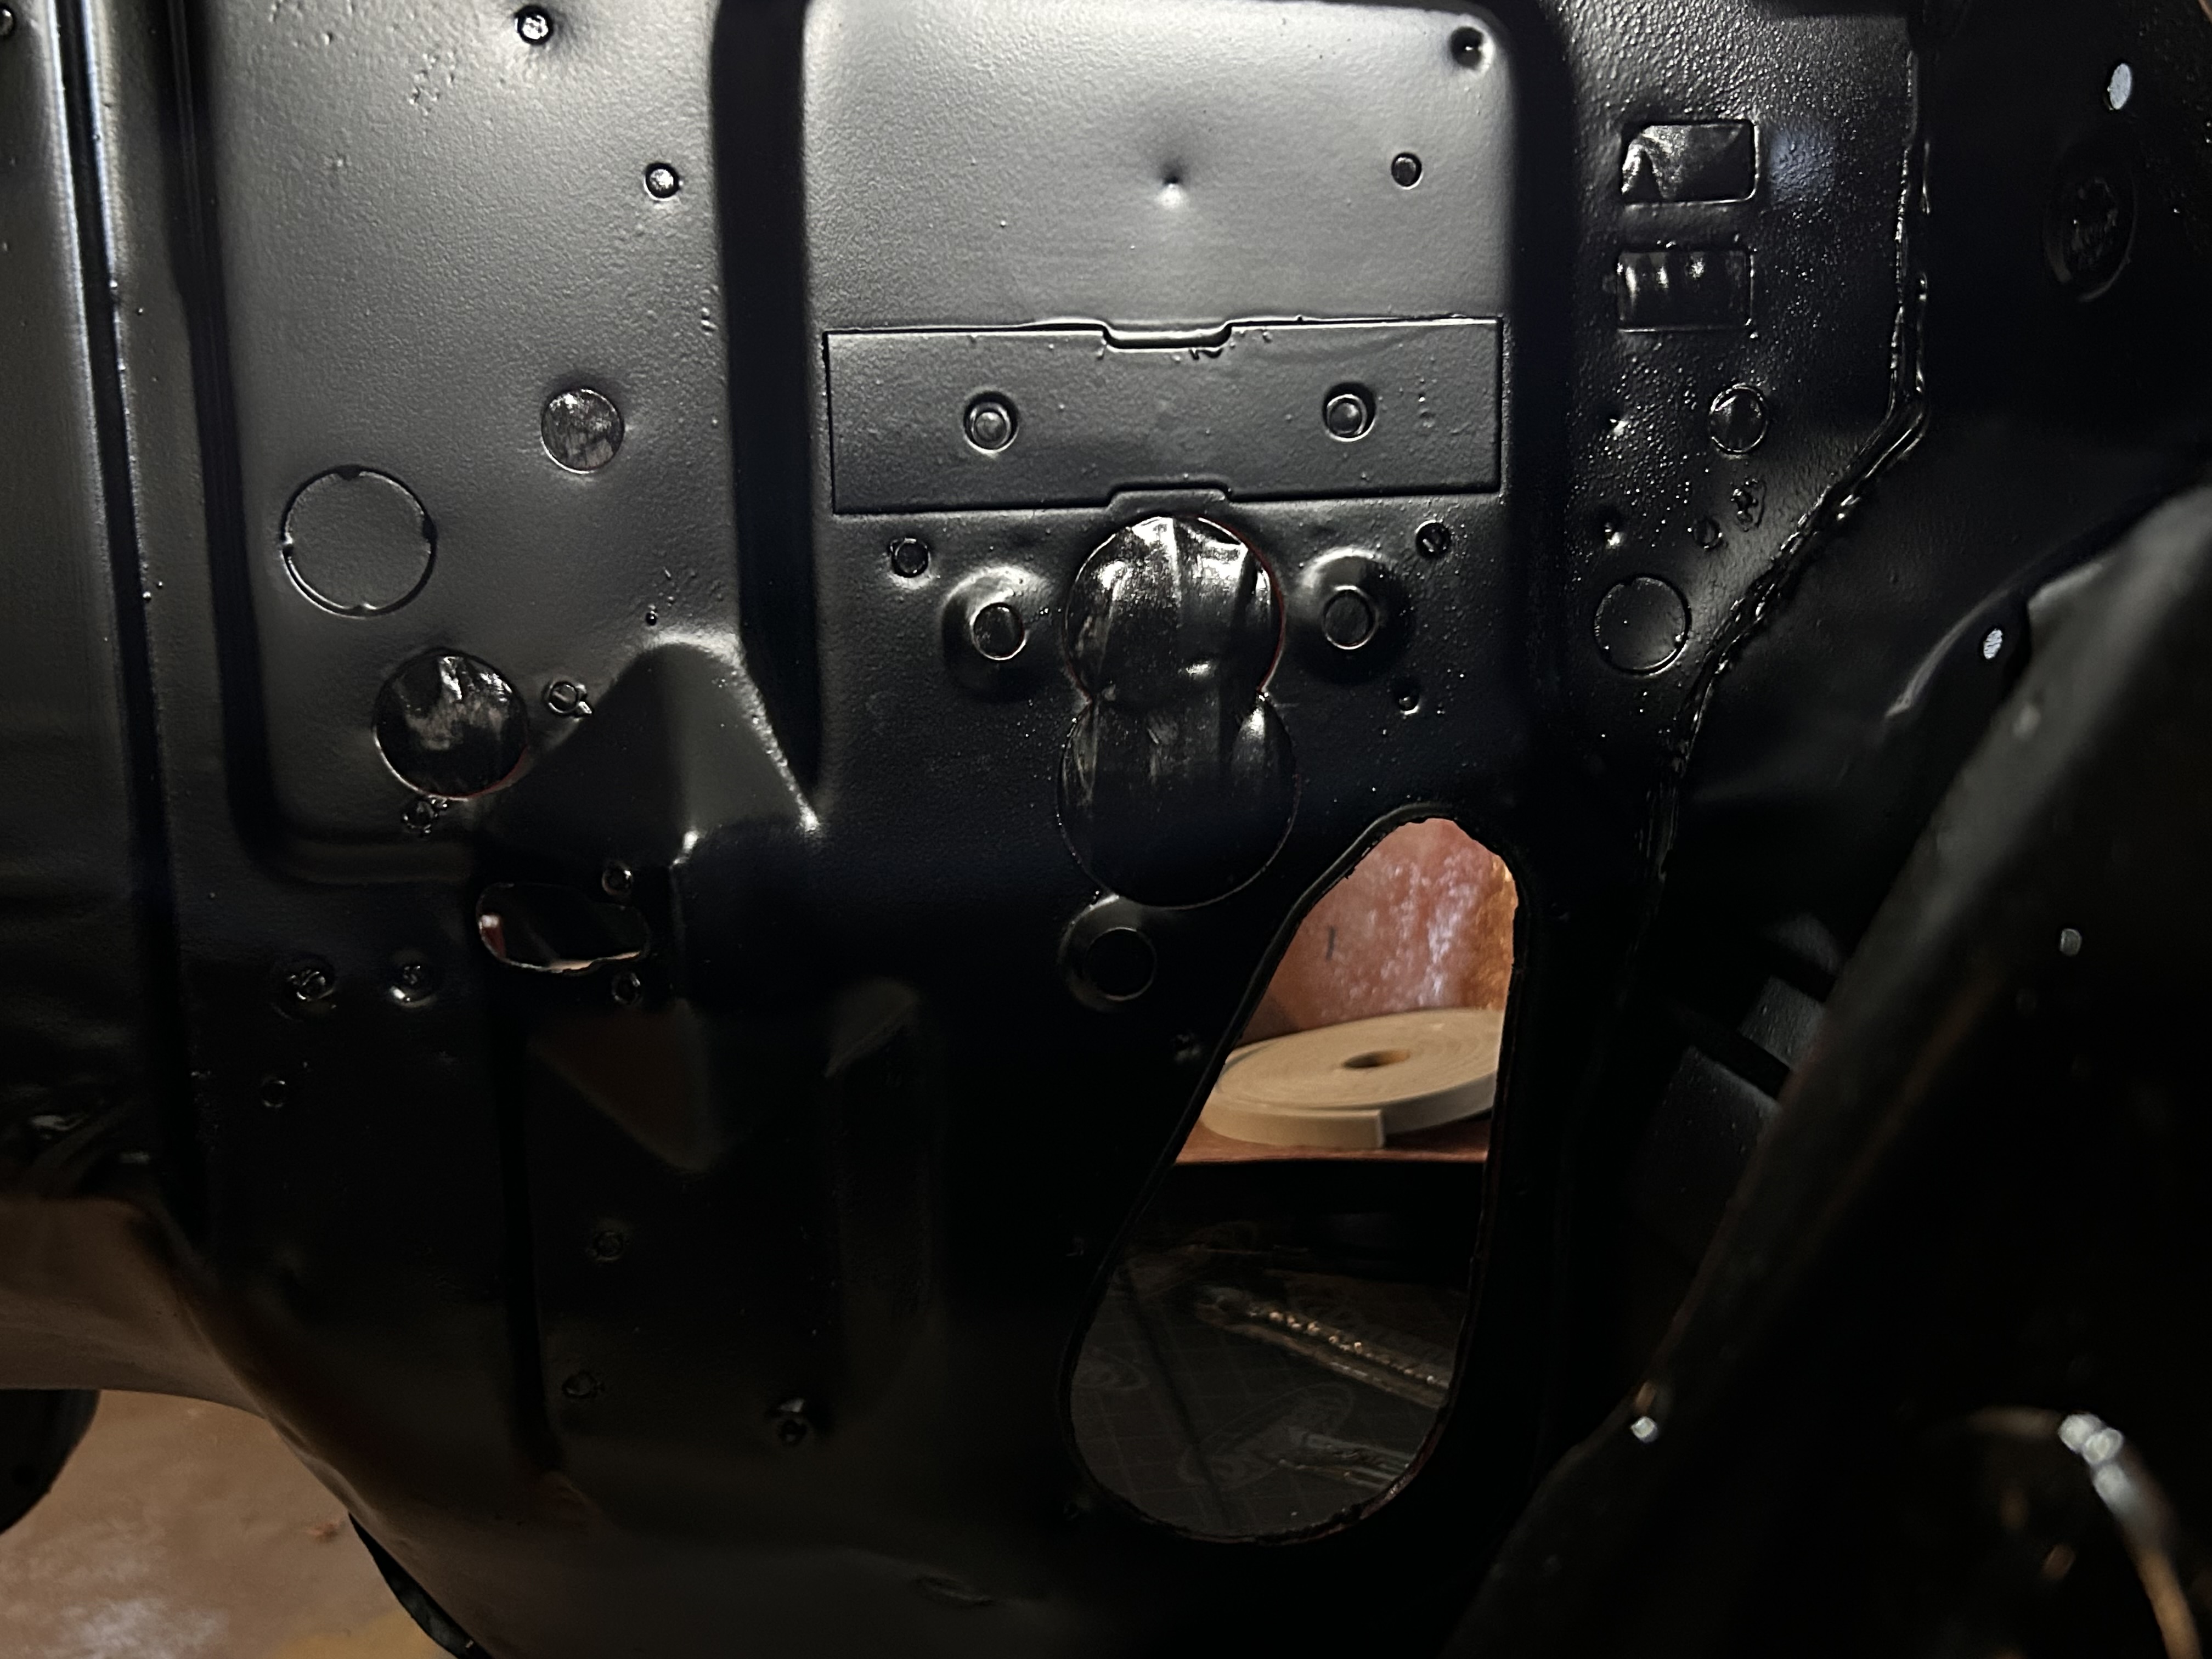
Test fitting went almost flawlessly. The plate blocks fhe bottom hole and also closes up the gap between the top hole and the new MC boot. The plate has some features that snap into the cutout to retain it. It is also flanged so a bead of sealant can be applied if one so desires to seal it to the firewall
Image

Image

Image

I needed to add a scallop for the 3rd bolt hole used to secure the plate that mounts the PB booster and MC to the firewall. Course rat tail to the rescue.
Image

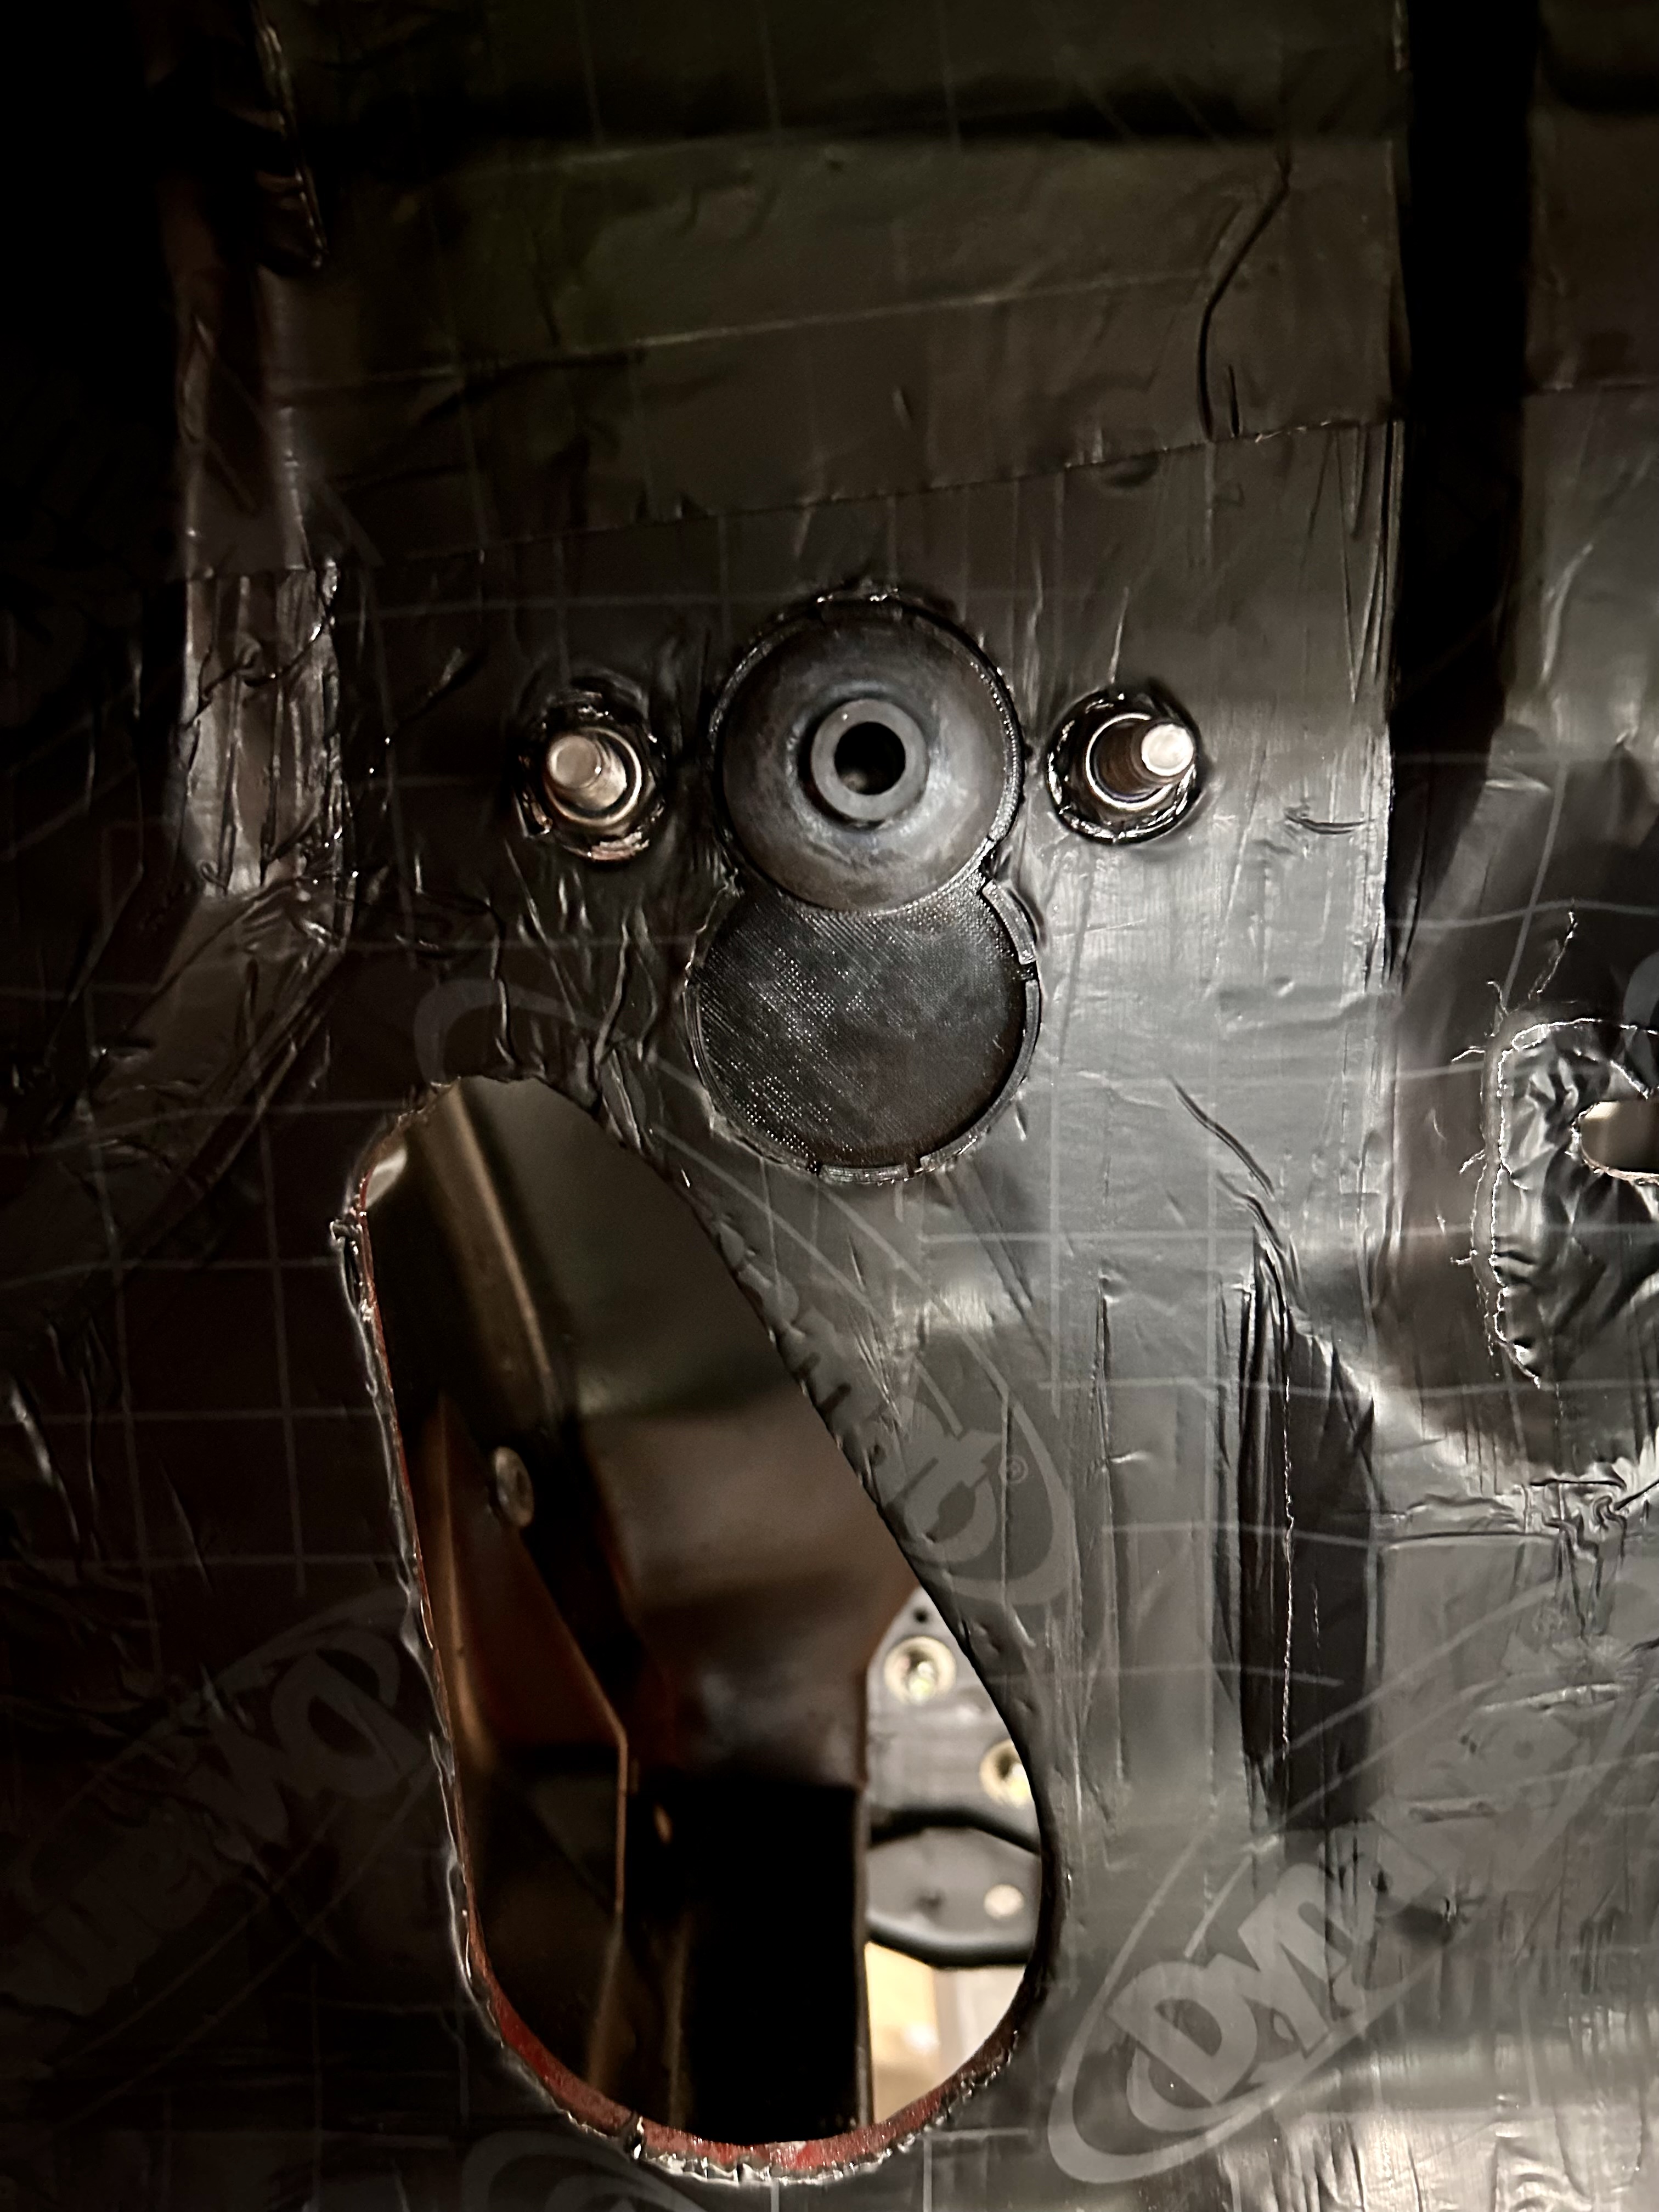
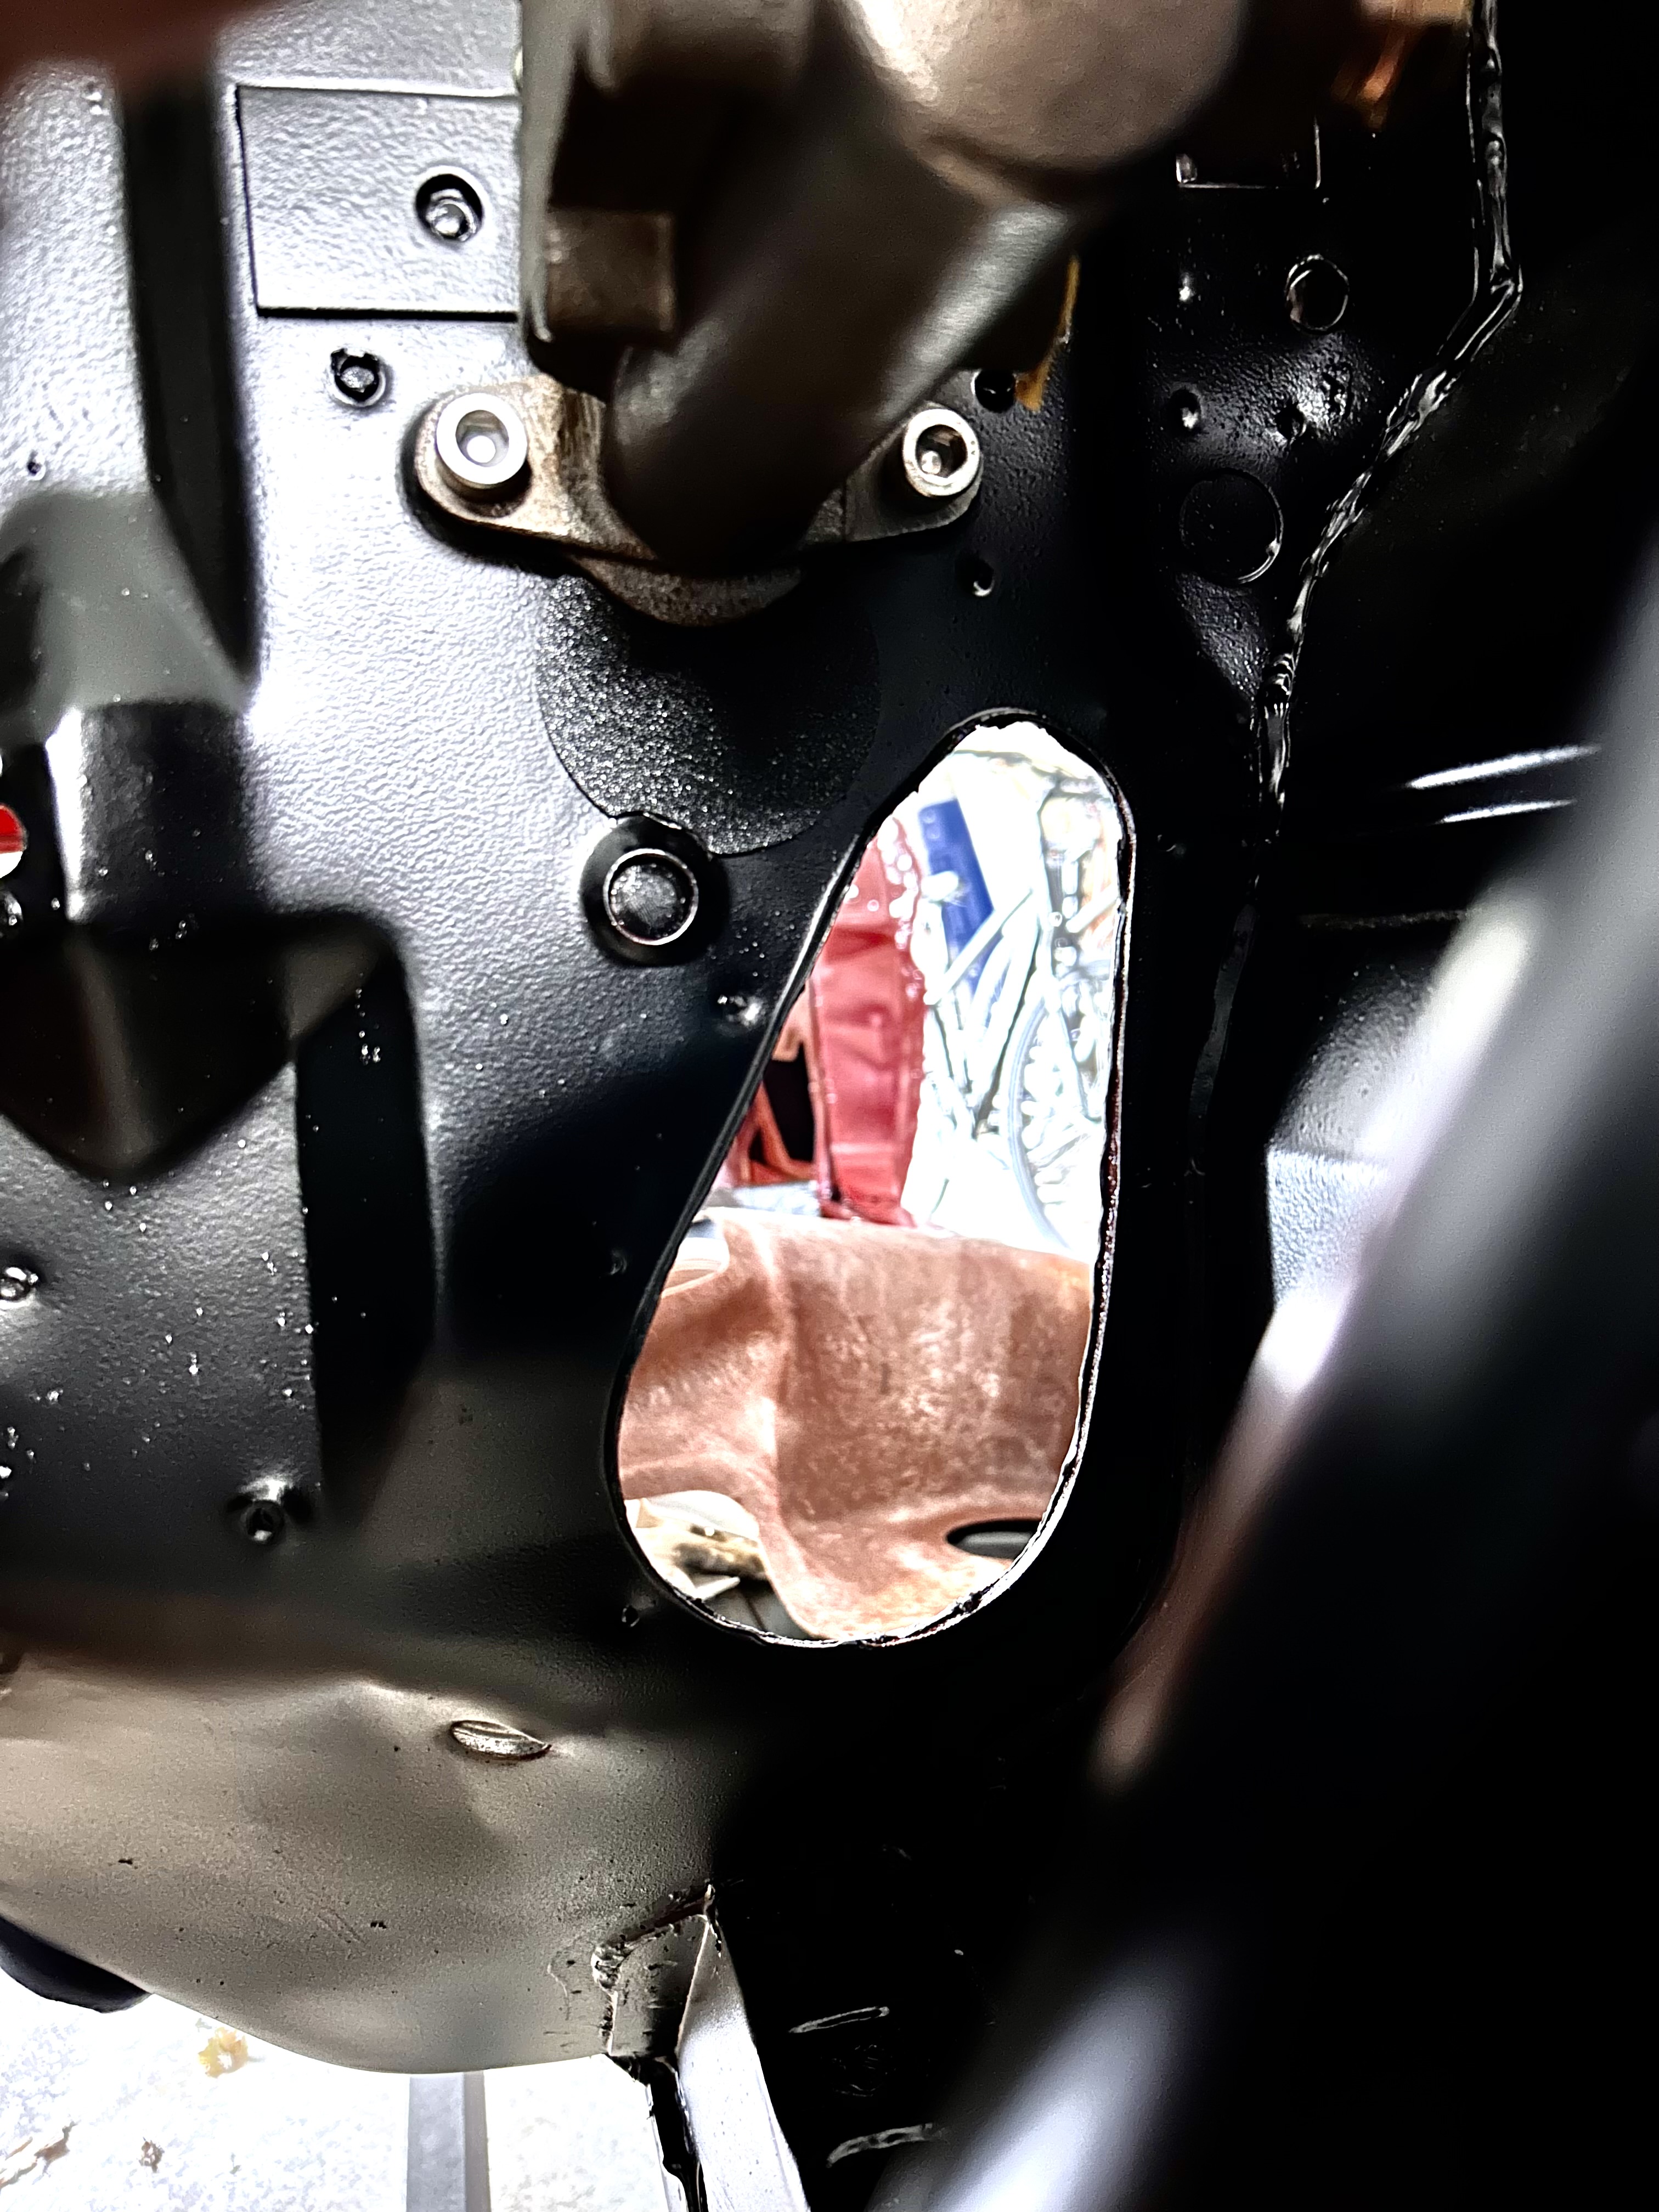
MC bolts up nicely and pinches the top of the plate between it’s flange and the firewall. The bolt holes are pushed outward so that the MC isn’t resting against the firewall. There is a gap of about 0.080 - 0.100 inches.
Image

Image

I made the necessary mods and I will print another that I haven’t hacked up with a file. I also need to make a couple of round plugs to close up a few extra holes that wont be used.

Time for some fun with brake lines!
1964 Cyclone - 2 Dr / HT - A work in progress...
User avatar
SASSY
Moderator
Posts: 5149
Joined: Sat Jan 07, 2006 12:32 am
Location: Wynndel, BC CANADA

Re: Root's 64 Cyclone Build

Post by SASSY »

Lookin good!
Good chance you'll be called on to assist some old guy(or young) in the production of some part,, lol
You are a talented fellow!!
I'd rather do it myself if it's done right or not,,,isn't that what hotrodding is all about

Image

User avatar
Joe Travers
Posts: 2446
Joined: Mon Sep 21, 2020 6:23 pm
Location: Louisiana

Re: Root's 64 Cyclone Build

Post by Joe Travers »

Good job, Root 8)

Did a lot of 3D modeling last 20 years on the job just before the printers became available.
Save the CAD file, dude.

Joe
Image

1963 1/2 Custom Hardtop
342 stroker, solid roller, T-10, 3.55 posi

Rootsy
Posts: 166
Joined: Tue May 04, 2010 3:27 pm
Location: La Salle, Michigan

Re: Root's 64 Cyclone Build

Post by Rootsy »

Joe Travers wrote:
Sat Oct 14, 2023 2:43 pm
Good job, Root 8)

Did a lot of 3D modeling last 20 years on the job just before the printers became available.
Save the CAD file, dude.

Joe
I have been solid modeling since like 2002. I spent 7 1/2 years doing it full time as my day job. I pay the $99 a year for the Solidworks makers license because I still model a lot of stuff - and then print it - and sell it. Mainly some obscure cosmetic boat parts. I never give away my IP - it is safely stored 😎

What I really need to invest in is a scanner so I can just scan things to turn into a STL to print… like the original radio and heater block off plates………. Or dashes…. Or or or or…
1964 Cyclone - 2 Dr / HT - A work in progress...

User avatar
Joe Travers
Posts: 2446
Joined: Mon Sep 21, 2020 6:23 pm
Location: Louisiana

Re: Root's 64 Cyclone Build

Post by Joe Travers »

Rootsy wrote:
Sat Oct 14, 2023 2:54 pm
What I really need to invest in is a scanner so I can just scan things to turn into a STL to print… like the original radio and heater block off plates………. Or dashes…. Or or or or…
Exactly but there is the matter of getting a good piece to upload if you want to get spot on w/ geometry.

Started 3D modeling around Y2K and rendering for contract docs after Bentley purchased Intergraph.

Joe
Image

1963 1/2 Custom Hardtop
342 stroker, solid roller, T-10, 3.55 posi

User avatar
Jims65cyclone
Posts: 2769
Joined: Sun Nov 23, 2014 10:29 pm
Location: Lexington, SC

Re: Root's 64 Cyclone Build

Post by Jims65cyclone »

Get a scanner, work out a deal with a vacuum chromer, and start producing '65 instrument panels. Lot of guys with brittle, broken panels out there. :wink:

Jim
Image

Post Reply