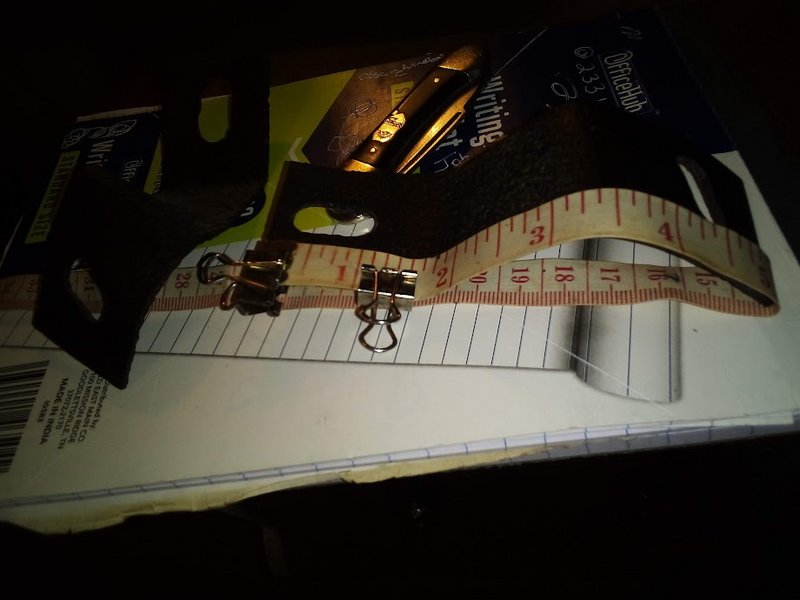
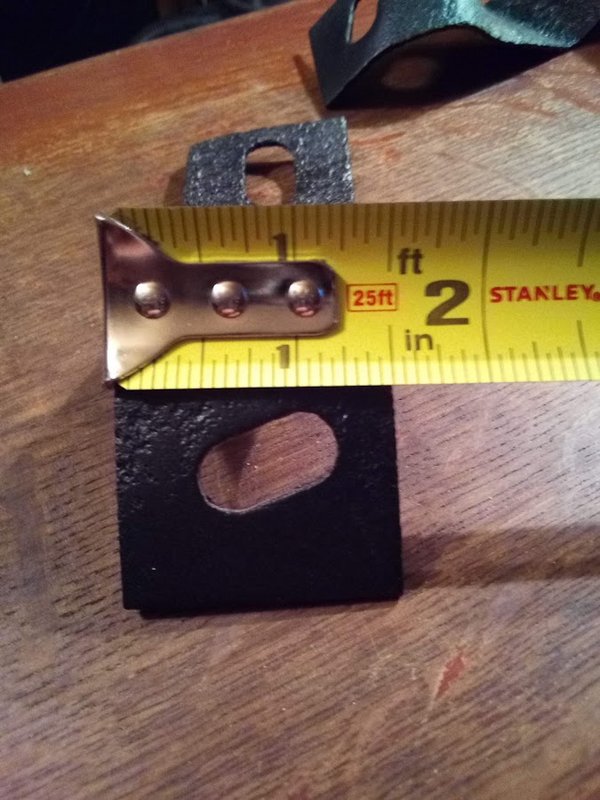
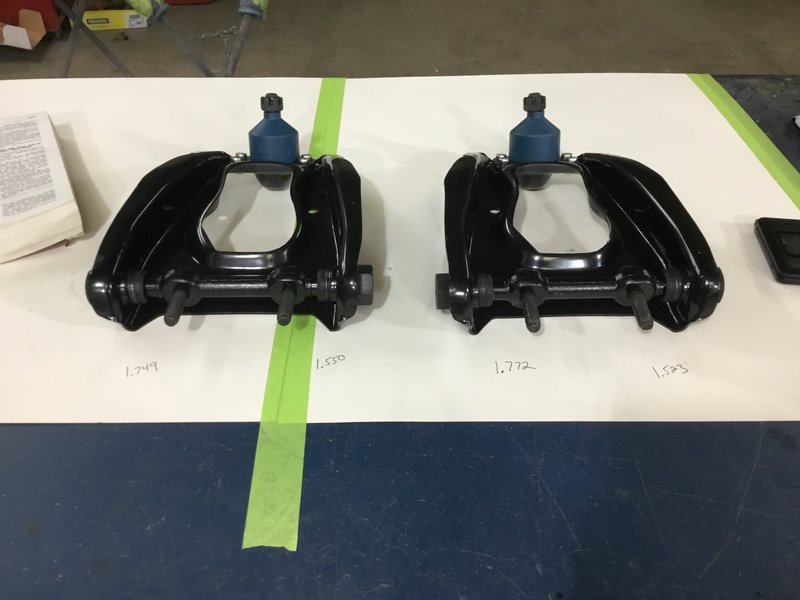
Na ,,they're thin> 1/16'' Lou they'll be a piece a cake for you to make I'm here to tell you. & most any you find will be pitted like these. the slots are 7/8'' long for the straight one & the angled one is 3/4'' long. piece is 1.5'' x 5 1/8'' longLou's Comet wrote: ↑Mon Oct 17, 2022 6:59 pmThanks guys!
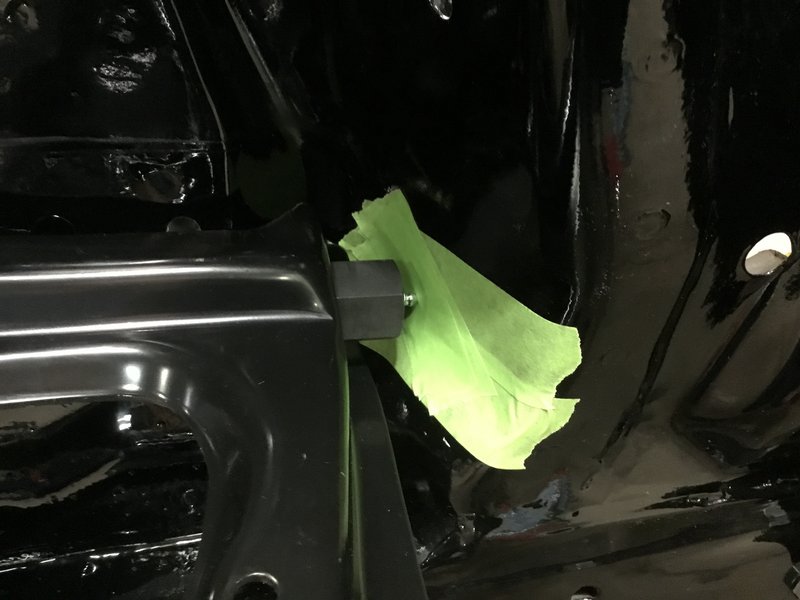
John yea the little bumper to qtr brackets. I have seen pictures of them just don't know the dimensions.. I was going to make some. But haven't got that ambitious yet. They look like they are thicker steel, 3/16 - 1/4 "?
Lou
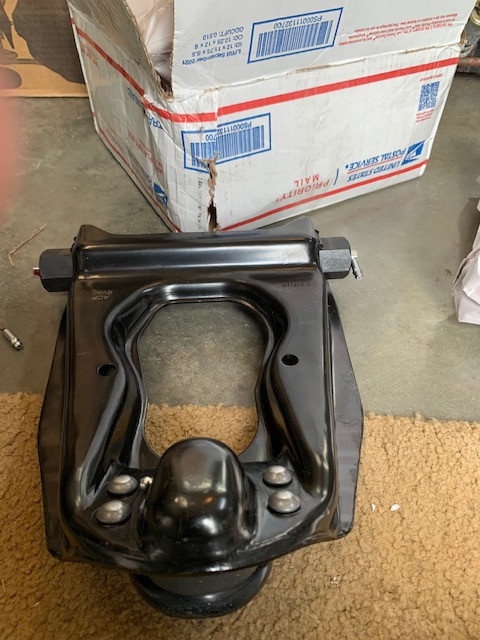
I was wrong I only have one set,never have put them on the car. & at least one of them is bent. I think they get tweaked on removal most the time so the other one may need reshaping. But I have one extra front fender to rad support bracket.so had those mixed up. But Lou if you want this pitted set,with one bent I'll make me a new set.I was thinking of making a set out of SS so I dont have to paint it or worry about it rusting the quarter . I sand blast & cheap rattle can painted these so probably not nice enough for your car. Yea SS is what I wanted ,already had the little ss carriage bolts turned to match my bigger bumper bolts if I can track them down. chucked them up in a drill & turned them on a belt sander . would you believe that dern Ratical & Groover noticed them at PF gathering?
one idea is to bend the bent one flat,,trace it out & send you a stencil. it could simply be flipped to reverse the angled hole for the other side.
next idea is I could send you one of them to copy & me keep one to copy.
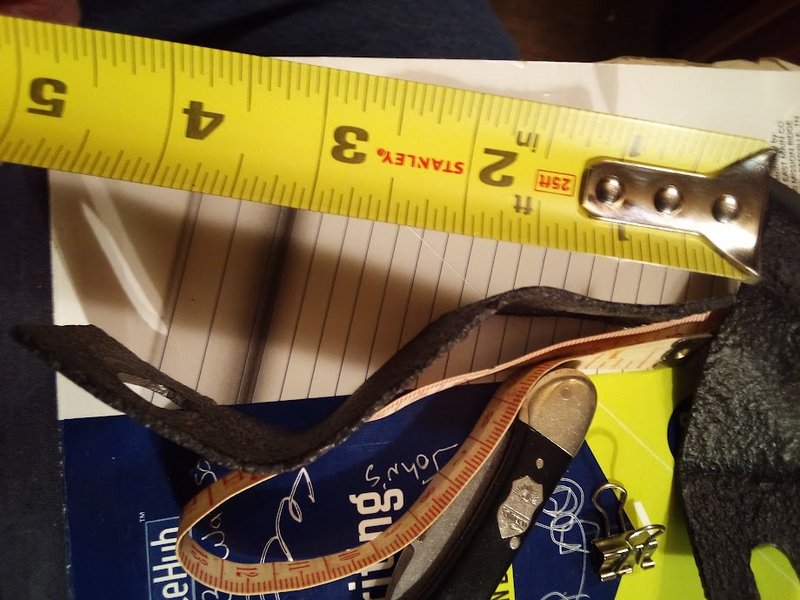
. tried to show where the bends start & orientation of the slots with the cloth tape measure