Been working on Comet here and there.
Been working at reassembly. Finished the vinyl roof, put rubber edging on the rear vinyl roof trim, where trim touches paint.
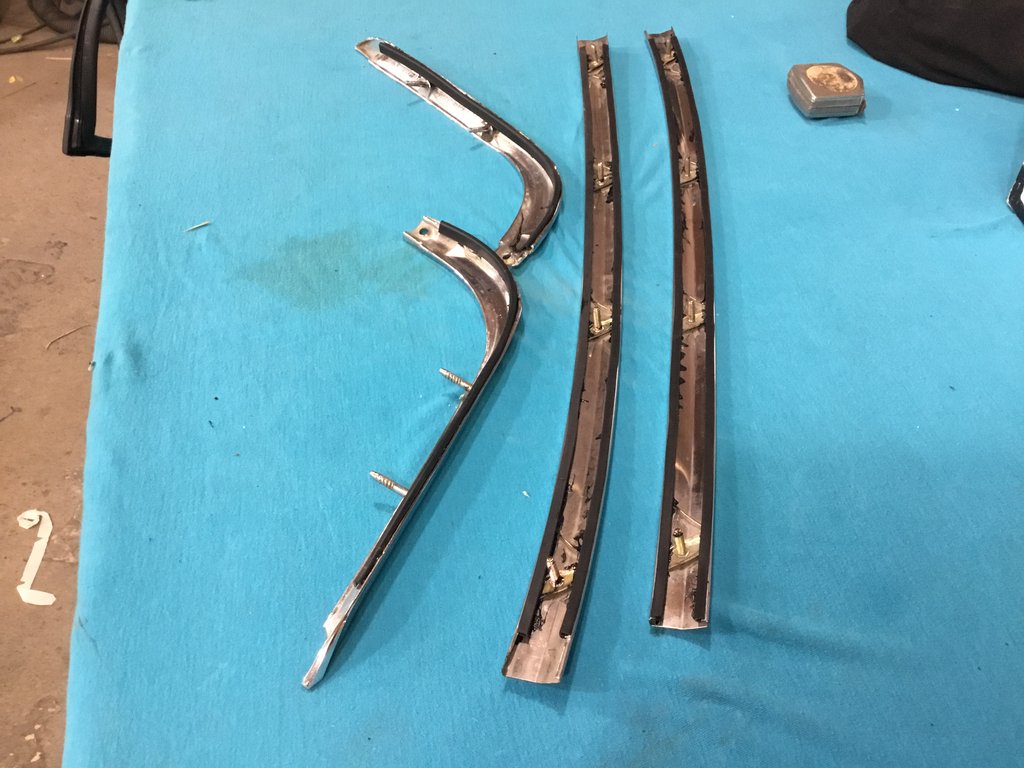
Picture of vinyl roof done,,,

Was going to start putting glass in but decided To look into new smoked glass??
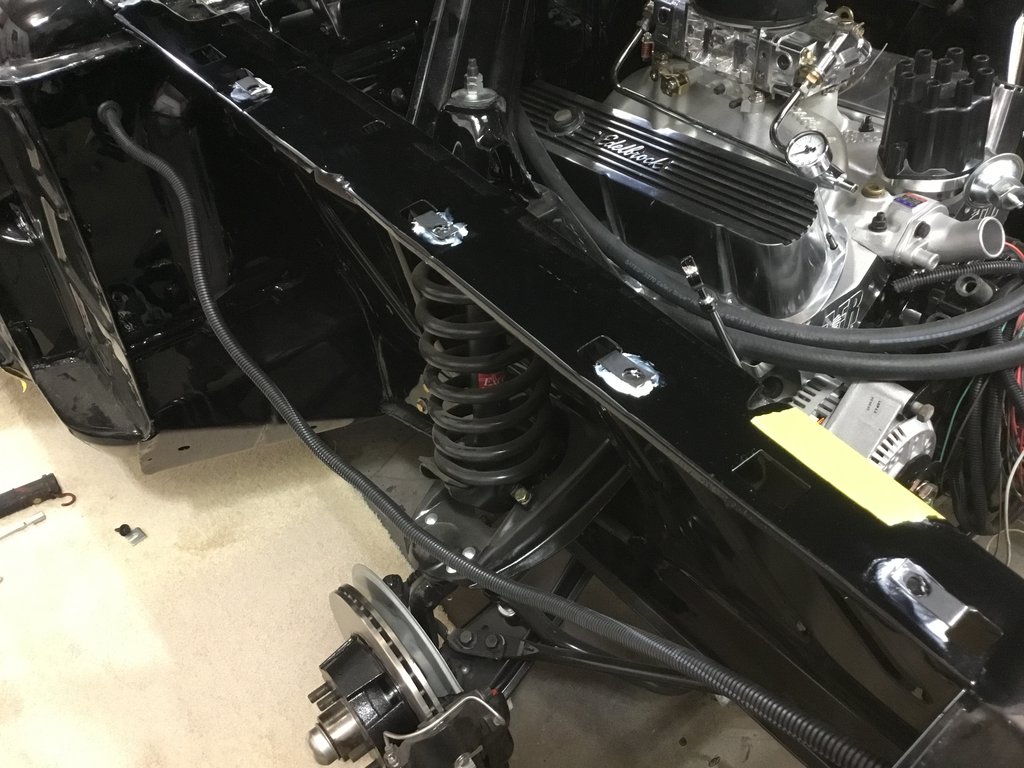
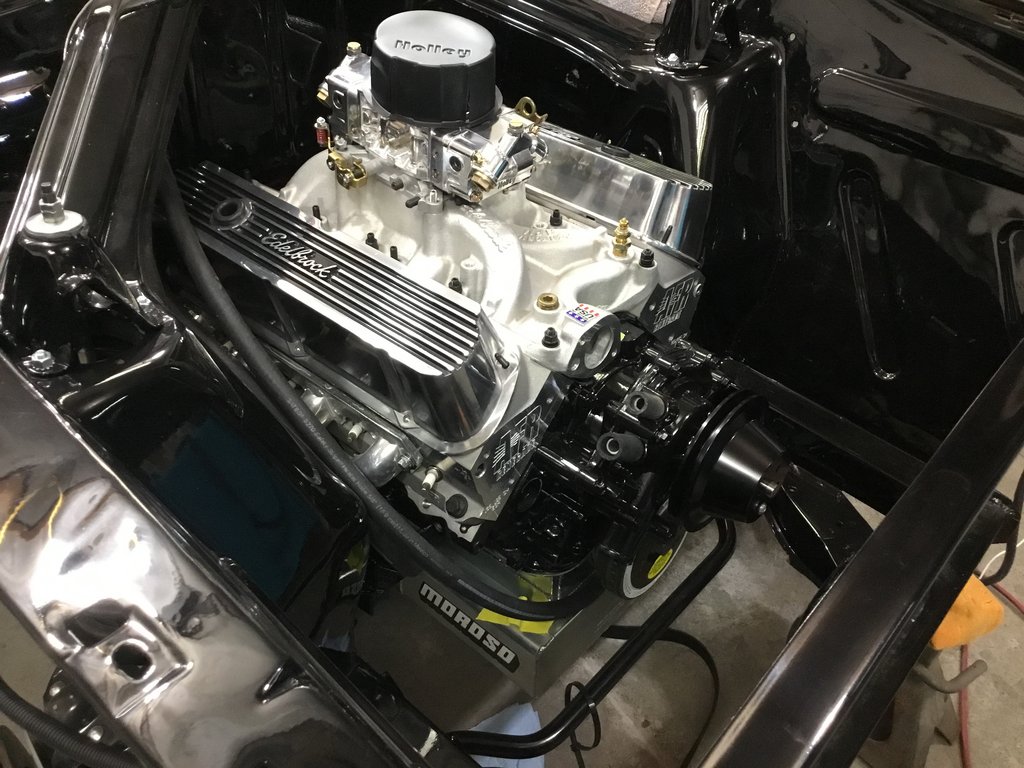
Did a little paint work to engine.really didn't like the aluminum timing chain cover and water pump color, decided to paint them black to go with the block and pulley's.
Before

After
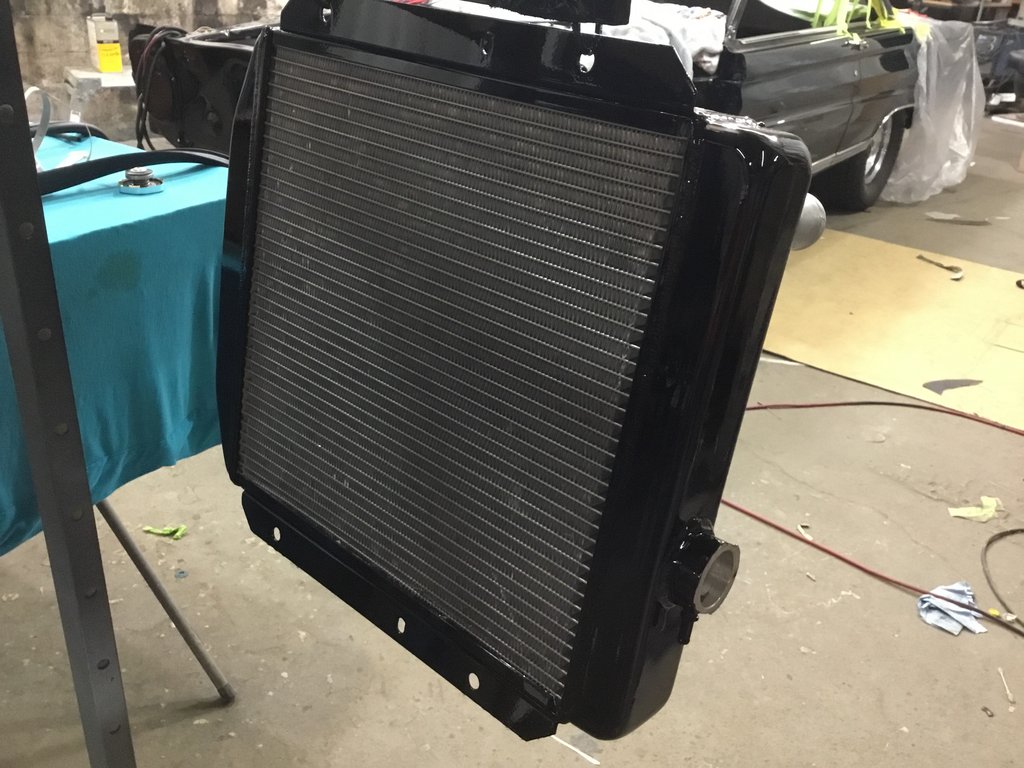
Also painted the tanks and brackets on the radiator black,
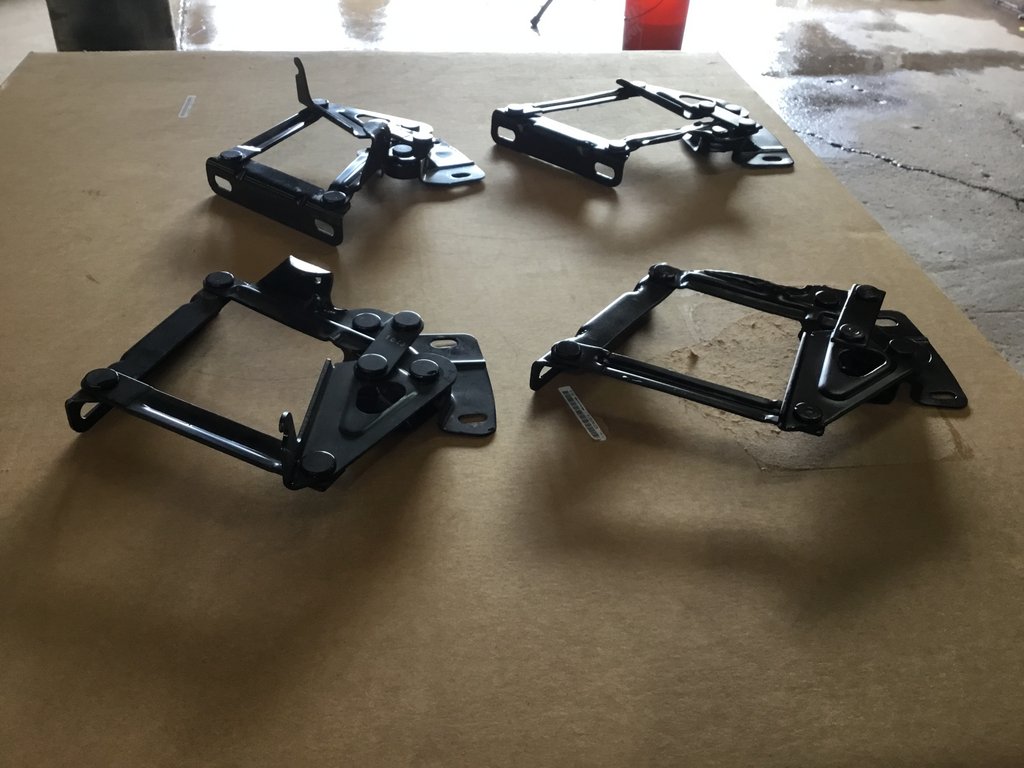
I really like the process of putting the car back together and how to tweak stuff to my liking. Decided since I wouldn't be using springs on my hood hinges that I had no need for the tabs that hold the springs. So I cut them off to tidy up the hinges.
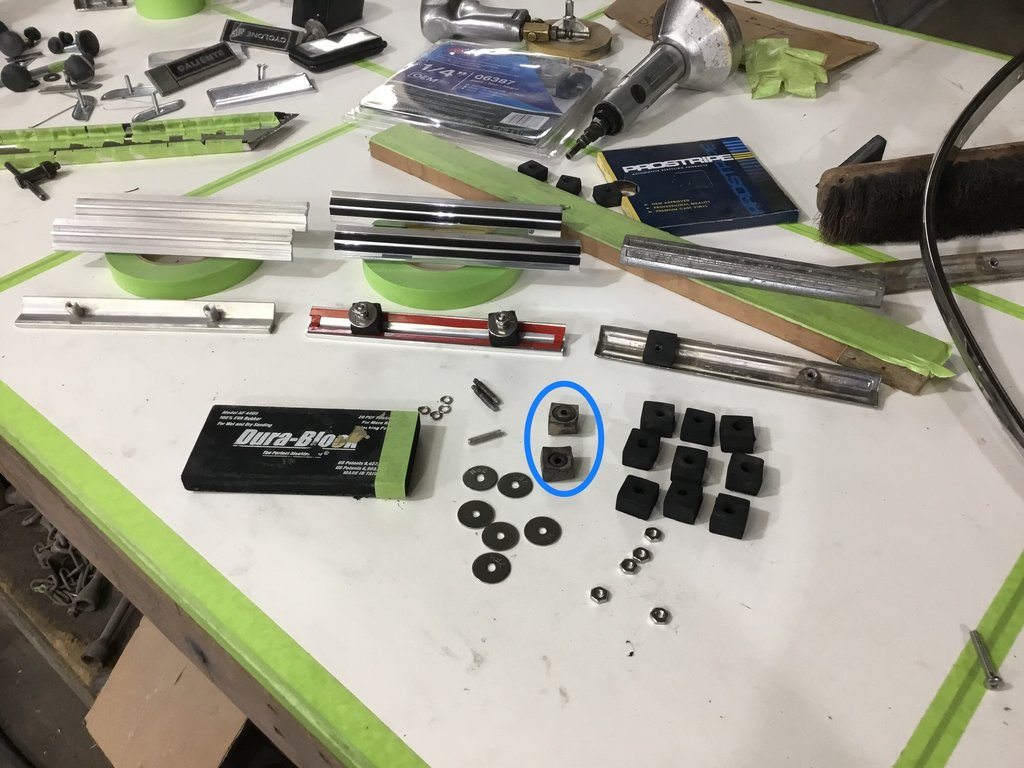
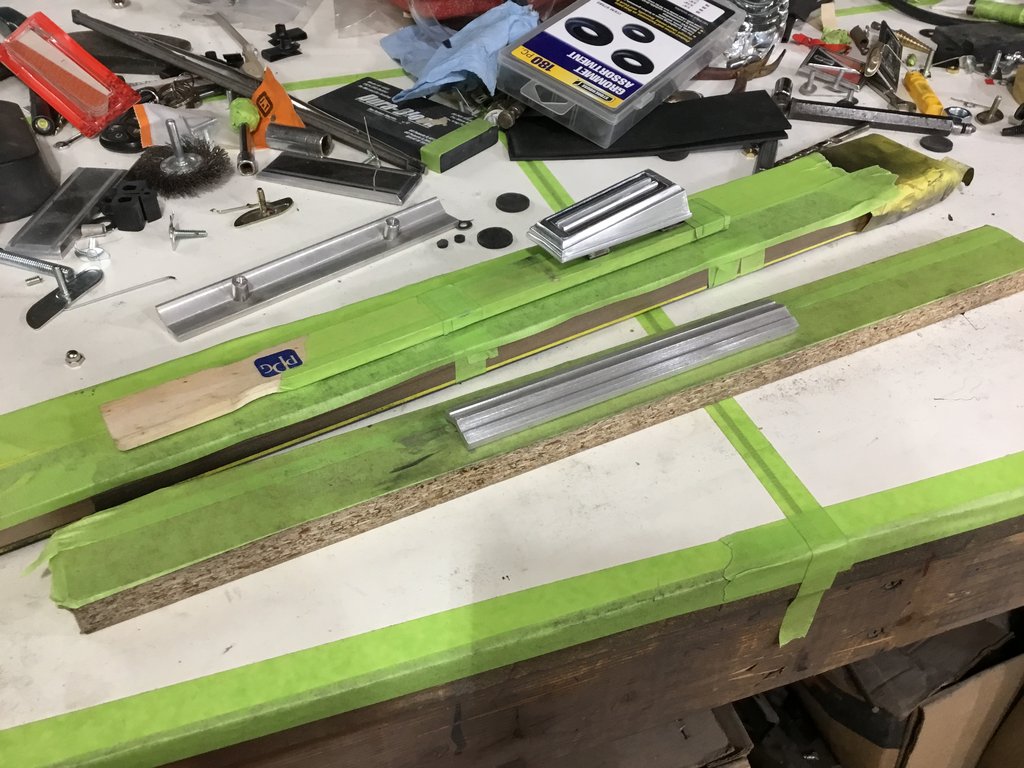
Moved on to front fenders, and hood. I did pin the parts but that is no guarantee. So I took some commercial rubber floor coving and made some rubber washers for my fender, hood, and hinge bolts..
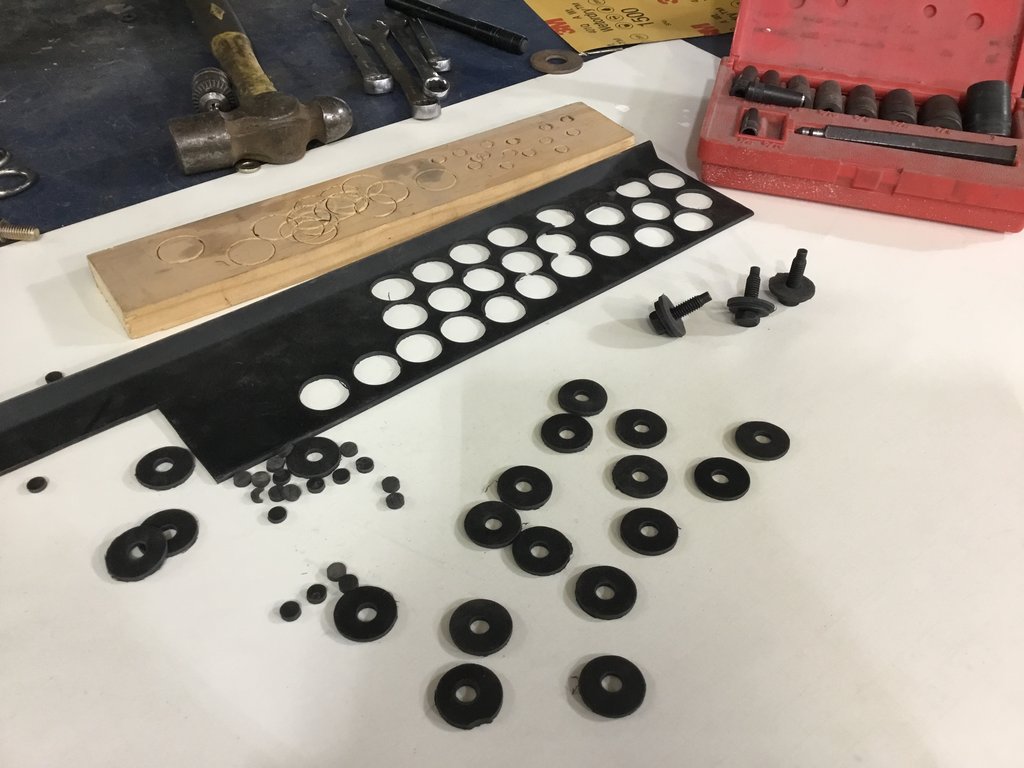
I will use these under the metal washers for initial assembly. Then once I get everything aligned and where I like it I will snug everything up. Then go back one at a time take the bolt and rubber washer out and replace it with a new fender bolt. This keeps everything from getting all scratched up during final assembly. And bolts all look nice when done. All the new bolts have been cleaned and painted satin black so all the bolts will match and have same color black for final assembly.
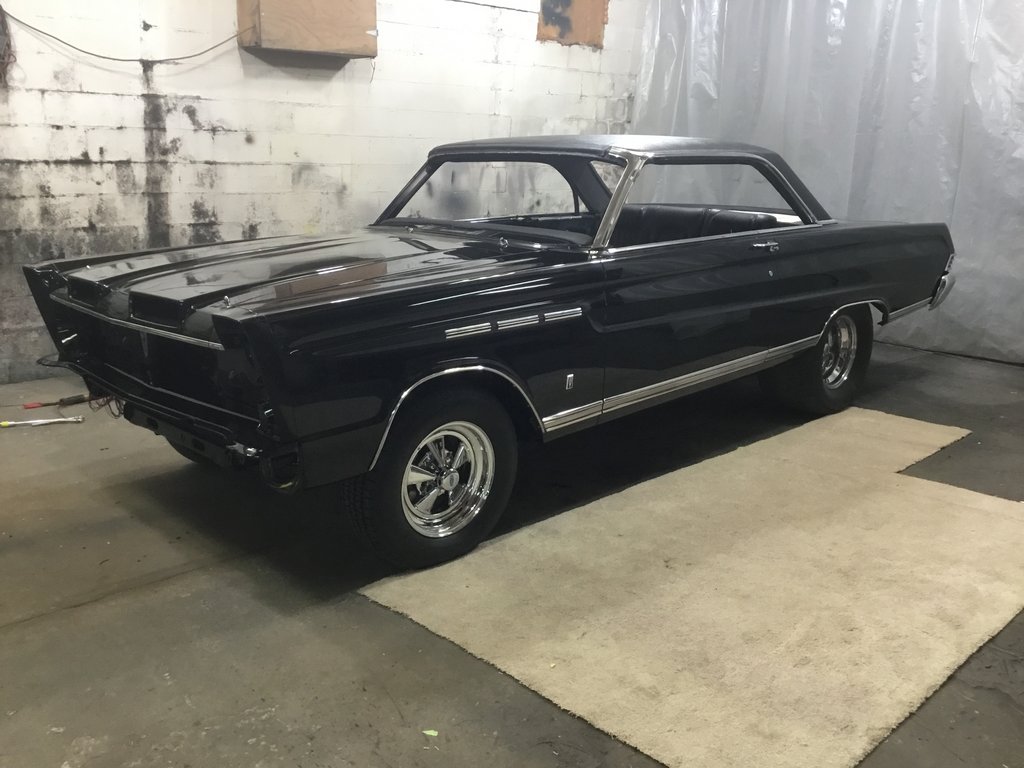
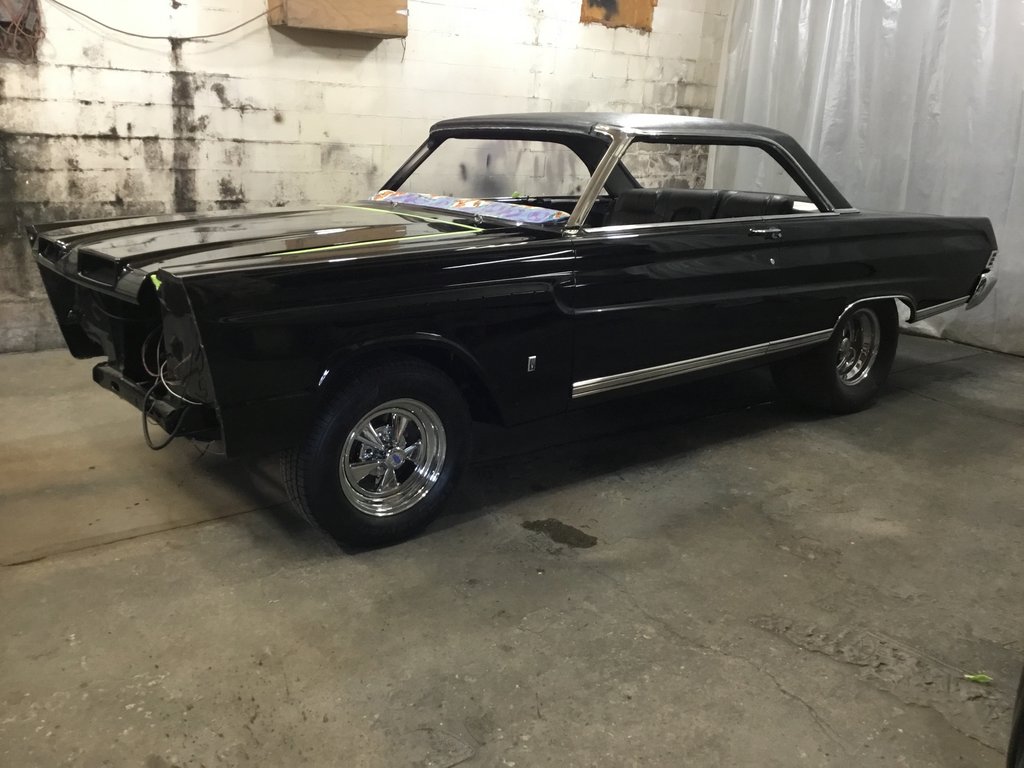
Fenders and hood hung
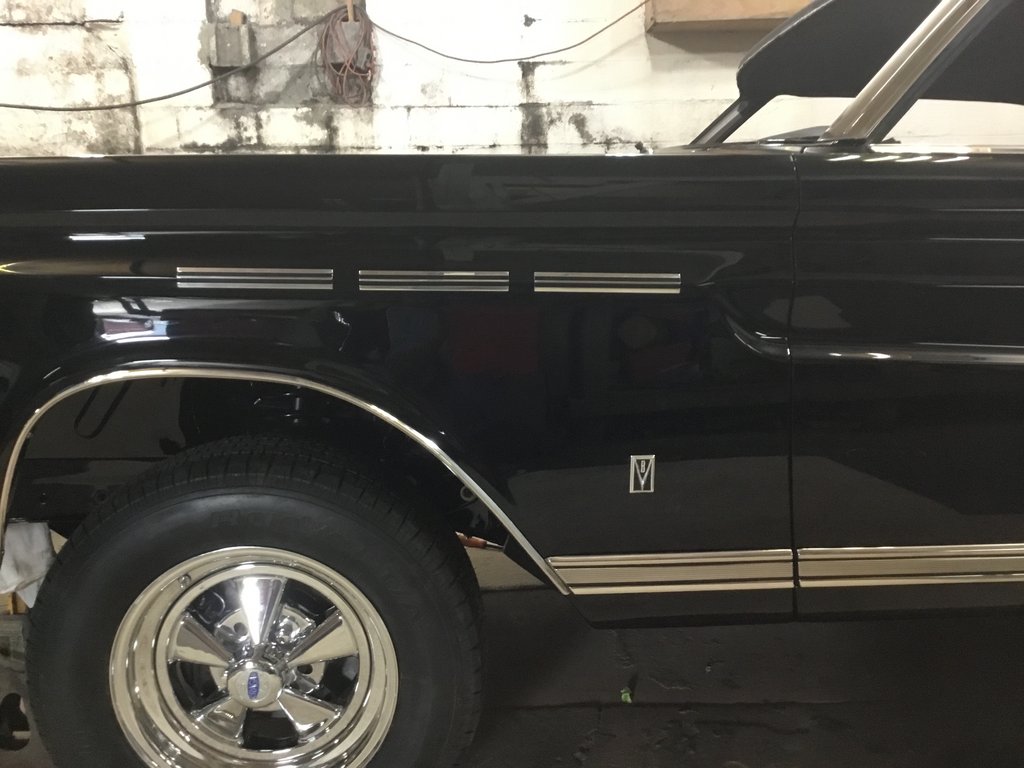
Also decided to get rid of the red on the V8 fender emblems, thought they would look better black.

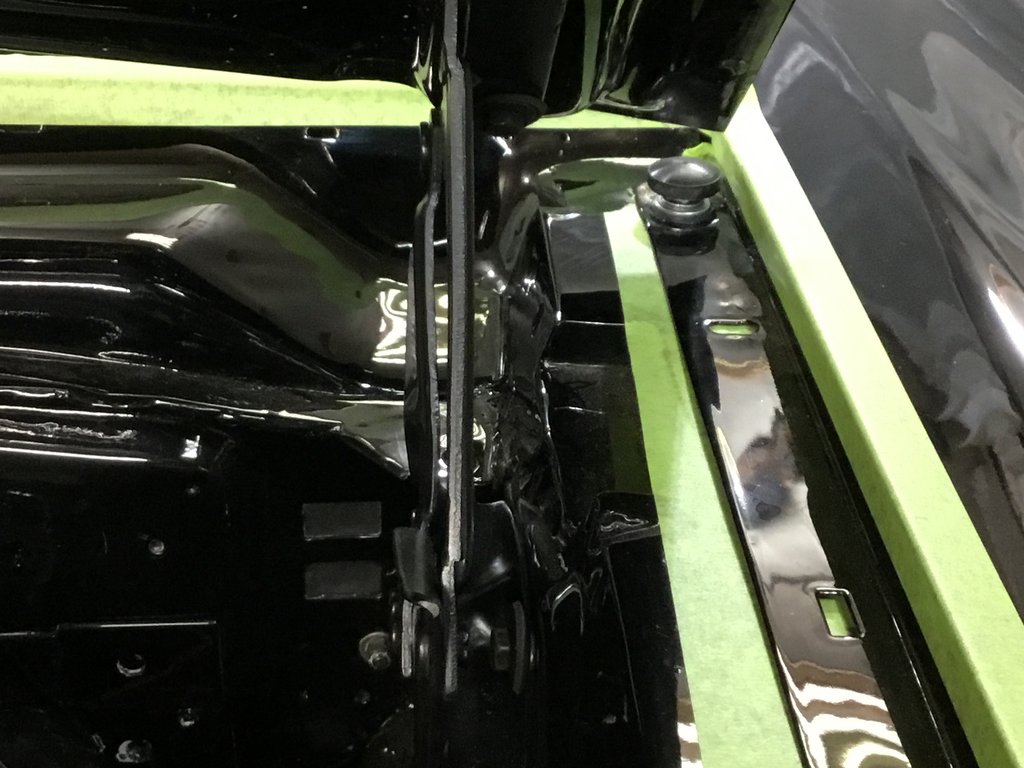
Here is a picture of the hood hinges installed, like them a lot better with the tabs cut off. You can also see the rear rubber stopper for the rear of the hood. Makes it real easy to align the hood without having the tension of springs on the hinges. And it screws right into a existing hole, just add washer and jam nut.
Got 3/4 days before my next job comes in so I am hoping to get the front clip finished. Need to finish polishing the trim and Sargent bars. Also need to make my hood prop(s) before I screw something up with the broomstick

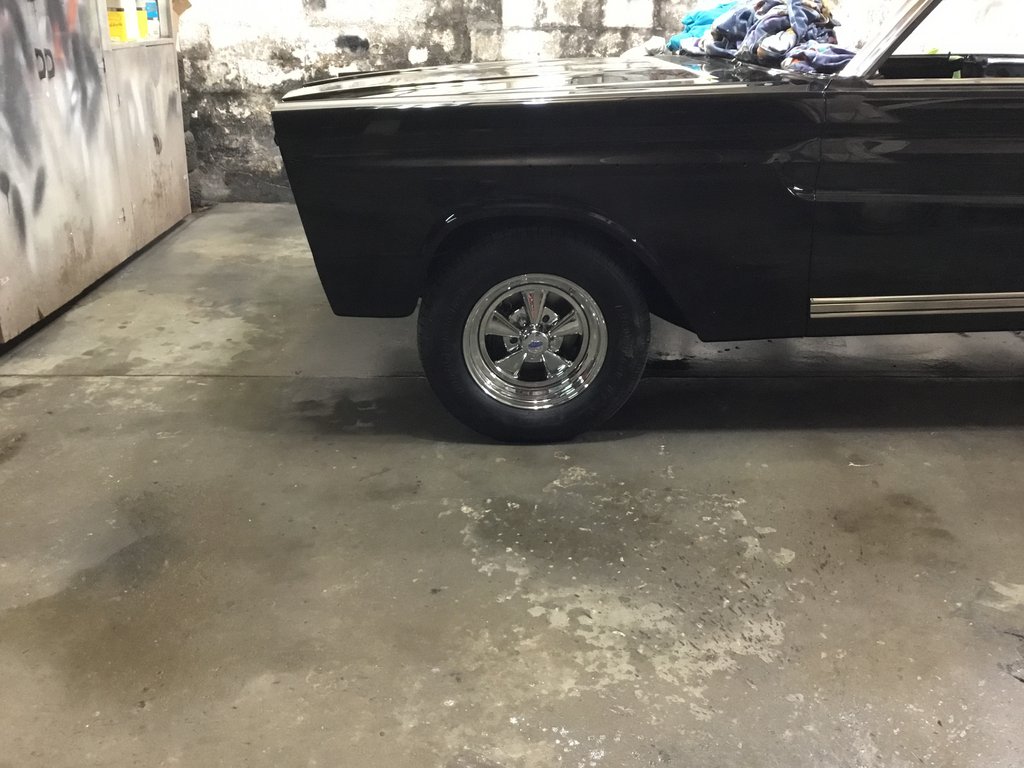
Also just to test fit I have 215/70/15's on front. Thinking they may be big and maybe should go with 205/70/15. Is anyone running 215/70/15 on the front of their Comet?
Looking forward to having some fun the next few days

Lou
 There are quite a few craftsmen here working their Comets, you, Jim and Jim, Fred, Joe, Johno, and so many others, really helps backyard mechanics like myself. Thanks for what you do.