
Build thread: Pics of the 65 Cyclone.
-
65clevorcyclone
- Posts: 234
- Joined: Wed Jan 21, 2015 12:54 am
- Location: Vancouver, BC
Build thread: Pics of the 65 Cyclone.
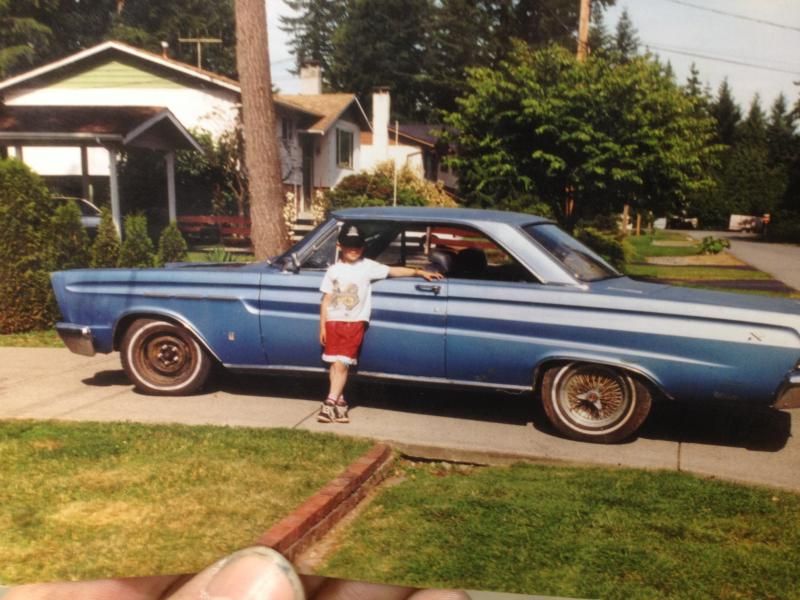
Found an old pic of when the comet came home. I was 9 at the time, im turning 27 this June. I will be posting and updating pics as progress is being made.
Last edited by 65clevorcyclone on Thu Dec 10, 2015 1:18 pm, edited 1 time in total.
-
65clevorcyclone
- Posts: 234
- Joined: Wed Jan 21, 2015 12:54 am
- Location: Vancouver, BC
Re: Pics of the 65 Cyclone.
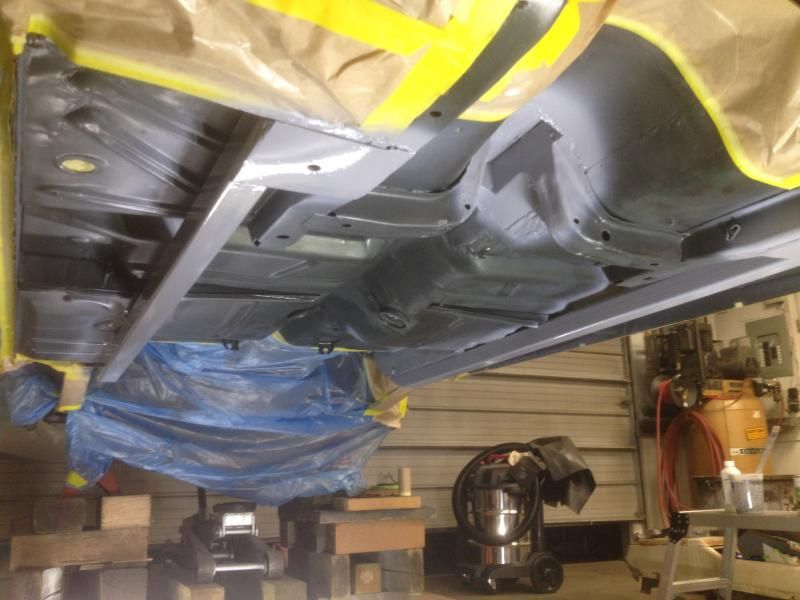
Subframe connectors that my dad designed and welded in.

-
65clevorcyclone
- Posts: 234
- Joined: Wed Jan 21, 2015 12:54 am
- Location: Vancouver, BC
Re: Pics of the 65 Cyclone.
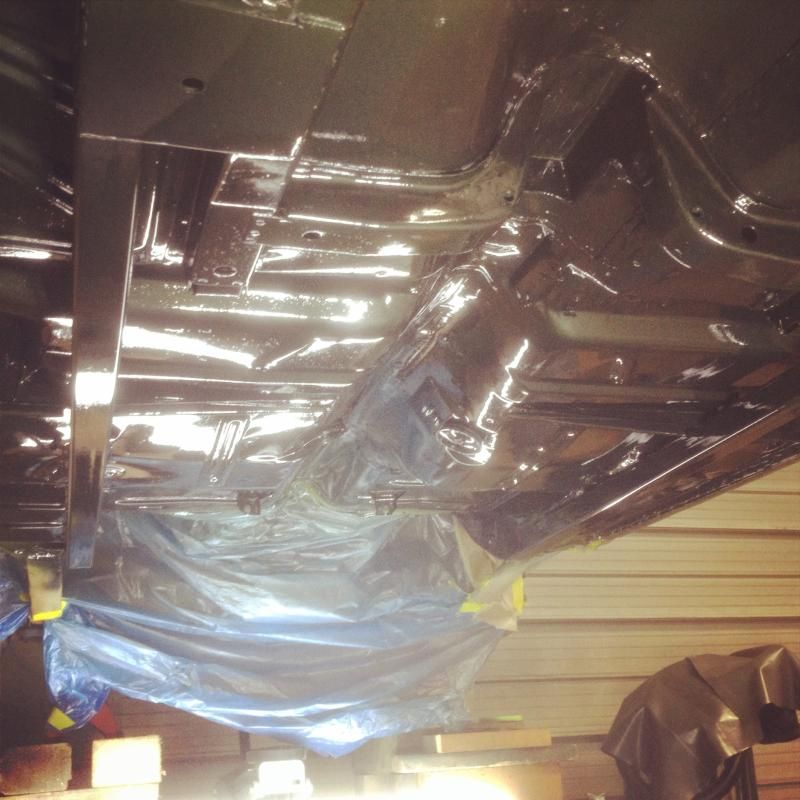
All painted up body color

-
65clevorcyclone
- Posts: 234
- Joined: Wed Jan 21, 2015 12:54 am
- Location: Vancouver, BC
Re: Pics of the 65 Cyclone.
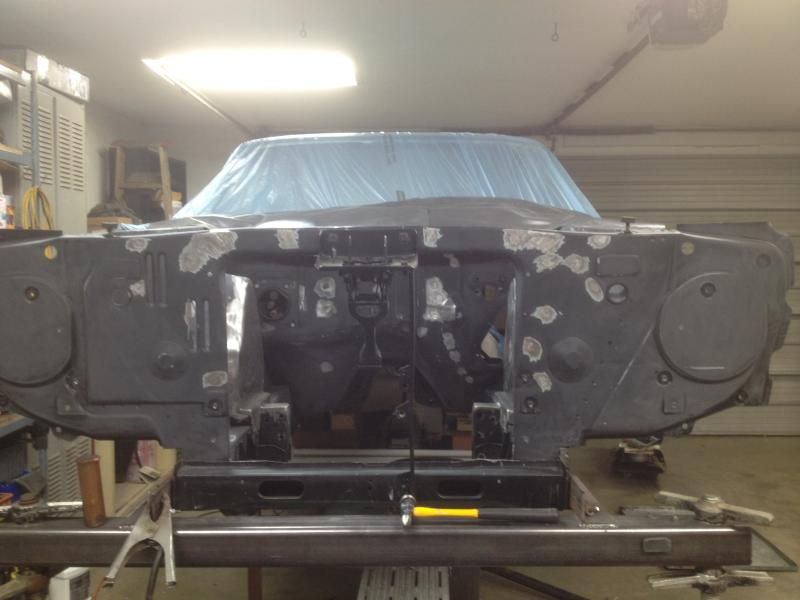
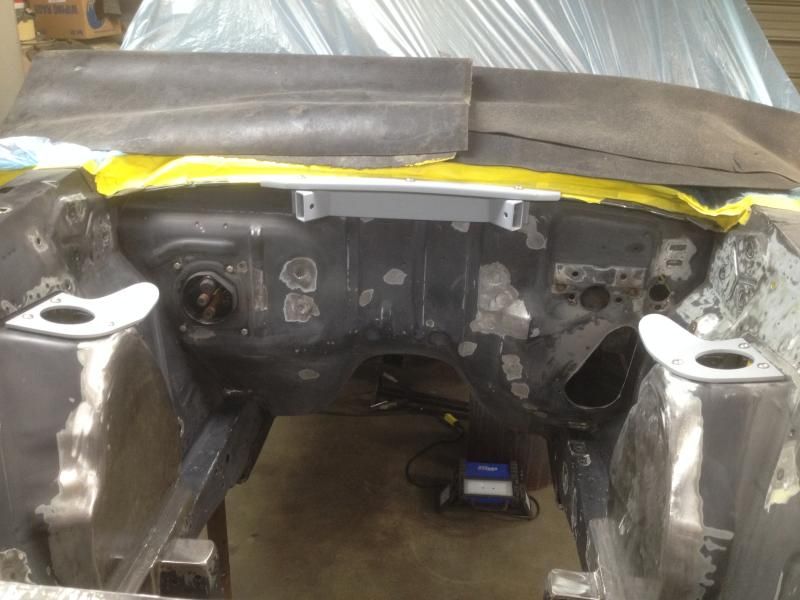
Welded and smoothed all the unecesary holes on the rad suport

-
Lou's Comet
- Posts: 1540
- Joined: Sat Nov 26, 2011 8:56 pm
- Location: Jeannette, Pa.
Re: Pics of the 65 Cyclone.
Did the same with my Rad support,and inner aprons. I think doing the rad support makes a big difference. And going to look nice when all done. Also did the underneath of mine body color (although car is going to be black) but also something I think makes a big difference.
Your comet is looking good!
Lou
Your comet is looking good!
Lou
-
CALIFORNIA CALIENTE
- Posts: 5933
- Joined: Mon Feb 20, 2006 12:57 am
- Location: Camarillo,California

Re: Pics of the 65 Cyclone.
I like the Black undercarriage also! You all are doing a nice job, strong and clean looking.....Al
Your ahead in a Mercury....all the way!

Re: Pics of the 65 Cyclone.
Very nice work..........can't wait to see other pics as you progress.
Albert's 65 289, polar white, black buckets, 5 speed, Autolite 4100, ps, pb, factory tach, crites hood, headers, dual exhaust
-
65clevorcyclone
- Posts: 234
- Joined: Wed Jan 21, 2015 12:54 am
- Location: Vancouver, BC
Re: Pics of the 65 Cyclone.
Thanks all! You can kind of see the new shifter hole we made into the floor. Made it out of 3/16" plate to keep the trans cross member all tied together.
Re: Pics of the 65 Cyclone.
looks good,nice work,,,,,,bet you never thought when that PIC was made all these years later you'd be doing what your doing to that very same comet......pop

pop/glenda
-
65clevorcyclone
- Posts: 234
- Joined: Wed Jan 21, 2015 12:54 am
- Location: Vancouver, BC
Re: Pics of the 65 Cyclone.
Got the last of the holes welded up that I dont plan on using. Also got the upper shock tower brackets back from the laser cutter and pressed the appropriate bend into them. Just waiting on the threaded rods to come back from the chassis shop. Waiting on one more peice to come in and a little more fabbing and then i can finally start body work and priming and painting then set that Clevor in and get it wired and plumbed.

-
65clevorcyclone
- Posts: 234
- Joined: Wed Jan 21, 2015 12:54 am
- Location: Vancouver, BC
Re: Pics of the 65 Cyclone.
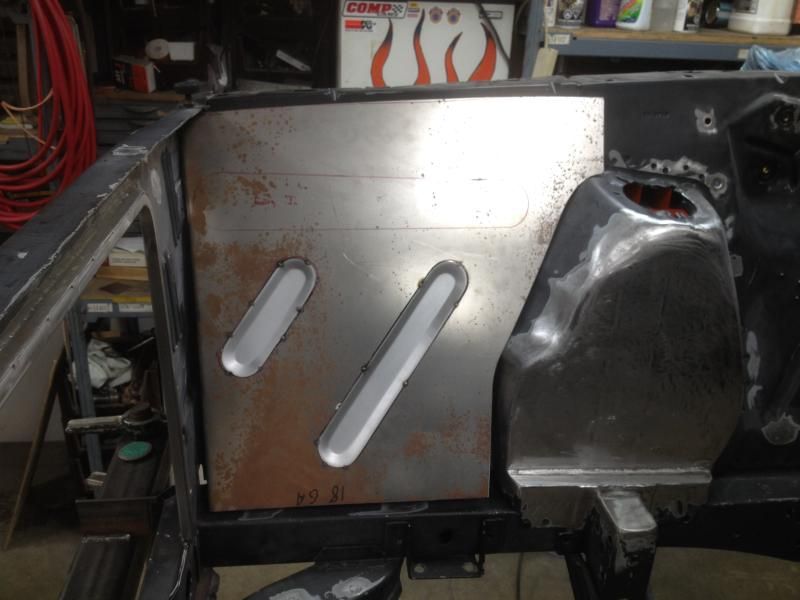
Made a bit of progress today. Started fabbing up a custom made battery tray delete panel. First made a cardboard template off the drivers side, cut it out, flipped it and tranferred it to a peice of 18ga sheet metal. I ordered a mustang repro drivers front apron, and cut out the ribs and tacked them in place. I need to do some heavy modifying to the upper rib to make ot look correct. Once its done I think it will look factory made.

Re: Pics of the 65 Cyclone.
That will look nice. Are you going to mock engine up before painting and have headers made? Are you using a rack or going with factory steering?........Al
Your ahead in a Mercury....all the way!
-
65clevorcyclone
- Posts: 234
- Joined: Wed Jan 21, 2015 12:54 am
- Location: Vancouver, BC
Re: Pics of the 65 Cyclone.
we had a mock up engine in there to build the headers, using a flaming river power rack setup. There are some more pics in this threadec164 wrote:That will look nice. Are you going to mock engine up before painting and have headers made? Are you using a rack or going with factory steering?........Al
http://www.cometcentral.com/forum/viewt ... =24&t=7178
-
Lou's Comet
- Posts: 1540
- Joined: Sat Nov 26, 2011 8:56 pm
- Location: Jeannette, Pa.
Re: Pics of the 65 Cyclone.
Very nice !! I just flipped a Mustang apron and adapted it to the pass side. Now I got a little voice in my head that's telling me I need to redo it LOL65clevorcyclone wrote:Made a bit of progress today. Started fabbing up a custom made battery tray delete panel. First made a cardboard template off the drivers side, cut it out, flipped it and tranferred it to a peice of 18ga sheet metal. I ordered a mustang repro drivers front apron, and cut out the ribs and tacked them in place. I need to do some heavy modifying to the upper rib to make ot look correct. Once its done I think it will look factory made.
Great work, and awesome idea.
Lou